In the world of science, lab equipment plays a crucial role in conducting experiments, measuring substances, and analyzing results. Among these essential tools, beakers stand out for their practicality and versatility. You may have seen one in high school science class or in movies depicting laboratories, but what exactly does a beaker do? This beginner’s guide will explore the functions, designs, and practical uses of beakers, along with other essential lab equipment. By understanding these tools, you will appreciate their importance in scientific experiments and feel more prepared to engage in hands-on learning.
Understanding the Beaker
What Is a Beaker?
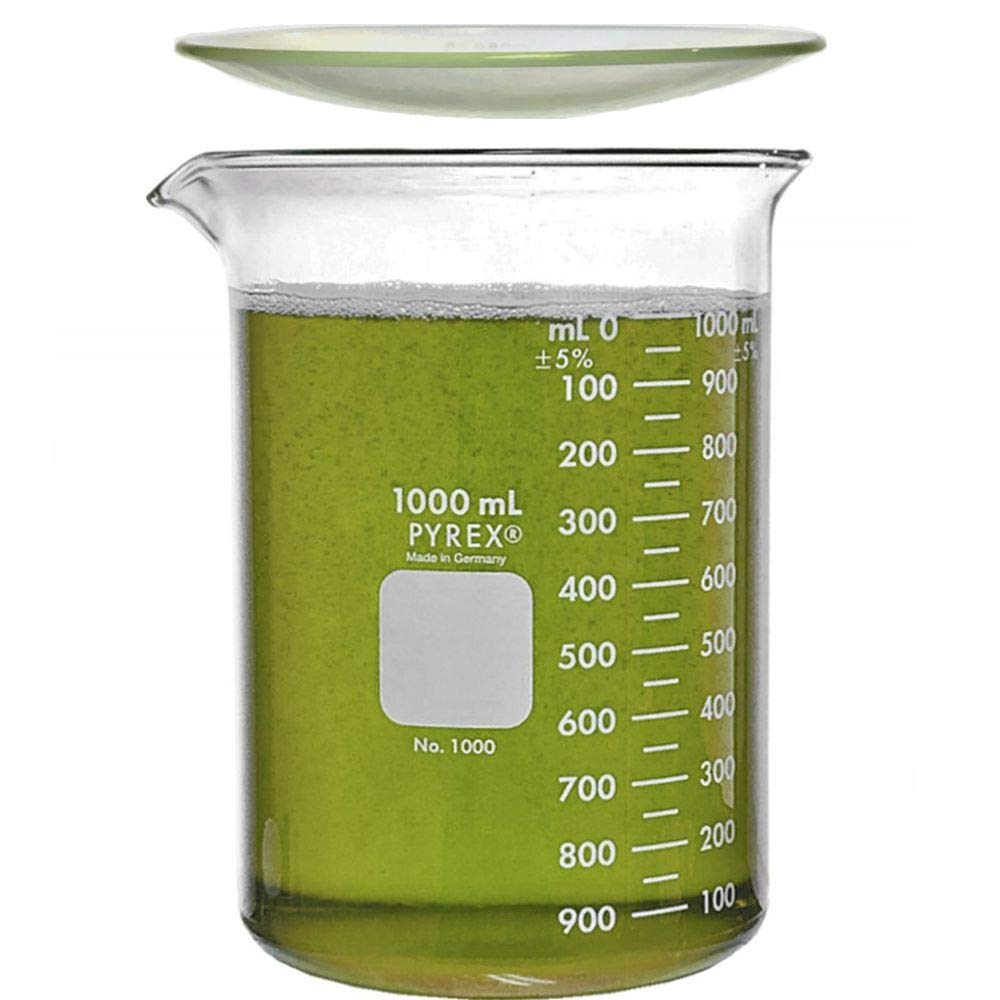
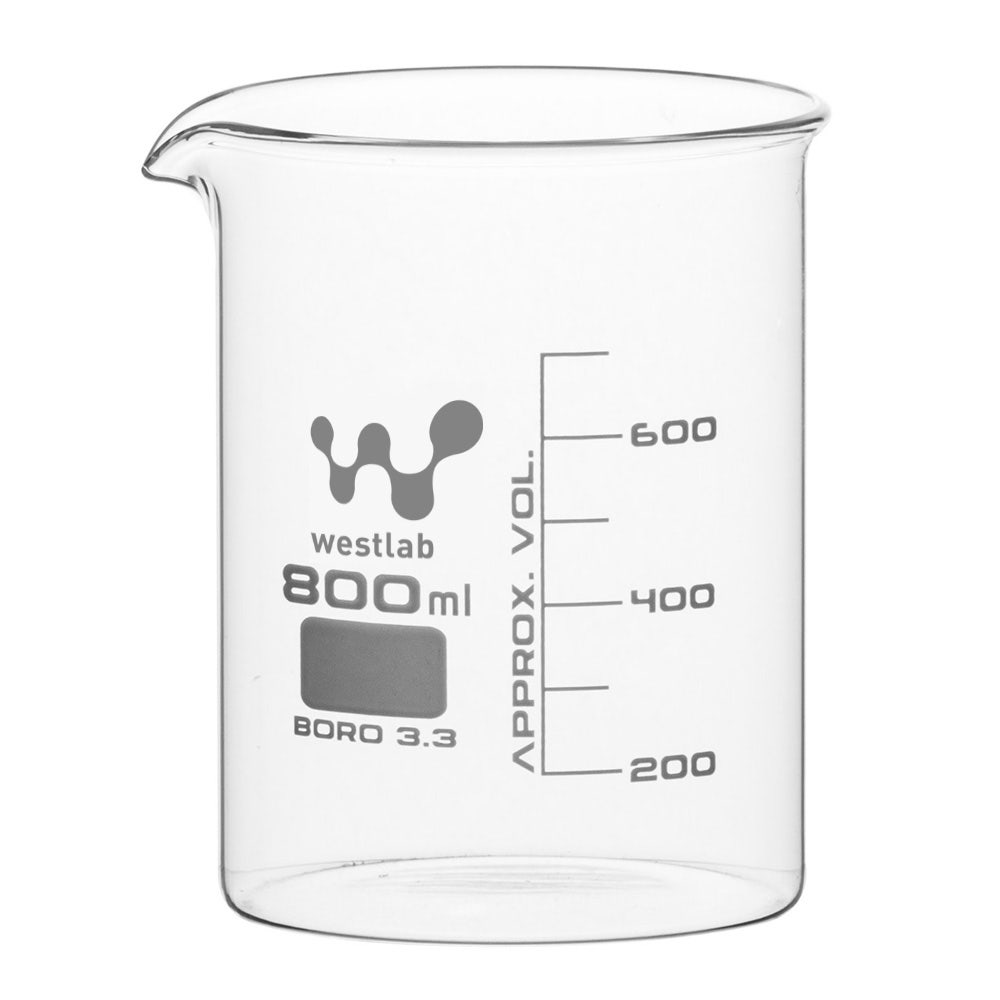
A beaker is a simple, cylindrical container often made of glass or plastic designed to hold various types of liquids. It typically features a flat bottom for stability and a spout to enable easy pouring. Beakers come in many sizes, ranging from small 50-milliliter beakers to large 2-liter versions. Their design allows for easy stirring, mixing, and heating of liquids. Despite their simple design, beakers serve several critical functions in scientific work, making them indispensable in laboratories. They often bear graduated markings along the side, which provide an estimate of the liquid’s volume, allowing chemists and students to quickly gauge how much liquid they’re working with.
The Purpose of a Beaker
Beakers serve multiple purposes, primarily for mixing, stirring, heating, and holding liquids. They are essential when you need to blend different chemicals or prepare solutions for further experiments. Although beakers are not designed for precise measurements, the graduated markings on the side help scientists estimate liquid volumes. Understanding these basic purposes helps you grasp where beakers fit into your lab experience. Whether you’re combining reactants for a chemical reaction or simply holding a solution while observing a reaction, the beaker provides the perfect container. This multifaceted utility makes it a must-have in any laboratory setting.

Features of a Beaker
Material Considerations
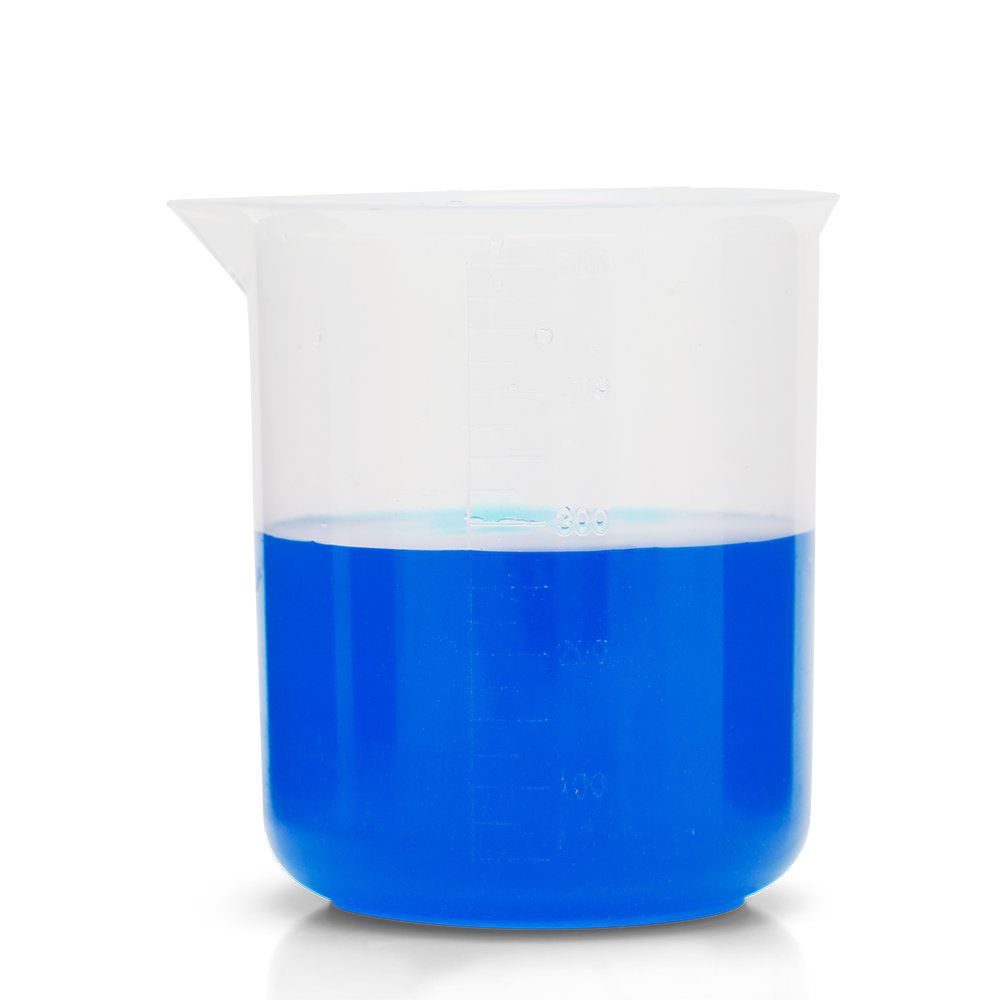
Beakers are typically made from two primary materials: glass and plastic. Glass beakers are favored for their durability, chemical resistance, and ability to withstand heat, making them suitable for various chemical reactions. They can easily endure high temperatures, which is essential when heating liquids using a Bunsen burner. Glass also allows you to see the contents clearly, facilitating observation of color changes and other reactions. On the other hand, plastic beakers, often made of polypropylene or polystyrene, provide a lightweight alternative. These are great for simple mixing tasks that do not involve high temperatures or reactive chemicals. It is essential to choose the right material based on the specific needs of your experiment, ensuring both safety and efficiency.
Standard Size Variations
Beakers come in a wide range of sizes, allowing for flexibility in different experiments. Standard sizes include 50 mL, 100 mL, 250 mL, 500 mL, and even up to 2000 mL. Knowing which size to use depends on the quantities of liquids you plan to mix or heat. Smaller beakers are handier for small reactions or tests, while larger beakers are more appropriate for larger volumes or complex solutions. Having a variety of sizes at your disposal can help you tackle different types of tasks effectively. Furthermore, being aware of the volume specifications ensures you do not exceed capacities that could lead to spills or overflows, thereby maintaining a cleaner and safer workspace.
Practical Uses of Beakers
Mixing Solutions
One of the main uses of a beaker is mixing solutions. Whether you’re combining chemicals for a reaction or preparing a solution for an experiment, beakers provide ample space for stirring and agitation. You can use a glass stirring rod to mix the contents thoroughly, ensuring you achieve a homogeneous solution. This uniformity is critical for most experiments, as inconsistencies in solution concentration can lead to inaccurate results or unreliable data. The spout on the beaker also facilitates pouring liquid into other containers without spillage, essential for maintaining a clean workspace. Regardless of the complexity of the solution, leveraging the mixing capabilities of a beaker can simplify many lab processes.
Heating Liquids
Beakers can be heated directly over a Bunsen burner or with a hot plate, which makes them ideal for experiments requiring controlled temperature. When heating a liquid, it’s crucial to use a glass beaker designed for high temperatures. Plastic beakers may melt or deform, leading to inaccurate results or unsafe conditions. Heating liquids in beakers is common in various experiments, from simple dissolving tasks to complex chemical reactions involving precise temperature control. Always monitor the heating process closely, as excessive heating can result in boiling over or chemical decomposition. Proper safety measures should be taken, such as using heat-resistant gloves and safety goggles, to ensure a secure and effective experiment.
![]()
Other Lab Equipment You Should Know
Flasks
Flasks are another common piece of lab equipment, and they come in various shapes and sizes, including Erlenmeyer and volumetric flasks. Erlenmeyer flasks feature a narrow neck, making them great for swirling liquids without risking spillage. This design is particularly useful when conducting experiments that require mixing reactants. Volumetric flasks, however, are calibrated for precise measurements and are often used for preparing standard solutions. These flasks complement the beaker by providing options for experiments requiring accuracy. By understanding the varied functionality of flasks, you can enhance your experimental design and data collection, resulting in more reliable outcomes.
Test Tubes
Test tubes are essential lab tools for holding and reacting small volumes of substances. They are typically used when only small amounts are needed, such as in qualitative analyses or preliminary tests. Unlike beakers, test tubes offer a more controlled environment for specific chemical reactions. You can also use test tube racks to keep them secure and organized during an experiment, preventing spills or breakages. For smaller-scale experiments, test tubes and beakers often work hand in hand. By integrating test tubes into your lab work, you can explore a broader range of experiments and methodologies while maintaining safe practices.
Safety Precautions in the Laboratory
Wearing Proper Gear
When working with beakers and other lab equipment, always prioritize safety. Wear safety goggles to protect your eyes and gloves to prevent skin contact with chemicals. Lab coats or protective aprons are also essential for warding off spills that could stain clothing or cause skin irritation. Laboratories can present hazards that may not be obvious, making it vital to take precautionary measures seriously. Additionally, you should be aware of your environment and keep flammable materials away from heat sources, ensuring a secure workspace for everyone involved.
Handling Hot Liquids
If you are heating liquids in a beaker, exercise caution when handling hot components. Use appropriate heat-resistant gloves or tongs when moving hot beakers to prevent burns. Also, be mindful of steam and splattering liquids when removing beakers from heat sources. Hot liquids can cause serious burns, and the last thing you want is an accident affecting your experiment or personal well-being. Always allow beakers to cool down before handling them manually, and consider using a laboratory mat to absorb spills for extra safety. Implementing these safety measures safeguards you and your learning experience.

Cleaning and Maintenance of Beakers
Rinsing and Washing
Proper cleaning of beakers is vital, as it ensures accurate results in future experiments. After use, immediately rinse your beaker to remove any residue, especially when switching between different chemicals or materials. For stubborn stains or leftover chemicals, warm soapy water or specialized lab cleaning solutions work effectively. Pay attention to any chemicals used in the beaker, as some may require specific cleaning protocols to avoid contamination. If you used highly corrosive substances, consult your lab’s safety protocol for tailored cleaning requirements.
Safe Storage
Once cleaned, store beakers safely to prevent breakage or contamination. Avoid nesting glass beakers, as this can increase the risk of breakage. Instead, store them upright or in dedicated storage containers designed for laboratory glassware. Labeling storage areas can help ensure organization and facilitate easy access when needed. By maintaining proper storage practices, you create a safer and more efficient working environment that minimizes the risk of accidents and ensures your equipment remains in good condition for future use.
Expanding Your Lab Knowledge
Experimenting with Beakers
Once you’re familiar with a beaker’s function, try conducting simple experiments that utilize it to build your confidence. Start with straightforward tasks like mixing salt with water to create saline solutions or heating sugar solutions to understand the effects of temperature on solubility. Such experiments will help you practice using various lab techniques while enhancing your understanding of how a beaker can be a vital part of the experiment. Always take notes on your observations during these experiments, as this practice encourages a deeper understanding of the scientific method.
Seeking Resources and Support
To expand your knowledge of lab equipment, consider reaching out to your teachers, professors, or even lab technicians for guidance. Many educational institutions have resources, including textbooks, videos, and tutorials, that highlight lab equipment and scientific methods. Additionally, you can find numerous online platforms providing valuable insights into laboratory practices. Networking with peers who share your interest in science can also lead to engaging discussions about interesting lab projects, experiments, and equipment. Embracing a collaborative learning approach will enhance your skills and enrich your understanding of laboratory techniques.
Conclusion
Understanding what a beaker does opens the door to the fascinating world of scientific experimentation. It serves as a versatile tool for mixing, heating, and holding liquids, contributing to a wide range of experiments in different scientific fields. By familiarizing yourself with beakers and their functionalities, along with other essential lab equipment, you will significantly enrich your scientific knowledge and experimental skills. Remember to prioritize safety and proper maintenance, which are key factors in a successful laboratory experience. As you continue to explore the incredible world of science, beakers will undoubtedly play a critical role in your hands-on learning journey. Dive into your lab activities with confidence, curiosity, and excitement, ready to discover what science has to offer!
