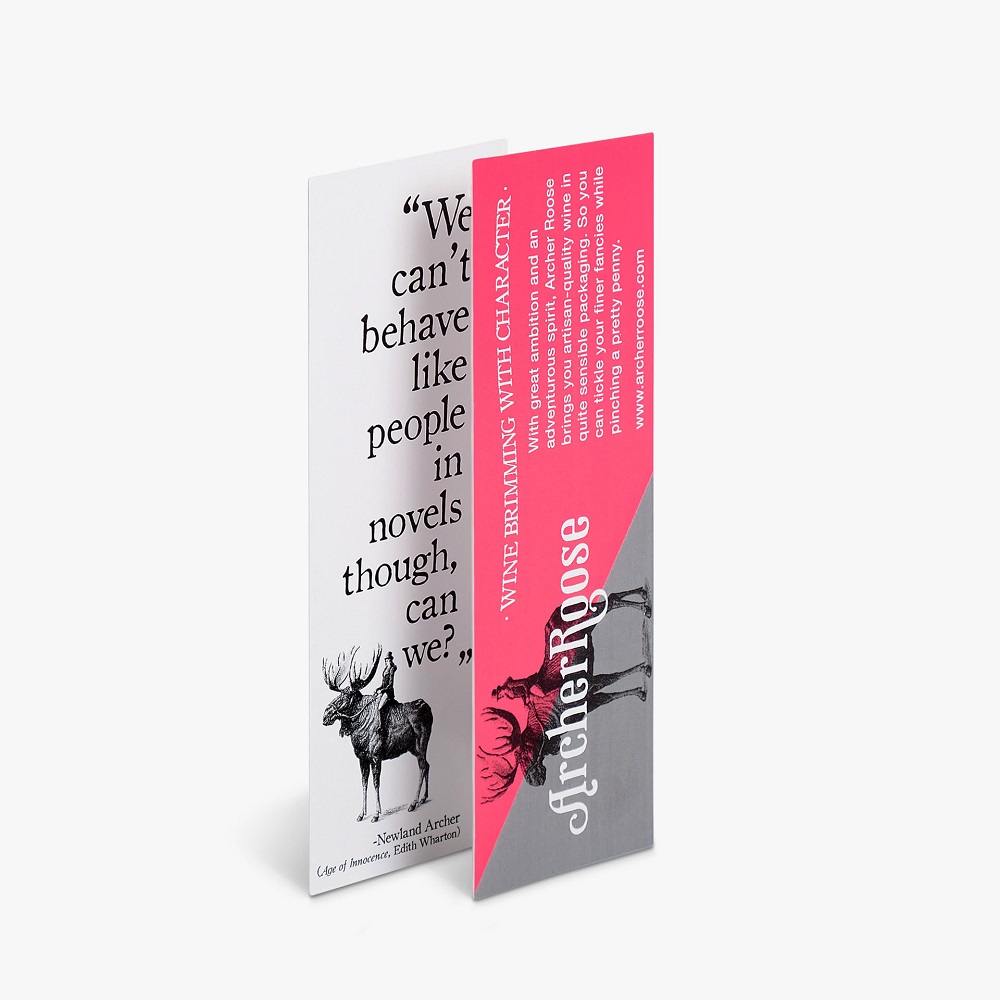
For avid readers, a bookmark is more than just a simple tool to save your place in a book; it’s a personal expression of style and creativity. Crafting your own bookmarks can be a delightful project that adds a unique touch to your reading experience. Whether you want something vibrant and eye-catching or minimalist and elegant, DIY bookmarks are an excellent way to showcase your personality. In this article, we’ll explore fun and easy projects for making homemade bookmarks that are not only practical but also a joy to create.
Understanding the Basics of Bookmark Crafting
Gathering Supplies
Before diving into your DIY bookmark projects, gather the necessary materials. Most bookmarks can be made from simple items such as cardstock, old greeting cards, or even scrap paper. Consider visiting a local craft store or even your own recycling bin for inspiration. A pair of scissors, a ruler, a pencil, and some adhesive are essential tools that will facilitate your crafting experience. If you’re feeling adventurous, consider adding decorative elements like washi tape, ribbon, or stickers, which can be found in various colors and designs. The beauty of creating bookmarks lies in the freedom to mix and match materials to suit your style. Take a moment to explore your supplies, allowing your imagination to guide your choices.
Choosing the Right Size
When designing bookmarks, size matters. Traditional bookmarks typically measure around 2 inches by 6–8 inches, offering a comfortable fit for most books. However, don’t be afraid to experiment with different sizes. A smaller, wider, or even elongated bookmark can add a unique flair to your reading experience. You may find that a larger bookmark serves as a canvas for more elaborate designs. It’s all about what feels right for you. Consider the books you frequently read, along with your personal preferences, and adjust bookmark dimensions accordingly. This thoughtful consideration will ensure they function well while appealing to your aesthetic preferences.
Simple Paper Bookmarks
Classic Cardstock Designs
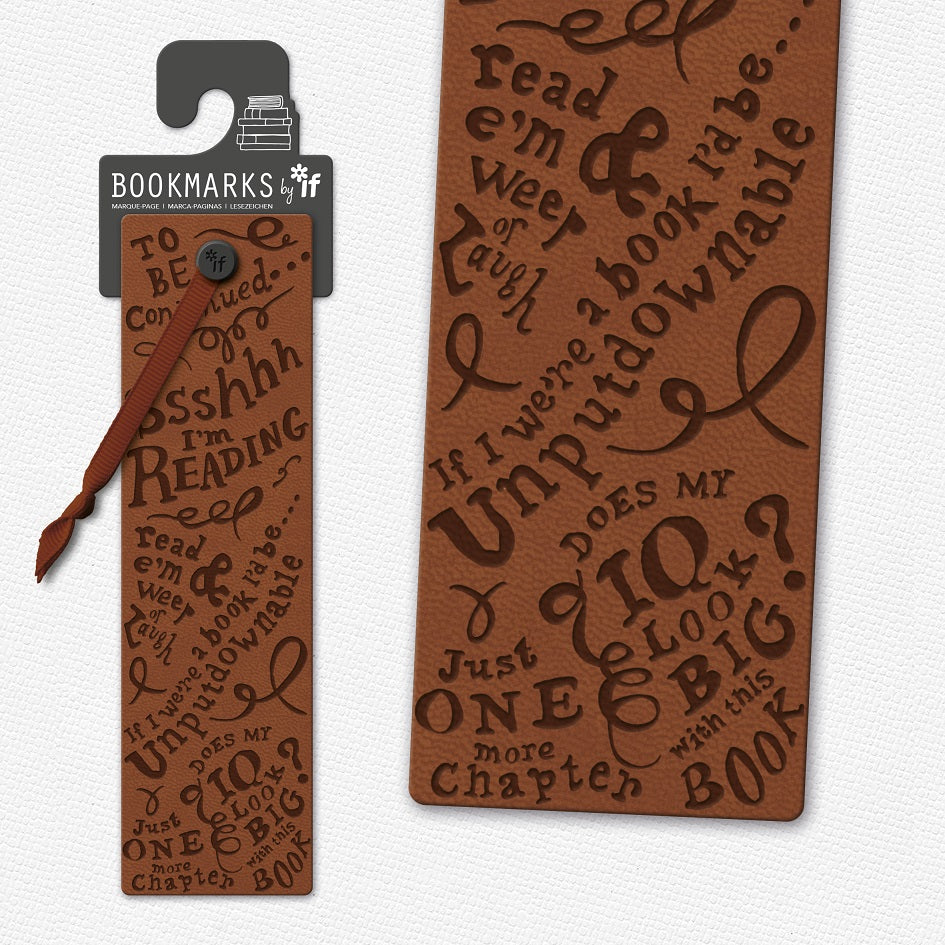
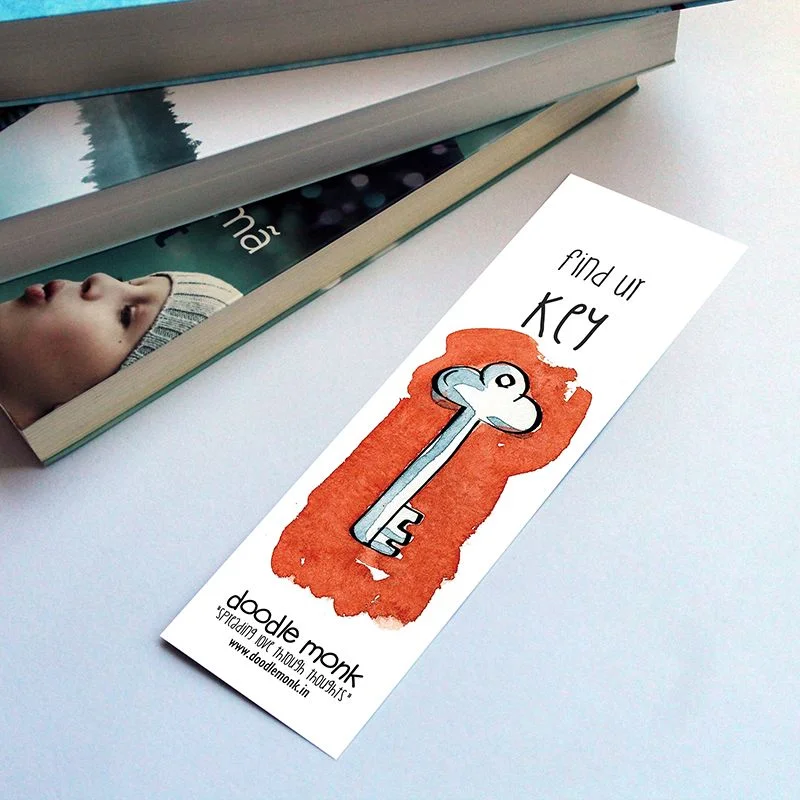
One of the easiest ways to start making your own bookmarks is by using cardstock. The material is sturdy enough to hold its shape while providing a blank slate for creativity. Cut a piece of cardstock into your desired shape and size. You can choose vibrant colors or patterns that speak to you; perhaps a floral design for springtime or deeper tones for winter coziness. Once you’ve cut the basic shape, feel free to add designs using markers, stamps, or painted embellishments. Do you love nature? Draw flowers or leaves. Are you a fan of quotes? Write down inspiring phrases or your favorite lines from novels. The possibilities are endless, and the simplicity of this project makes it accessible to everyone. You’ll find joy in watching your ideas come to life on paper.
Layered Look
For added depth, consider making layered bookmarks that incorporate different materials. Start with a base layer made from sturdy cardstock. You can use different colored papers, scrapbook paper, or even printed images and glue them onto the base layer. This creates a contrasting effect that is visually appealing. Use a corner punch to round off the edges for a polished look. You can also incorporate elements like stickers or pressed flowers for a more intricate design. Personalizing these layered bookmarks with your name or a favorite book title adds a touch of uniqueness. As you craft, remember to enjoy the process; it’s all about self-expression and creating something that resonates with you.
Fabric Bookmarks
Choosing the Right Fabric
If you’re looking for something a bit more durable, fabric bookmarks are an excellent choice. You can repurpose old fabric scraps or purchase small pieces from a craft store. Cotton works well due to its flexibility and ease of handling, but you can also choose burlap for a rustic feel or felt for something soft and cuddly. Consider colors and patterns that reflect your personality and preferences. Do you love floral prints, or do geometric patterns appeal to you? The fabric you select can greatly influence the mood of your bookmark, so take your time choosing materials that inspire you.
Creating Your Fabric Bookmark
To make a fabric bookmark, start by cutting two pieces of fabric to your desired dimensions. You can create a simple rectangle or experiment with fun shapes like hearts, stars, or even whimsical creatures. Sew or glue the two pieces together, leaving one side open for a pocket—this allows you to insert a small piece of cardstock or cardboard for added support. If you enjoy sewing, consider adding decorative stitches along the edges or embellishing the bookmark with buttons or beads for added flair. Making these bookmarks not only enhances your reading experience but also gives you a cozy item to hold while diving into your favorite stories. Don’t forget to iron the fabric flat for a clean finish before using your new bookmark!
Nature-Inspired Bookmarks
Botanical Pressing Techniques
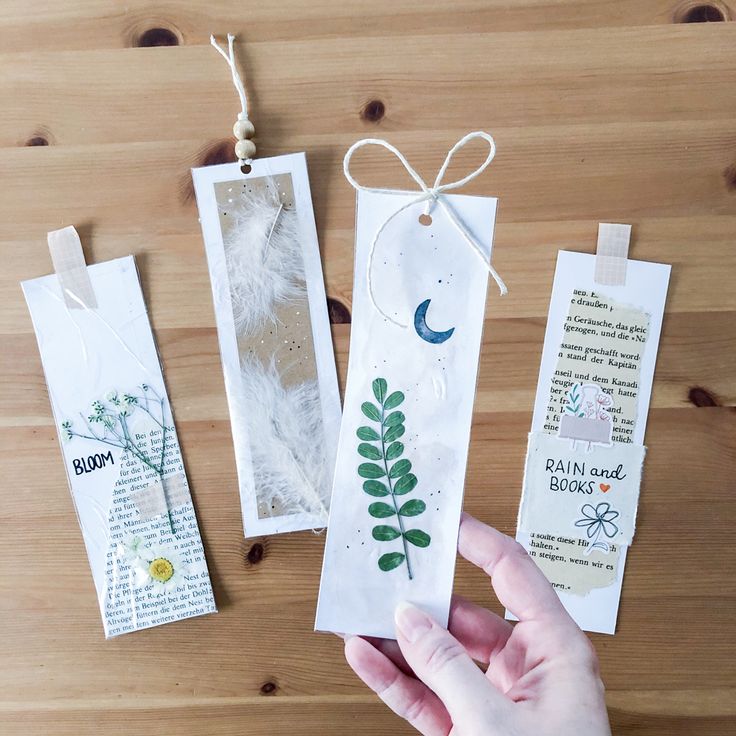
Using elements from nature adds a charming touch to your bookmarks, making them not just functional but also a piece of art. Collect leaves, flowers, or other plant materials and press them between the pages of a heavy book for a few days to flatten them. This is a great way to celebrate the changing seasons; for instance, vibrant autumn leaves make an excellent choice. While you wait for your pressed materials, gather your other bookmark essentials, such as cardstock or clear laminating sheets. This project connects you with the outdoors and allows you to create stunning pieces infused with life and color. Plus, every time you pull out your bookmark, you’ll be reminded of beautiful outdoor moments.
Assembling the Nature Bookmark
Once your pressed items are ready, take a sturdy piece of cardstock and arrange the botanical materials creatively. Use clear glue to attach the items; transparency allows the beauty of the pressed items to shine through. For added durability, consider laminating the finished product to protect your natural elements while providing a polished look. You can even write a date or a short note about the collected items on the opposite side, making it a lovely keepsake. This craft not only beautifies your books but also promotes mindfulness and an appreciation for nature during the crafting process. Creating bookmarks inspired by nature brings a little slice of the outdoors to your everyday reading, allowing you to cherish memories while delving into new stories.
Personalized Photo Bookmarks
Selecting Meaningful Memories
Creating bookmarks featuring personal photographs is a great way to make your reading moments even more special. Begin by selecting images that hold significant meaning for you. This could be a favorite travel photo, a beloved pet, or a memorable moment captured with friends and family. You can use special memories or even inspiring quotes overlaid on favorite images. The personal touch adds warmth to your reading habits, making it feel even more engaging. Each time you open your book, you’ll be greeted by familiar and cherished faces or places, enhancing your reading experience.
Crafting the Photo Bookmark
Once you have your chosen images, print them on sturdy cardstock for durability and support. Select a photo that resonates with you, then cut it to your desired size and shape. You can create a standard rectangular bookmark or opt for fun shapes that can match the theme of the photo—considering cutouts, rounded corners, or exciting silhouettes. For a polished finish, laminate the bookmark to protect your photo from wear and tear. You can also personalize the opposite side of the bookmark with a memorable quote or a personal note, making it a mini scrapbook piece that you can use every day. Attach a ribbon or tassel at the top to make it visually appealing and easier to find in your book. This method not only preserves your memories but also creates a powerful emotional connection to your reading.
Upcycled Bookmarks
Repurposing Old Materials
Embrace sustainability and creativity by making bookmarks from upcycled materials. Old gift cards, cereal boxes, and postcards can all be transformed into unique bookmarks, helping you reduce waste while unleashing your creativity. Gather these materials from around your house and consider ways to give new life to items you no longer need. Not only is this eco-friendly, but it also adds a unique touch to the bookmarks you create. Upcycling connects you back to your belongings, creating a sense of value and resourcefulness.
Design and Decoration
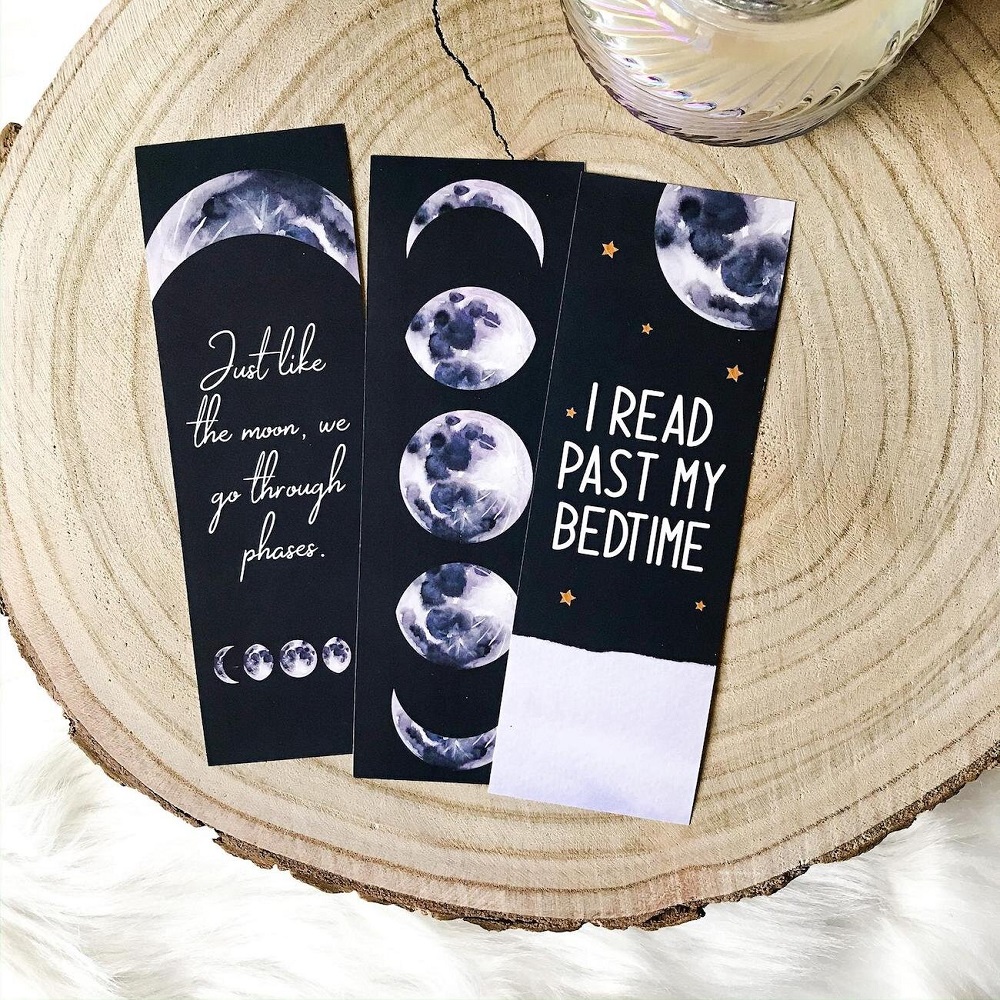
Once you’ve selected items to upcycle, cut them into a bookmark shape. Use sandpaper to smooth any rough edges and give the bookmarks a polished finish. Decorate your bookmarks using washi tape, paint, or decorative paper. You may want to use stickers to add fun designs or even words of wisdom that resonate with you. You can even try layering different patterns together for an interesting visual effect. Consider adding a hole punch to the top and threading a colorful ribbon through it. This small touch elevates your design and creates an easy-to-find bookmark that showcases your creativity. The charm of upcycled bookmarks lies in their unique character, showcasing your creativity while helping you contribute to a more sustainable world.
Crafting with Kids
Fun Family Activity
Creating DIY bookmarks is a perfect family project that allows parents and kids to bond while expressing creativity. This activity encourages imagination and fine motor skills, making it both enjoyable and educational. Crafting bookmarks together can also be a conversation starter about favorite books, authors, and personal reading tastes. Set up a crafting area with various supplies, and let everyone participate in the creative process, adapting the projects to your children’s skill levels. You can find ways to incorporate themes from their favorite books into their designs, making this process even more enjoyable.
Crafting Options
For a family-friendly approach, provide a variety of materials, such as colored paper, stickers, markers, and fabric scraps. Allow each family member to create their unique design, encouraging a culture of creativity and personal expression. Consider organizing mini contests for the most creative bookmark—this adds a playful element to the crafting experience. After creating, you can share your bookmarks among family members, fostering a sense of togetherness and collaboration. This bonding experience transforms ordinary reading moments into cherished family memories, where each bookmark serves as a reminder of time spent together.
Dive into DIY Bookmarks
Creating DIY bookmarks can be fun, personal, and functional. With various materials and techniques to explore, you can easily customize bookmarks that suit your taste and style. Whether you go for simple paper designs, fabric creations, or nature-inspired pieces, every bookmark tells a story about its creator. Not only will you find joy in the crafting process, but you’ll also enjoy a unique way to personalize your reading experience.
So gather your materials, unleash your creativity, and make bookmarks that reflect who you are. With every turn of the page, your DIY bookmarks will remind you of the fun and effort you put into creating something special. Embrace this enjoyable craft as a delightful extension of your love for books! Happy crafting!
