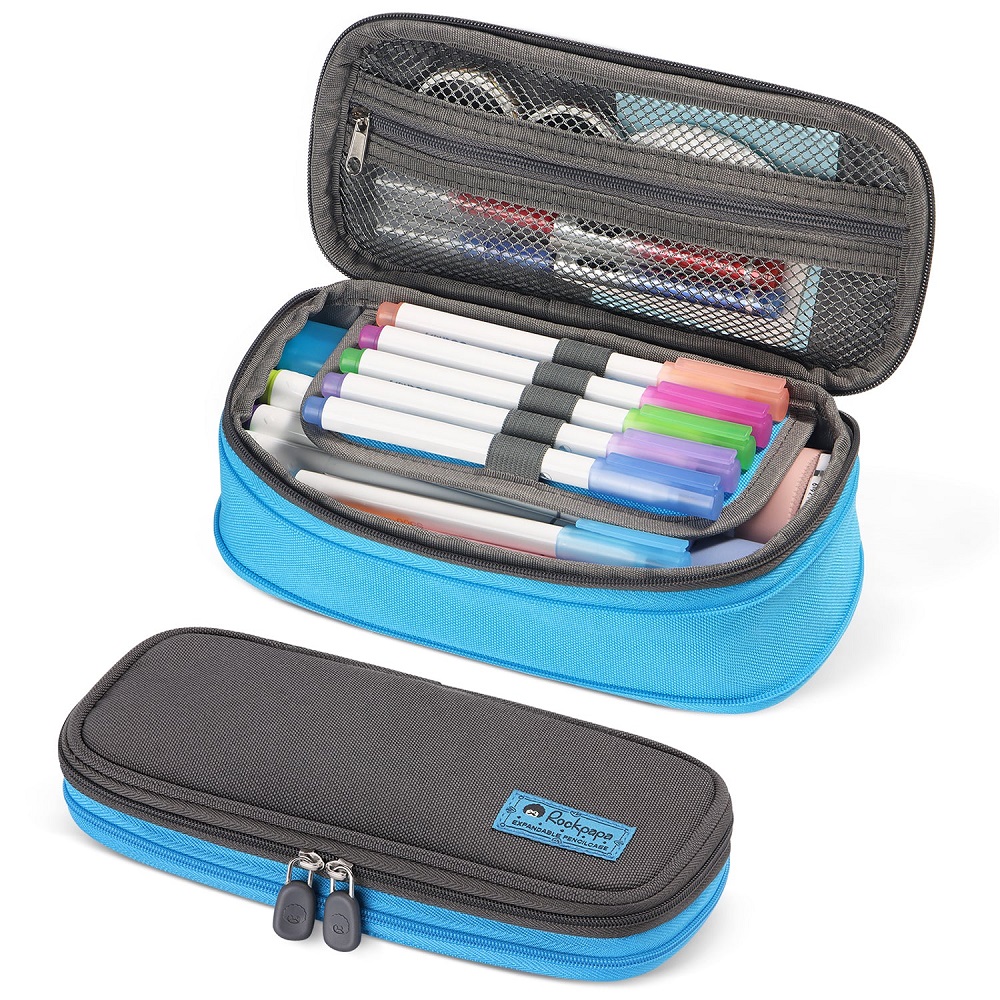
Creating your own pencil case can be a fun and fulfilling project that not only helps organize your writing instruments but also allows you to express your personal style. Whether you’re a student looking to personalize your school supplies, an artist in need of portable storage, or simply someone who loves to craft, making a DIY pencil case can be an enjoyable experience. This article will explore various DIY pencil case ideas, offering step-by-step instructions and materials needed to craft your own unique solution. Let’s get started!
Understanding the Benefits of a DIY Pencil Case
Personalization
One of the most significant advantages of creating a DIY pencil case is the ability to personalize it to your taste. You can choose the colors, materials, and designs that reflect your style. Unlike store-bought options, your handcrafted pencil case can cater specifically to your aesthetic preferences. Whether you prefer bold patterns, subdued colors, or quirky designs, the possibilities are endless, allowing your personality to shine through in your everyday supplies.
Cost-Effectiveness
Making your own pencil case can be a cost-effective solution. Buying a high-quality pencil case from a store can sometimes be pricey, especially for those with specific designs or functionalities. By crafting your own, you can utilize materials you already have at home, or simply purchase inexpensive items from a craft store. This approach saves money while allowing you to create a tailored storage solution that meets your needs.
Environmental Impact
Creating a DIY pencil case can also benefit the environment. Instead of contributing to the demand for mass-produced products, crafting your own using recycled or upcycled materials reduces waste. You might repurpose fabric from old clothing or use cardboard from packaging materials. This not only lessens your environmental footprint but also gives new life to items that might otherwise end up in a landfill.
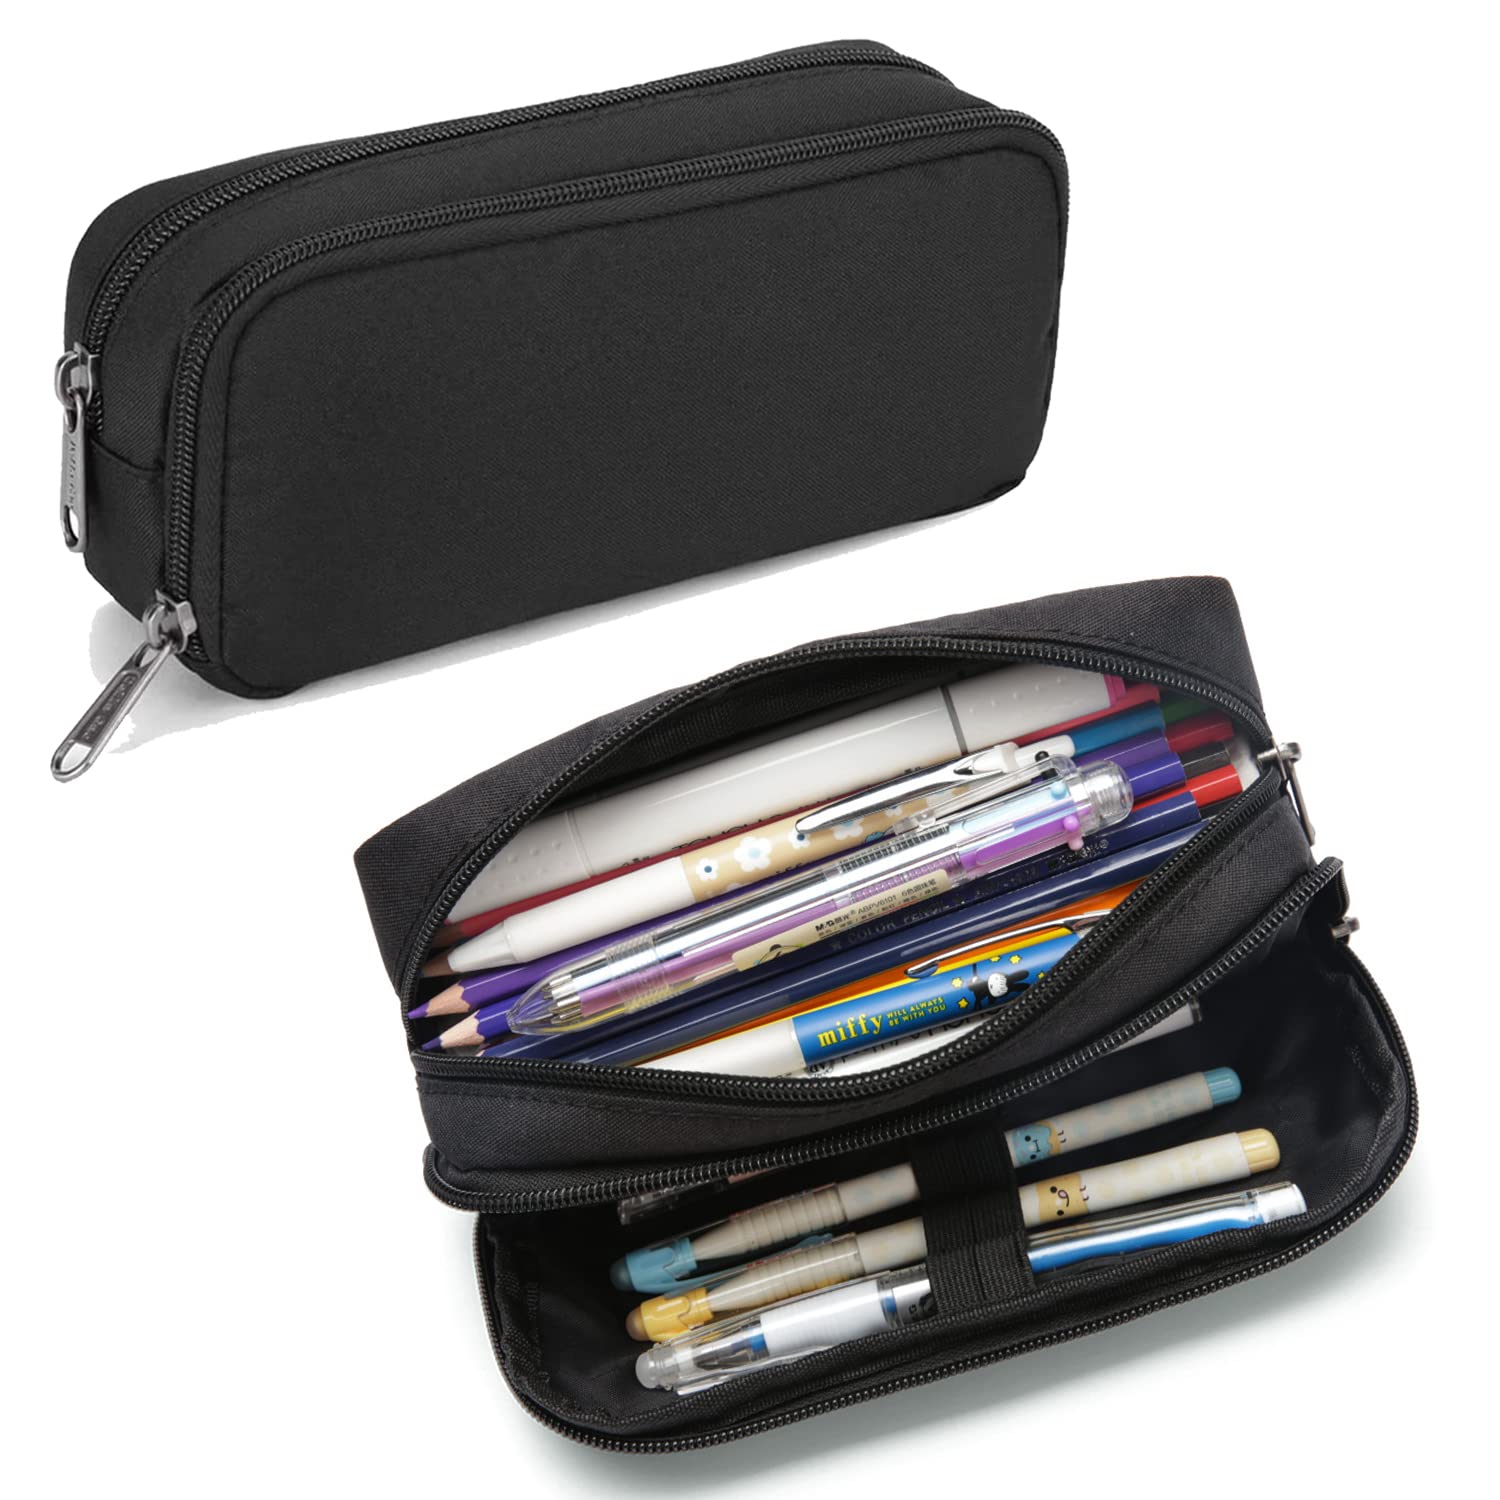
Materials You Can Use
Fabric and Textiles
Fabric is one of the most popular materials for DIY pencil cases. You can use cotton, denim, felt, or any other textile that appeals to you. Old T-shirts, jeans, or fabric scraps lying around your home can become stunning pencil cases with a bit of creativity.
Cardboard and Paper
If you prefer a sturdier design, consider using cardboard. Cardboard boxes can be cut and shaped into pencil cases, and they provide an excellent canvas for decorating. Gift wrapping paper, magazines, or decorative paper can be used to cover the exterior if you want to enhance the aesthetic.
Other Craft Supplies
Explore various craft supplies to add special touches to your pencil case. Things like buttons, zippers, washi tape, and stencils can help create a unique look. Consider fabric paint or markers to personalize your design further. Having a variety of materials on hand increases the possibilities for creativity as you design your pencil case.
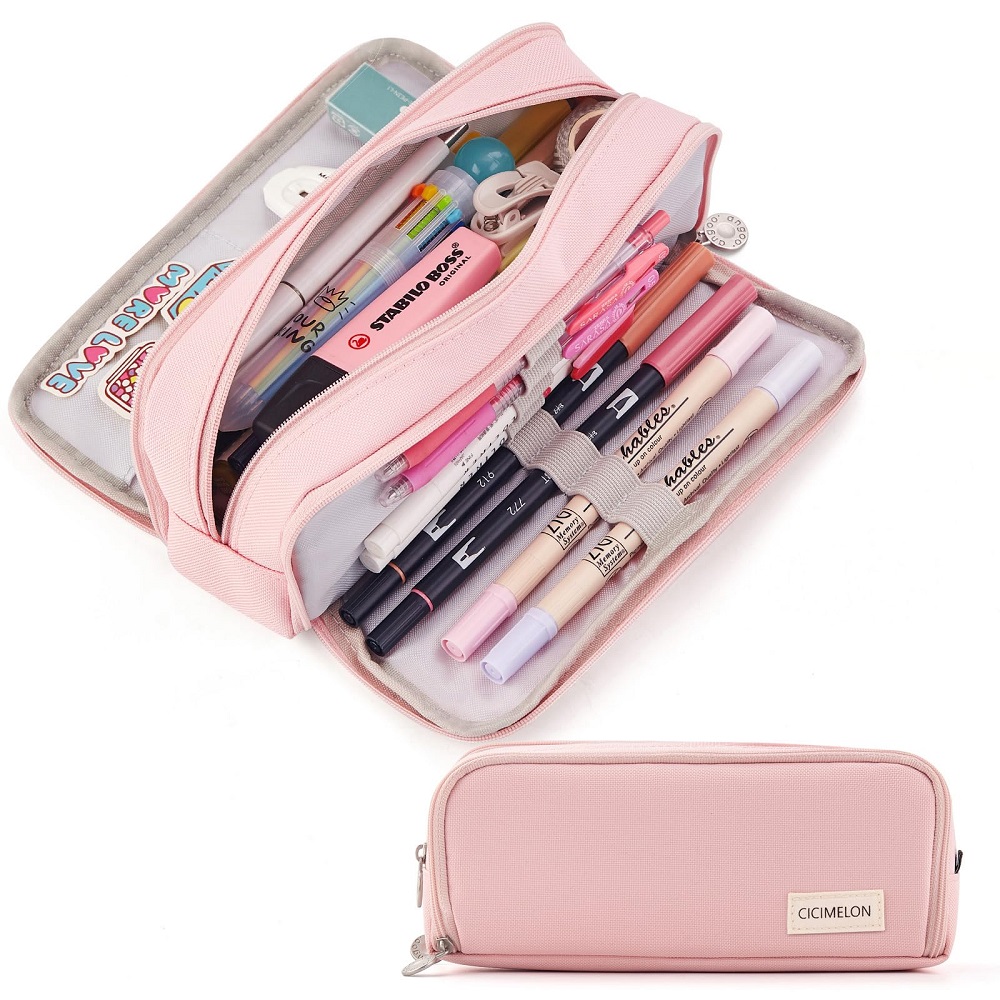
Easy Fabric Pencil Case
What You Need
To make a simple fabric pencil case, gather the following materials:
- A piece of fabric (approximately 10″ x 6″)
- Scissors
- Sewing machine or needle and thread
- Zipper (optional, for a closed pencil case)
- Pins or clips
- Iron (optional)
Step-by-Step Instructions
- Cut the Fabric: Start by cutting your fabric to the desired size. A typical size for a pencil case is about 10 inches long by 6 inches high. Consider increasing the dimensions if you have larger items like markers.
- Pin the Fabric: Fold the fabric in half, pattern sides together if using printed fabric. Pin or clip the edges to keep them aligned during sewing.
- Sew the Edges: Sew around the perimeter of the fabric, leaving a small opening (about 2 inches) unsewn to turn it inside out later. If you’re adding a zipper, sew it in at the top before closing the edge.
- Turn Inside Out: Carefully turn the fabric right side out through the opening. Use a stick or pencil to push out the corners to ensure they are neat.
- Close the Opening: Finally, sew up the opening by hand or using a sewing machine for a seamless look. Press with an iron to remove any wrinkles.
Customizing Your Pencil Case
Feel free to add embellishments or personalize the fabric before or after sewing. You can use fabric paint to add designs, sew on patches, or use stencils to create unique patterns that reflect your style.
Upcycled Cardboard Pencil Case
What You Need
For an upcycled cardboard pencil case, gather these materials:
- Cardboard (from boxes)
- Scissors or a craft knife
- Glue or tape
- Decorative paper or paint (to cover)
- Ruler and pencil
Step-by-Step Instructions
- Measure and Cut the Cardboard: Measure and cut a rectangular piece of cardboard about 12″ long and 6″ high. This will be the main body of your pencil case. Cut two additional pieces for the bottom and flap.
- Construct the Body: Fold the cardboard to create the sides, securing it with glue or tape. It should resemble an open box with a flap for closure.
- Decorate: Wrap the exterior in decorative paper, or paint it to give it a more polished look. Allow any glue or paint to dry completely.
- Add Finishing Touches: To keep the pencil case closed, consider adding a button with an elastic band, a latch, or velcro for easy access and closure.
Personalizing the Design
Make the case unique by adding stickers, drawings, or quotes to the outside. You can use washi tape for decorative edges or embellish it with fabric swatches that add character to your upcycled creation.
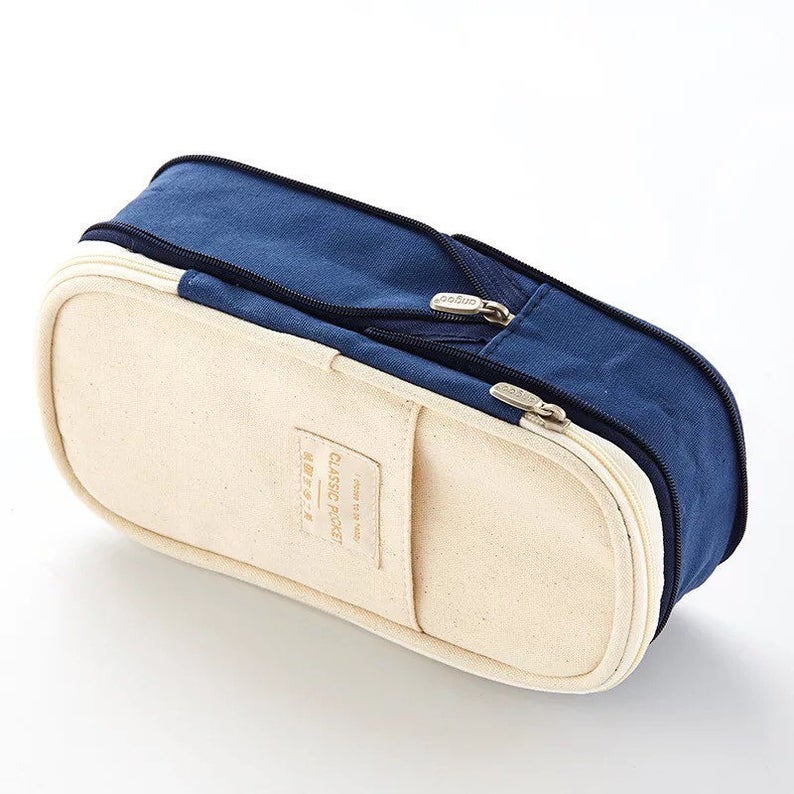
Quilted Pencil Case
What You Need
Creating a quilted pencil case requires slightly more effort but offers a unique, plush design. Collect these materials:
- Fabric (multiple colors or patterns)
- Batting (for cushioning)
- Scissors
- Sewing machine or needle and thread
- Zipper or button closure
Step-by-Step Instructions
- Cut Fabric and Batting: Cut two pieces of fabric and one piece of batting to the desired size, typically 10″ by 6″. You can select different colors or patterns for a patchwork look.
- Layer the Materials: Lay one piece of fabric down, followed by the batting, and then the other fabric piece, right sides together. Secure with pins.
- Sew Together: Sew around the edges, leaving a small opening. If you’re using a zipper, attach it along the top edge before closing the seam.
- Turn Inside Out: Flip the case right side out through the opening and push the corners out neatly.
- Close and Finish: Hand stitch the opening closed or sew it with a machine for a neat finish. Quilted designs often hold their shape better, and you can add unique designs by sewing patterns into the quilt.
Adding Personal Flair
Consider adding a decorative stitch or a personalized patch to make the case even more special. This approach allows for plenty of creativity in both fabric choice and embellishments, enhancing its overall appeal.
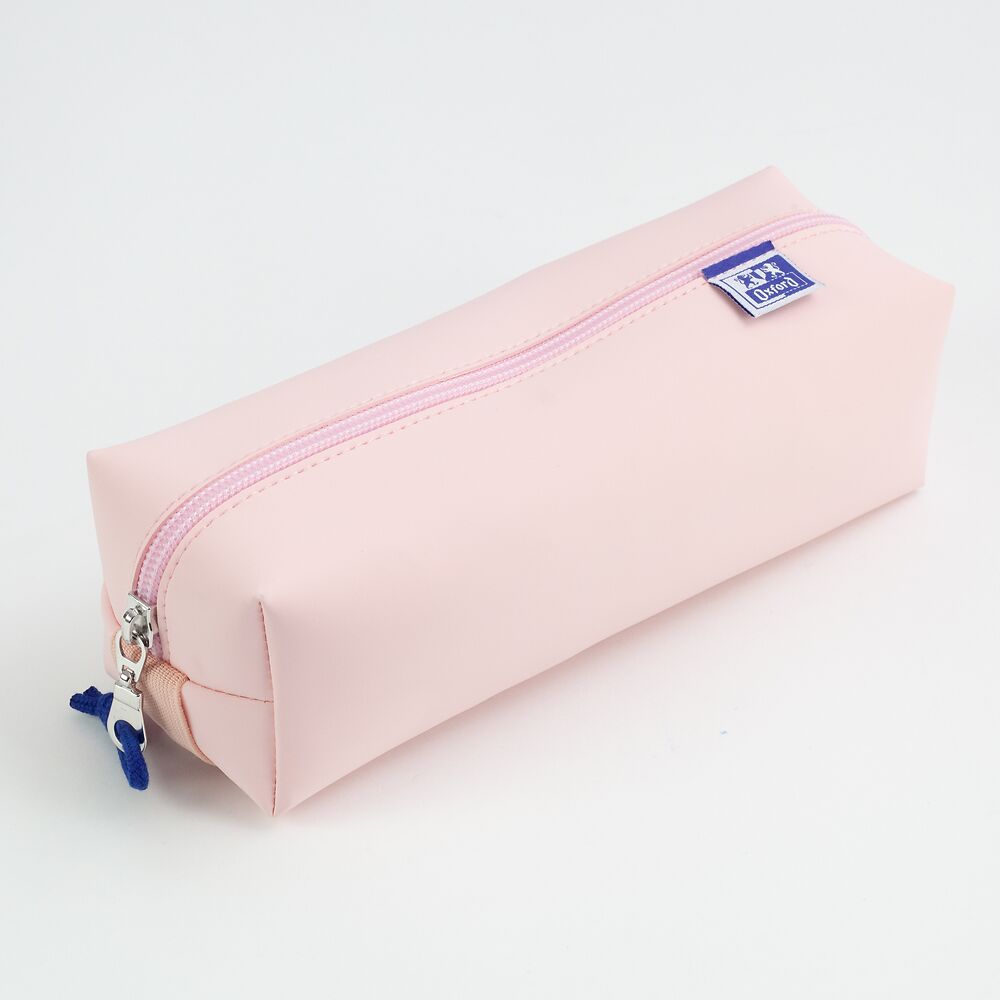
Using 3D Printing for Pencil Cases
The Technology
For those with access to a 3D printer, designing a custom pencil case can be an exciting project. You can create intricate shapes or personalized designs that standard methods may not allow.
Design and Print
- Create a Design: Use 3D design software to create your pencil case. You can find templates online or design your own based on your specific preferences and needs. Make sure to include compartments or slots for pens and pencils.
- Print the Case: Once your design is ready, use a 3D printer to bring it to life. Ensure you use durable materials like PLA or ABS for strength and longevity.
- Finishing Touch: After printing, you might need to sand or polish it to smooth out the edges. Feel free to paint or decorate the surface to match your style.
Tips for Keeping Your DIY Pencil Case Organized
Utilize Dividers
If you plan to store various items in your pencil case, consider using dividers. You can create your dividers from cardboard or fabric scraps to separate pens, pencils, markers, and erasers. Keeping things organized makes it easier to find specific items when you need them.
Regularly Clean and Declutter
It’s essential to regularly clean your pencil case to keep it organized. Take out everything occasionally, wipe down the interior, and dispose of any broken or dried pens. This simple practice ensures you maintain an organized and efficient storage solution.
Personalize Contents
Take the opportunity to personalize the items inside your pencil case. Use washi tape to decorate your pens or markers, and consider labeling compartments for quick identification. Personalization helps streamline your experience and adds a creative touch to your daily routine.
Conclusion
Making your own DIY pencil case is a fun and creative way to express your personality while creating a practical storage solution. Whether you choose to work with fabric, cardboard, or techniques like quilting and 3D printing, the options are limitless. Each pencil case you create offers an opportunity to showcase your style and creativity, ensuring you stay organized in a one-of-a-kind manner.
As you embark on this crafting journey, think about the features that matter most to you and take full advantage of the materials at your disposal. The satisfaction of crafting your own pencil case will make your pens and pencils feel even more special as you carry them in something uniquely yours. Start gathering your materials today, and let your creativity flow as you craft a functional and stylish pencil case!
