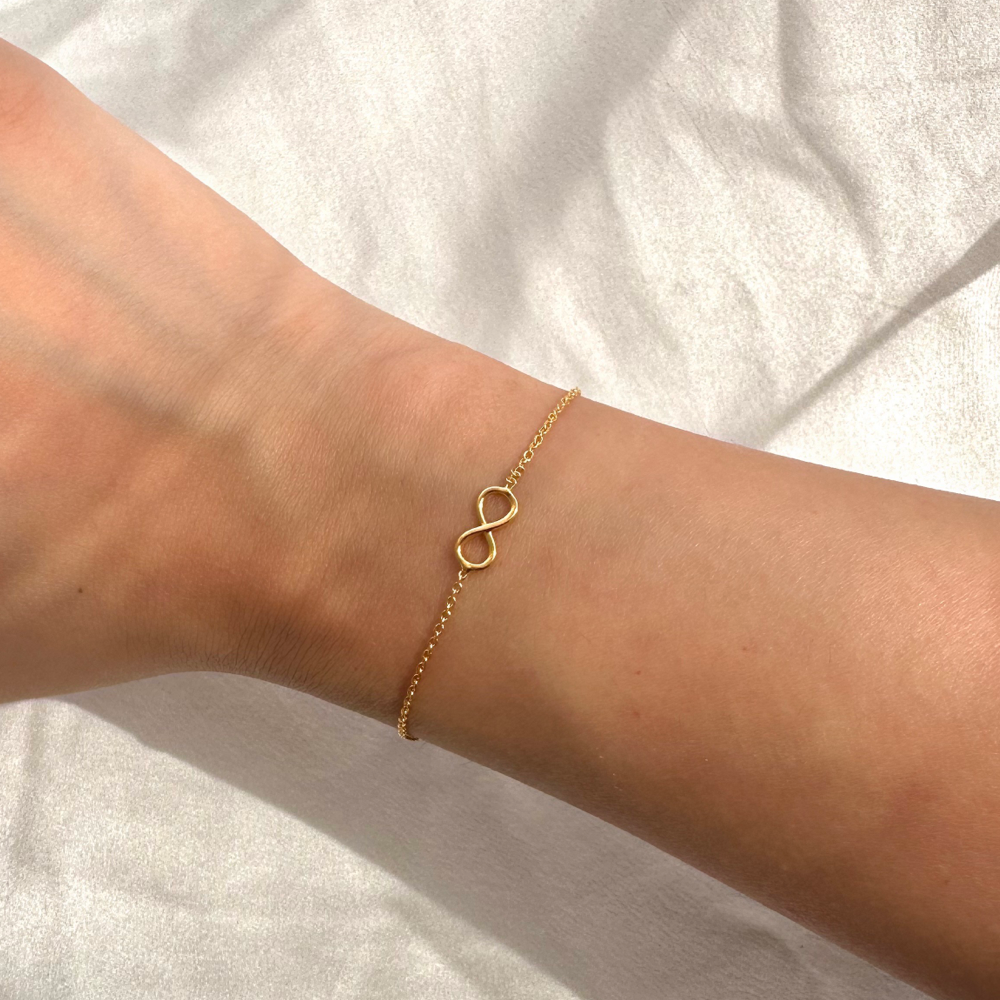
Bracelet-making is a fun and rewarding craft that allows you to express your creativity while producing unique pieces of jewelry. Whether you’re looking to create a personalized gift for a friend or simply want to decorate your own wrist, DIY bracelet can be both stylish and meaningful. This article explores various techniques and ideas that will inspire you to craft beautiful bracelet at home. Here are seven creative bracelet-making ideas that can spark your imagination and get you started on your DIY journey!
Simple Beaded Bracelets
Materials Needed
Creating a simple beaded bracelet is one of the easiest ways to start your DIY bracelet-making adventure. For this project, you’ll need:
- Beads of your choice (glass, wooden, metal, or plastic)
- Elastic cord or beading wire
- Scissors
- Optional: a bead needle
Once you gather your materials, you’ll be ready to dive into this enjoyable craft.
Instructions
Begin by measuring your wrist to determine how much elastic cord or wire you’ll need. Add a few extra inches to the measurement to accommodate tying knots or making adjustments. Cut the cord to your desired length.
Next, start threading your beads onto the cord. You can create patterns using different bead colors and sizes or simply string them randomly for a more eclectic look. If you’re using elastic cord, ensure you leave some space at the ends so you can tie it off easily later.
Once you have your desired pattern, tie a secure knot or use a crimp bead if you’re using beading wire. Trim any excess cord, and your simple beaded bracelet is complete! This basic technique opens the door to countless variations, from adding charms to creating sophisticated designs.
Friendship Bracelets
Crafting Meaningful Connections
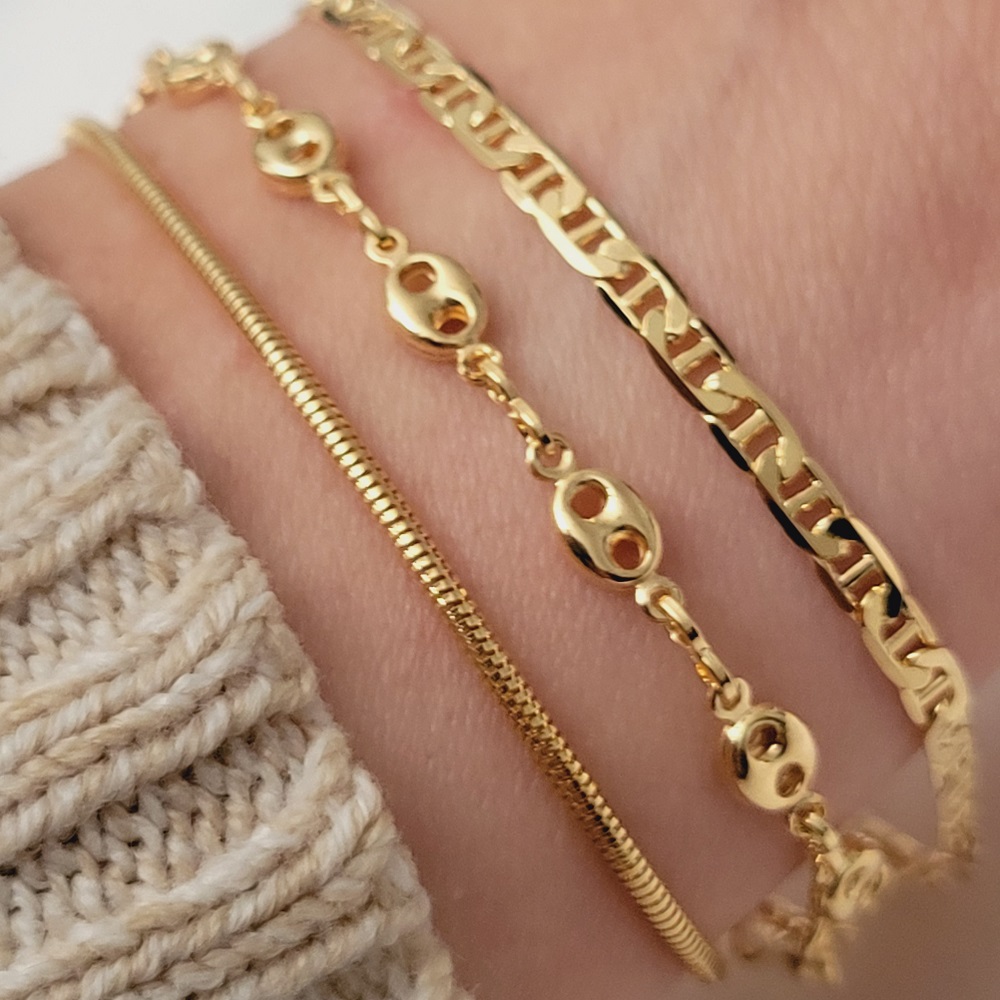
Friendship bracelets hold sentimental value and serve as a reminder of cherished relationships. Making these bracelets is a perfect way to show appreciation for your friends, and it only requires a few materials. To make friendship bracelets, you will need:
- Embroidery floss or cotton thread in multiple colors
- Scissors
- Tape or a clipboard to hold your work in place
Detailed Steps
Start by cutting several strands of embroidery floss—about 24 inches long each. Choose two to five colors that represent each friend’s personality or your friendship. Tie the strands together in a knot about an inch from one end and secure this knot to your workspace with tape or clip it to a clipboard.
Begin creating a knotting pattern. The most common method is the chevron pattern. To create this, take the first thread (the one on the far left) and form a “4” over the second thread. Pull the first thread under the second and through the loop you created, tightening it to form a knot. Repeat this process, moving left to right, until you reach the end of the threads. Then switch directions and continue knotting the threads in the opposite direction to create the chevron shape.
Once you reach your desired bracelet length, tie a knot at the end and leave some extra length on the ends for tying the bracelet on your wrist. Friendship bracelets are perfect for gift-giving and provide a lovely way to celebrate the bonds of friendship.
Leather Wrap Bracelets
A Touch of Edgy Style
Leather wrap bracelets showcase a rustic and edgy appearance, adding a touch of style to any outfit. Making leather bracelets doesn’t require a lot of expertise or special tools. For this project, you will need:
- Leather strips or cord
- Beads or charms (optional)
- A button or clip for the closure
- Scissors
- Lighter or glue (for sealing leather ends)
Creating Your Bracelet
Start by cutting a length of leather strip based on how many times you want it to wrap around your wrist. Generally, a length of about 36 to 48 inches works well for a double or triple wrap. If you want the bracelet to have beads or charms, plan where to position them before you cut the leather.
Begin by planning how many strands you want. If using multiple strands, you can either braid them for added texture or simply lay them next to each other. You can also bead your leather strands by stringing beads along the way, attaching them with knots to prevent slipping.
Once you’ve completed your desired design, tie the ends securely. If some ends are frayed, you can burn them with a lighter to seal them or use glue to attach them to a closing mechanism like a button. Wrap bracelets provide an excellent opportunity to show your stylistic flair, and you can experiment with colors and materials.
Wire and Stone Bracelets
The Beauty of Natural Stones
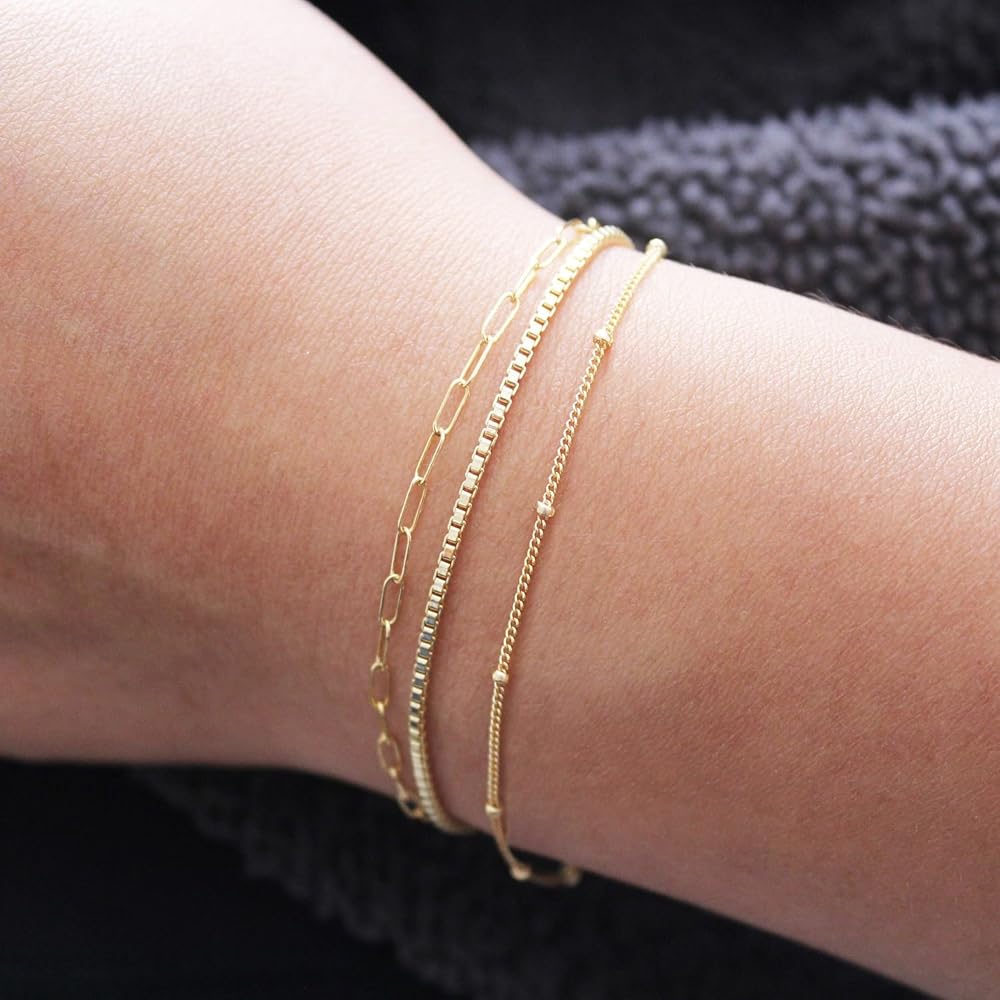
Wire and stone bracelets combine the elegance of jewelry making with the beauty of natural stones. This project allows you to work with different types of beads, giving your bracelet a unique and classy look. You’ll need:
- Craft wire (18 to 20 gauge)
- Natural stones or beads
- Wire cutters
- Round-nose pliers
Crafting Process
Begin by cutting a length of wire, typically around 10 to 12 inches. This length accommodates the size of your wrist and gives you enough wire to create a closure.
Start by threading your stones or beads onto the wire. You can create patterns or simply allow the beads to flow naturally on the wire. Once you reach your desired length, use round-nose pliers to form loops at either end of the wire to create a clasp. This can be a simple loop or a more intricate design depending on your skill level.
Finally, trim any excess wire and ensure all ends are secured so they won’t catch on clothing or skin. Wire and stone bracelets add a natural flair to your accessory collection while allowing you to explore different design possibilities.
Beaded Memory Wire Bracelets
Effortless Elegance
Memory wire bracelets create a stunning accessory without the need for complicated clasps or closures. The memory wire holds its shape, making it easy to put on and take off. To make a memory wire bracelet, you will need:
- Memory wire (available in different sizes)
- Beads of choice
- Wire cutters
- Round-nose pliers
Easy Steps to Follow
Start by cutting a piece of memory wire about 6 to 8 inches long, depending on how many wraps you want. The memory wire will hold its circular shape, so you can create a multi-layered effect without any worries.
Begin threading your chosen beads onto the wire, being sure to leave a bit of space at one end for making the final connection. Once you have reached your preferred bead design, use round-nose pliers to create a loop at the open end of the wire. This will contain the beads and create a closure for your bracelet.
Memory wire bracelets are not only quick to make but also incredibly versatile. You can mix and match colors, and styles, and even incorporate charms or pendants to create a unique look.
Charm Bracelets
Personalizing Your Jewelry
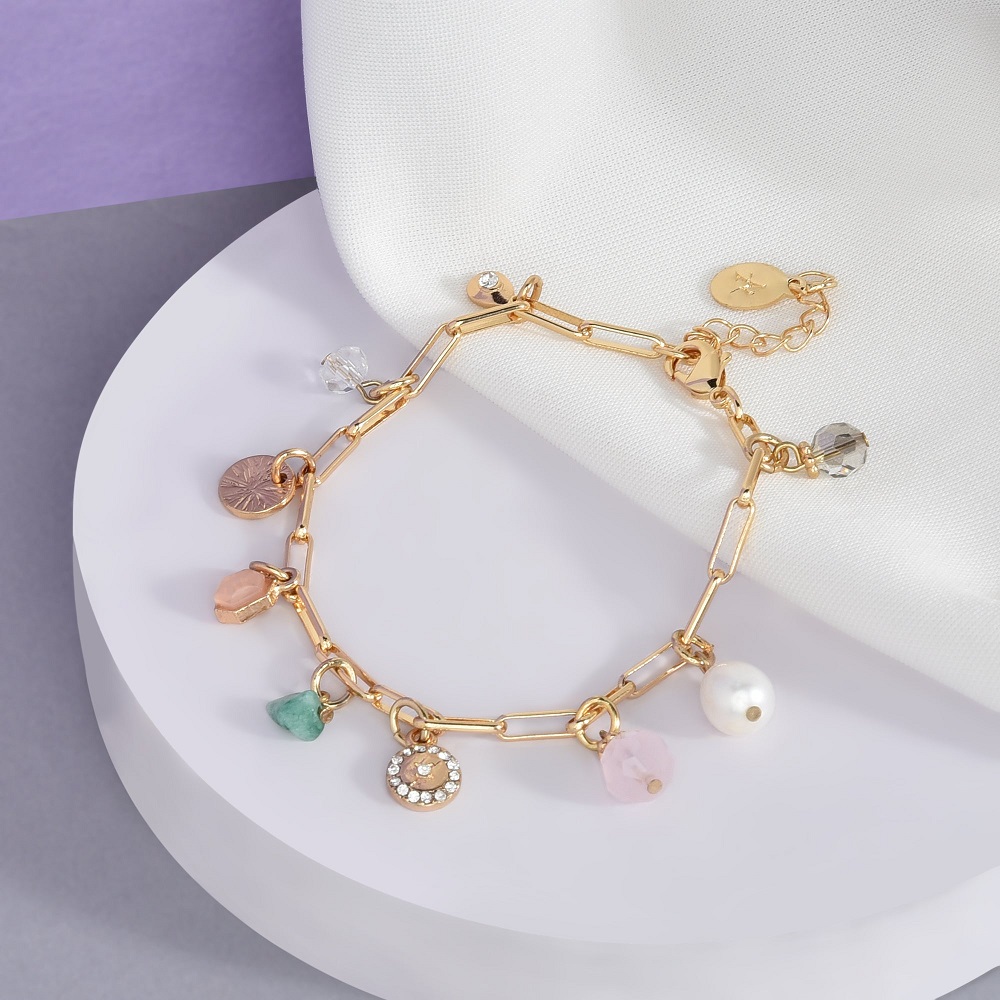
Charm bracelets are perfect for creating jewelry pieces that hold significant meaning. They can be customized with charms that reflect your interests or commemorate special life events. To create a charm bracelet, you will need:
- Chain bracelet (with or without a closure)
- Charms of choice (these can be store-bought or handmade)
- Jump rings
- Pliers
Step-by-Step Instructions
Begin with a chain bracelet that fits your wrist. If you don’t have one, you can make your own using jump rings linked together. Once you have your base, take the charms you’ve chosen to represent different experiences or interests.
To attach the charms, use pliers to open a jump ring. Slip the charm into the jump ring and then attach it to the chain. With your pliers, close the jump ring securely. Repeat this process until you have added all your desired charms.
Consider choosing charms that represent meaningful connections—maybe a charm that symbolizes a favorite hobby or a place you love. Charm bracelets become fabulous conversation starters, allowing you to share your stories and experiences with others.
Polymer Clay Bracelets
A Creative Medium
Polymer clay offers endless possibilities for creativity in bracelet-making. This versatile material allows you to sculpt and create unique beads or charms that can personalize your jewelry more deeply. For this project, you will need:
- Polymer clay in various colors
- A rolling pin or pasta machine
- Baking sheet
- Earring and bracelet findings
- Pliers
Crafting Fun Designs
Start by conditioning your polymer clay to make it pliable. Roll the clay into balls or sculpt it into various shapes and designs — you can create beads, flowers, or even personalized initials. Experiment with different colors and combinations for visually stunning effects.
Once you’ve shaped the clay into your desired forms, place them on a baking sheet. Follow the instructions provided by the manufacturer for the correct baking temperature and time. After baking, the clay will harden into durable shapes that can be used in your bracelet design.
Once cooled, use pliers to attach your polymer clay creations to a chain or stretchy cord. This craft offers unlimited opportunities for personalization, resulting in charming bracelets that truly reflect your style.
Unleash Your Creativity
Creating DIY bracelet opens the door to a world of creativity and self-expression. Whether you choose to make simple beaded bracelets, meaningful friendship ties, or intricate charm bracelets, each project allows you to showcase your artistic flair. By exploring various techniques and materials, you can craft unique pieces that hold personal significance or make thoughtful gifts for loved ones.
Take the time to experiment with different styles and designs, allowing your creativity to flow freely. Each bracelet you create tells a story, making your jewelry more than just an accessory—it’s an expression of who you are. Gather your materials, let your imagination run wild, and enjoy the fulfilling experience of DIY bracelet-making!
