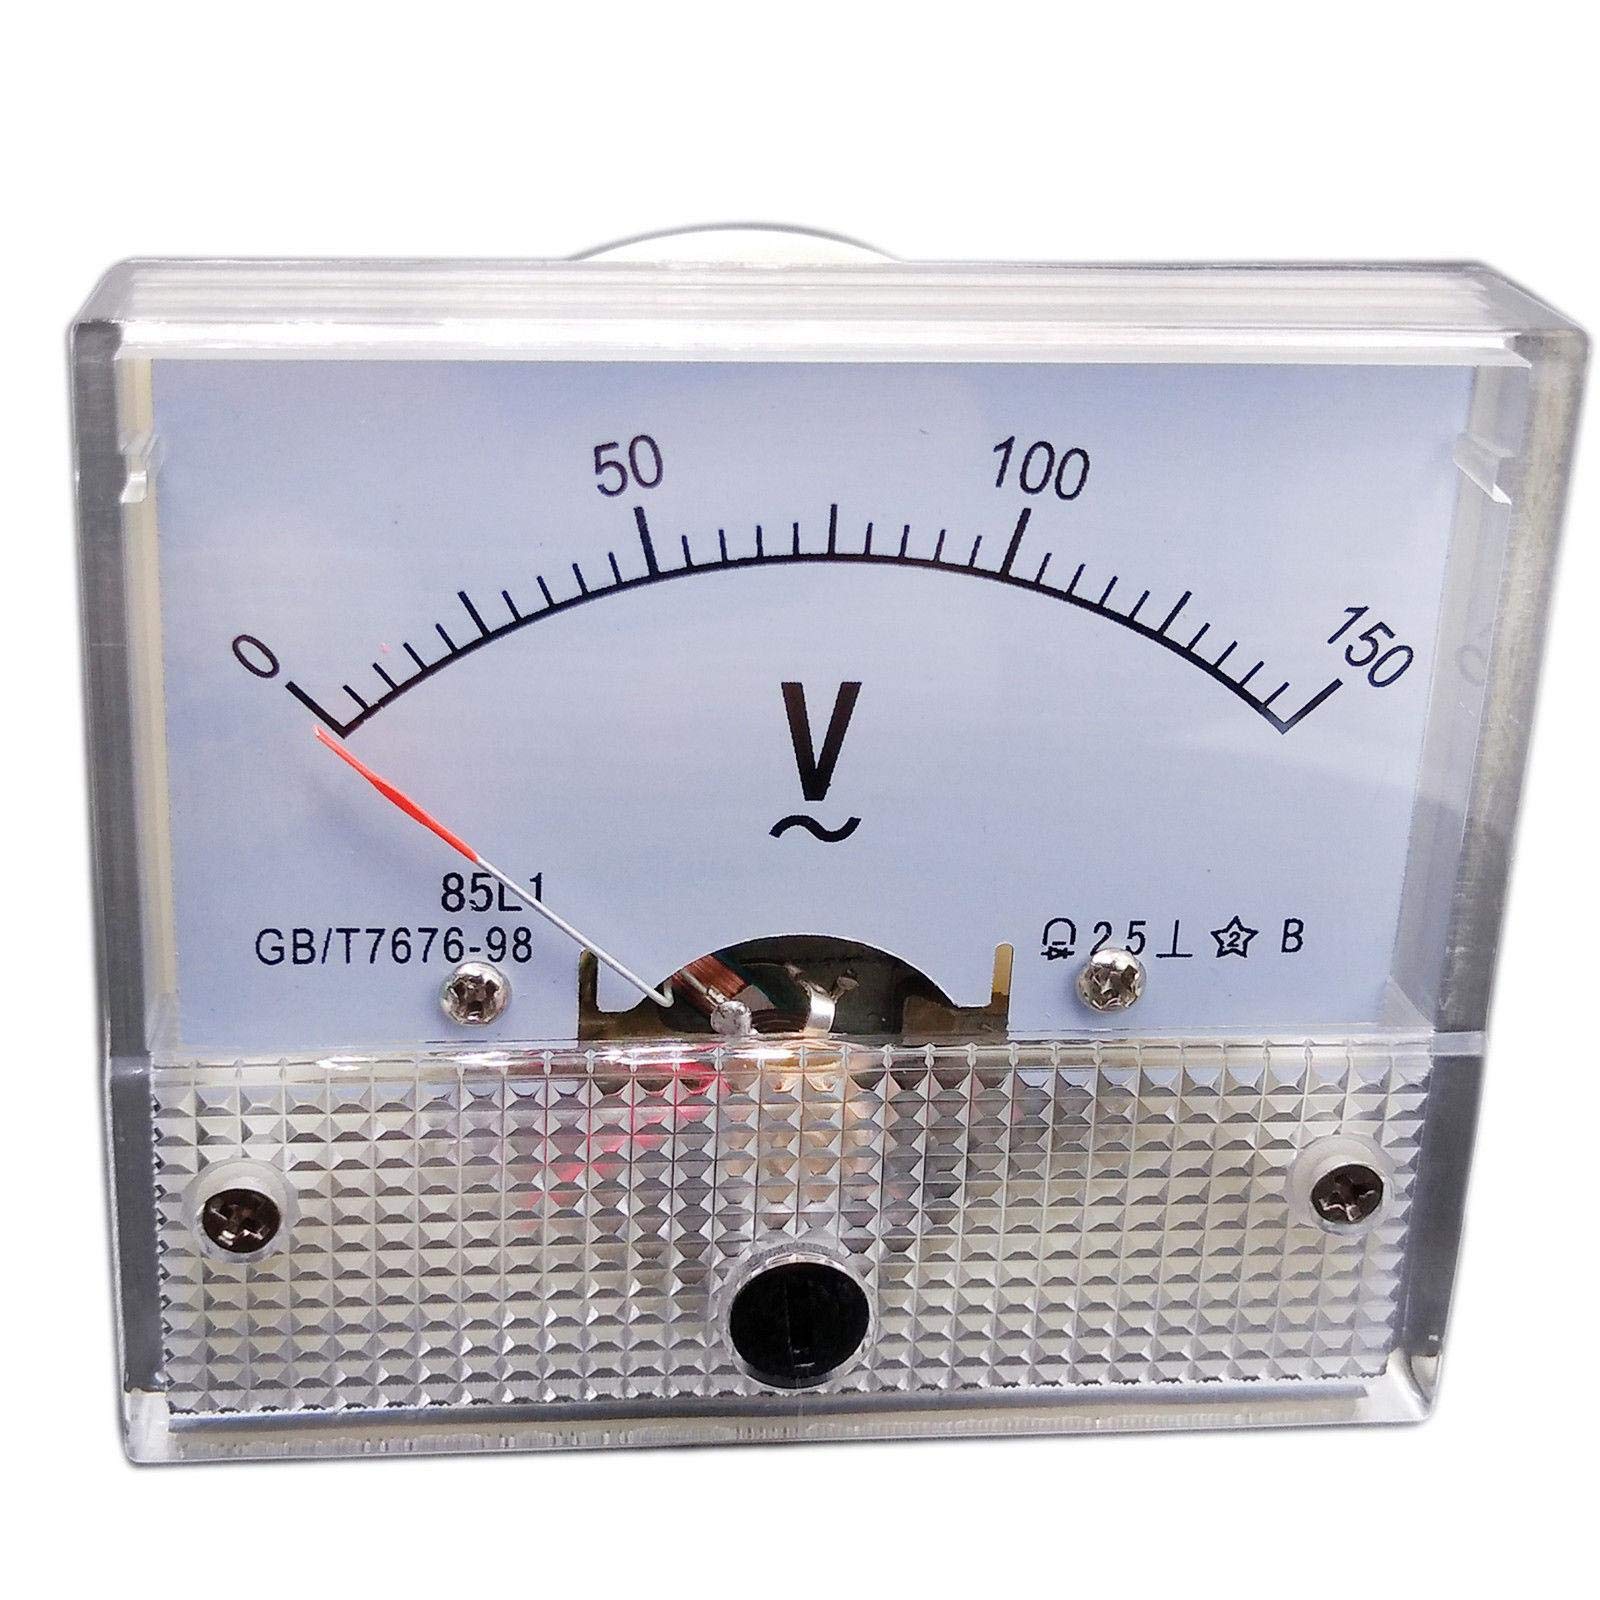
A voltmeter is an essential tool for anyone interested in electrical work, whether you are a beginner hobbyist or a seasoned technician. Understanding how to use a voltmeter effectively allows you to measure voltage in electrical circuits, troubleshoot problems, and ensure the safety and reliability of electronic devices. This guide provides comprehensive, step-by-step instructions on how to use a voltmeter, focusing on key concepts, types of voltmeters, and practical applications.
Understanding Voltage and Voltmeter Basics
What is Voltage?
Voltage, often referred to as electric potential difference, is the measure of potential energy between two points in an electrical circuit. It tells you how much force is available to push electric current through the circuit. Measured in volts (V), voltage is a fundamental concept in understanding how electrical systems function.
It is crucial to have a basic grasp of voltage before learning to use a voltmeter. When you measure voltage, you essentially check how much “pressure” is available to drive electrical current. By monitoring voltage levels, you can ensure that electrical devices operate efficiently and safely.
What is a Voltmeter?
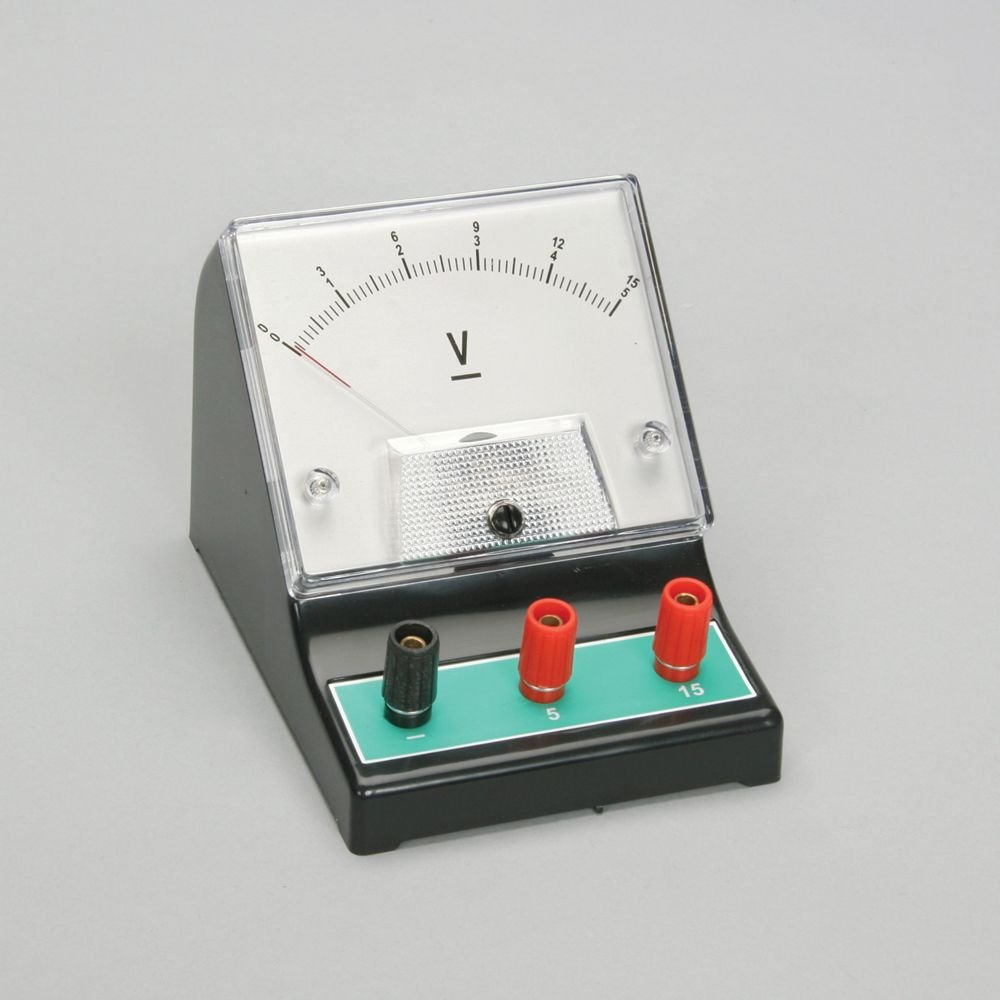
A voltmeter is an instrument used to measure voltage in a circuit. It can measure both direct current (DC) and alternating current (AC) voltages, depending on the type of voltmeter you are using. Modern voltmeters come in two main varieties: analog and digital.
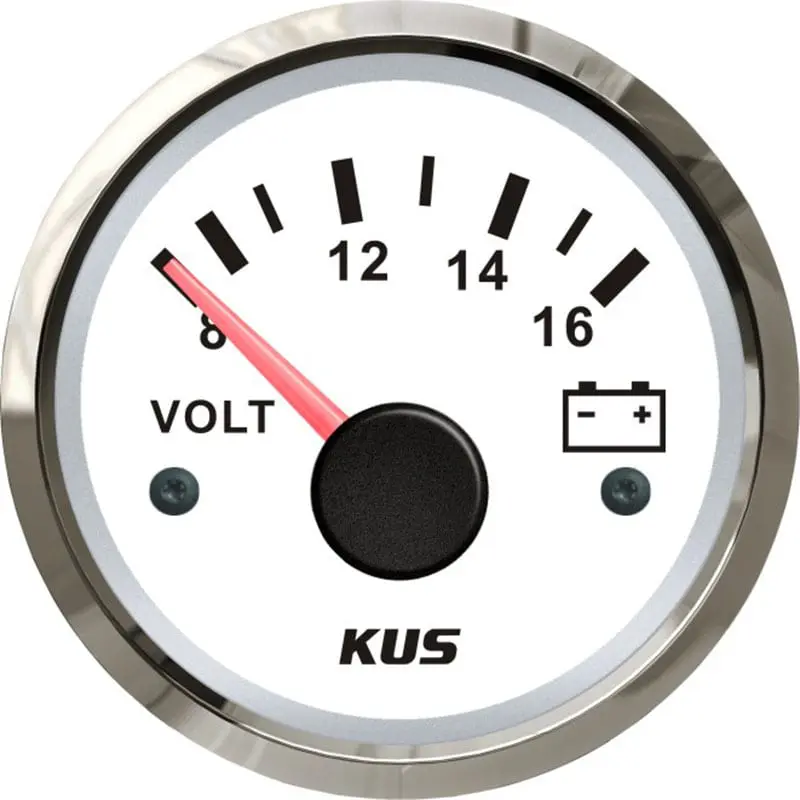
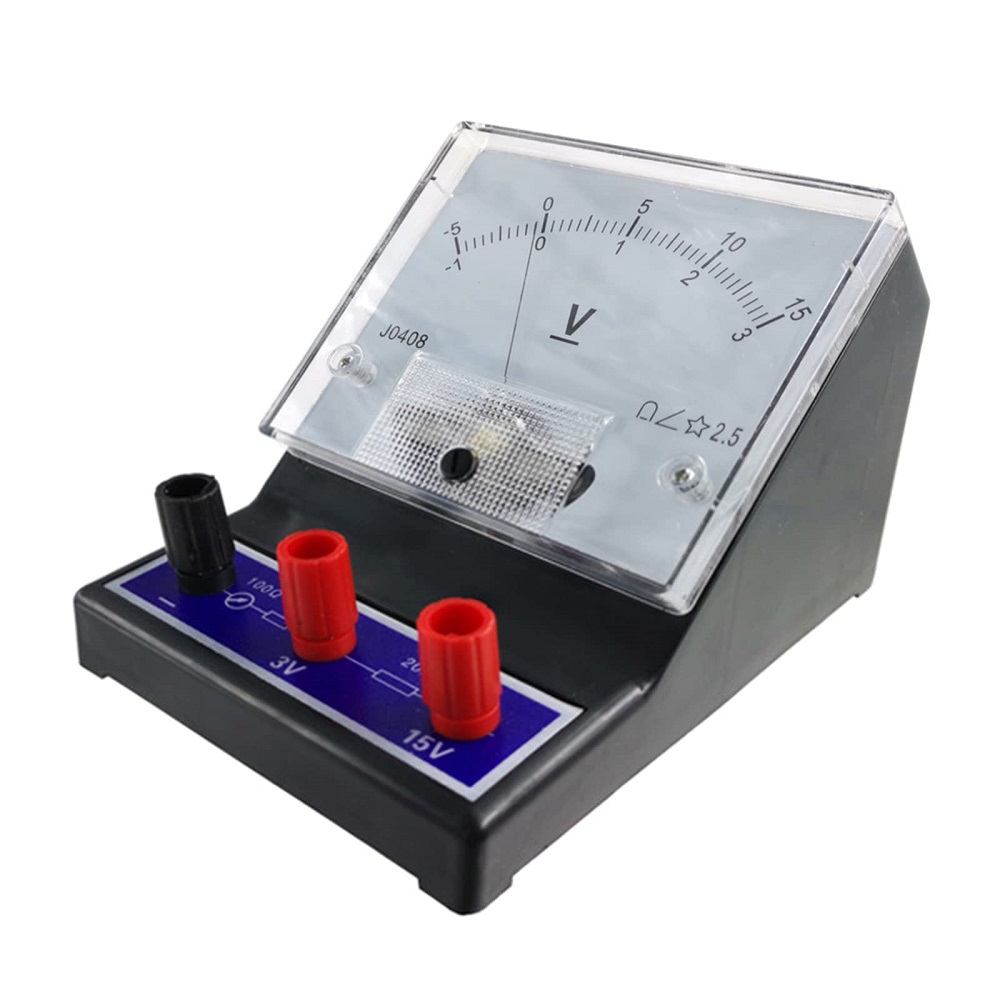
- Analog Voltmeters: These voltmeters use a needle and dial to display measurements. While they provide a clear visual representation, they can be harder to read accurately.
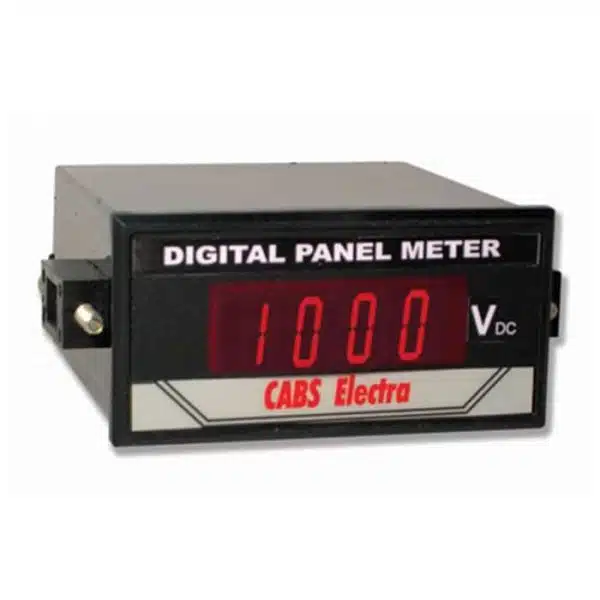
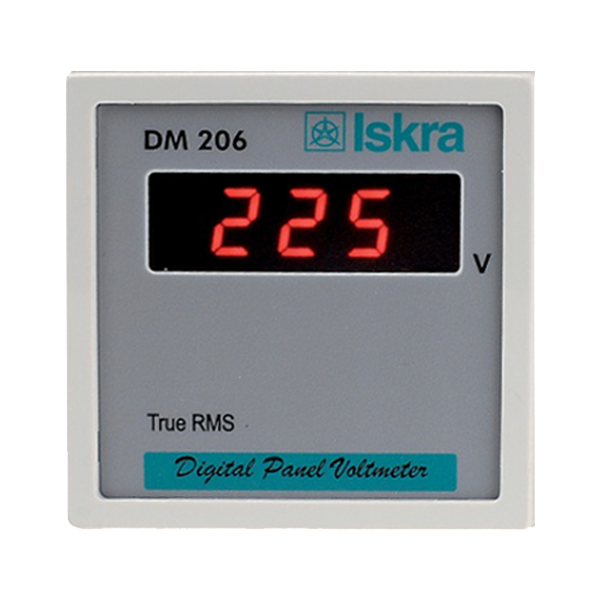
- Digital Voltmeters: These are more common today and display measurements on a digital screen. They tend to be easier to read and often include features such as automatic ranging.
Having a solid understanding of what a voltmeter does prepares you to use it effectively and correctly.
Safety Precautions Before Using a Voltmeter
General Safety Guidelines
Before you start measuring voltage, prioritize safety to avoid accidents or damage. Always follow these fundamental safety guidelines:
- Wear Protective Gear: Use safety goggles and insulated gloves to protect against electrical shock or injury.
- Work in a Dry Environment: Avoid working on electrical systems in damp or wet conditions, as moisture increases the risk of shock.
- Check Equipment for Damage: Inspect your voltmeter and test leads for signs of wear or damage before use. Frayed wires or broken connectors can lead to inaccurate readings or shocks.
Understanding Electrical Hazards
Electricity can be dangerous if not handled properly. Be aware of the voltage levels you are working with, and ensure that you understand the layout of the circuit before proceeding. If dealing with high voltage, it might be advisable to consult or hire a professional electrician rather than attempting repairs on your own.
Knowing the risks and how to protect yourself is vital in ensuring your safety while using a voltmeter.
Gathering the Necessary Equipment
Essential Tools and Equipment
To use a voltmeter effectively, you need to gather some essential equipment. Here’s a list of items to have on hand:
- Voltmeter: The primary tool you will use to measure voltage.
- Test Leads: Most voltmeters come with red (positive) and black (negative) test leads. Ensure they are in good condition and properly connected.
- Circuit or Device to Test: To practice using your voltmeter, you need a circuit, device, or electrical outlet in which to measure voltage.
Having the correct tools ready will streamline the measuring process and minimize interruptions.
Choosing the Right Voltmeter
If you don’t already have a voltmeter, consider factors such as price, usability, and features while selecting one. Digital multimeters (DMMs) are highly versatile and can measure voltage, current, resistance, and more. These types of meters are perfect for beginners because they usually have detailed instructions and various settings.
Ensure that the voltmeter you select meets your intended measurement needs and resonates with your level of expertise.
Setting Up the Voltmeter
Connecting Test Leads
Begin by connecting the test leads to the voltmeter. Find the ports on the voltmeter, which are typically labeled “COM” for the black lead and “V” for voltage measurements, often marked as “VΩ.” Insert the black lead into the COM terminal and the red lead into the voltage (V) terminal.
When attaching the leads, make sure the connections are secure. Loose connections can result in inaccurate measurements, making proper lead management an essential aspect of using a voltmeter.
Selecting the Measurement Settings
Before proceeding to measure voltage, ensure that you’ve selected the appropriate measurement settings on your voltmeter. If you’re using a digital voltmeter, typically you will have options for measuring AC voltage (ACV) and DC voltage (DCV).
- Choose AC or DC Based on Your Circuit: If testing a battery, solar panel, or any circuit powered by batteries, select DC voltage. Conversely, select AC voltage if testing outlets or household electrical circuits that operate on alternating current.
Setting the voltmeter correctly provides accurate readings and helps in troubleshooting various electrical systems.
Measuring Voltage
Measuring DC Voltage
To measure DC voltage in a circuit, follow these steps:
- Power On the Circuit: Ensure that the circuit or device you want to test is powered on.
- Place the Leads: Place the red test lead on the positive terminal and the black test lead on the negative terminal of the circuit or device.
- Read the Display: Observe the voltmeter’s display for the voltage reading. It will show the potential difference in volts.
Always be cautious when placing the test leads to avoid short-circuiting components, which could damage the circuit or the voltmeter.
Measuring AC Voltage
Measuring AC voltage involves similar steps, with slight adjustments:
- Power On the Circuit: As with DC measurements, ensure that the circuit or outlet is powered on.
- Place the Leads: Insert the red lead into the slot of the voltmeter for AC voltage. Then, touch the red test lead to one of the terminals or slots of the outlet. Touch the black lead to the other terminal.
- Read the Display: Observe the measurement shown on the digital display for the voltage reading. Again, ensure that you take care when handling AC connections to avoid electric shock.
Always double-check that you are measuring the right type of voltage and that your connections are secure.
Interpreting the Results
Understanding What You See
Interpreting the results from the voltmeter requires understanding basic electrical principles. If you get a reading within the expected range for your circuit, it indicates that the system is functioning correctly.
If the voltage is too low or too high, it could indicate potential issues such as faulty components, loose connections, or inadequate power supply. For instance:
- Low Voltage: A significant drop in voltage might suggest a poor connection or failing component.
- High Voltage: An unexpectedly high voltage reading may indicate a malfunctioning transformer or circuit overload.
Understanding how to analyze these readings will make you more proficient in diagnosing electrical issues.
Troubleshooting Common Issues
When interpreting results, be prepared to troubleshoot common problems. If your voltmeter displays a zero reading or an error message, consider checking the following:
- Test Lead Connections: Ensure the leads are securely connected to both the voltmeter and the circuit.
- Circuit Power: Verify that the circuit is powered and working properly.
- Meter Settings: Double-check your voltmeter settings to ensure you are measuring the correct type of voltage.
Learning to troubleshoot effectively improves your confidence and integrity in handling electrical systems.
Best Practices for Using a Voltmeter
Regular Calibration and Maintenance
To ensure accurate readings, consider calibrating your voltmeter regularly. Most digital multimeters do not need frequent calibration, but it’s a good practice to follow the manufacturer’s guidelines. Calibration helps maintain accuracy, especially if you use your voltmeter often.
Additionally, keep your voltmeter clean by wiping it down regularly to prevent dirt and grease from interfering with the display and connections. Proper handling and storage also prolong the life of your voltmeter.
Confidence in Measurements
As a beginner, gaining confidence in using a voltmeter will take time and experience. Start by measuring simple and safe circuits to familiarize yourself with the process before venturing into more complex systems. Keep practicing, and don’t hesitate to refer back to this guide for quick reference.
Building your skill set in using a voltmeter will empower you to confidently troubleshoot and maintain electrical systems, paving the way for more advanced projects in the future.
Conclusion
Using a voltmeter is a valuable and essential skill for anyone interested in electrical work. Understanding the fundamentals, following safety precautions, and knowing how to interpret results will empower you to measure voltage effectively. By following the step-by-step instructions provided in this guide, you’ll become proficient in using a voltmeter, enhancing your ability to diagnose electrical issues and improve your projects’ overall safety and efficiency.
As you advance in your electrical knowledge, remember that practice and careful observation will make you a more skilled technician. With each measurement you take, you’re adding to your understanding of the electrical world around you. Whether you’re working on household projects, automotive repairs, or even pursuing a career in electronics, mastering the use of a voltmeter will serve you well. Happy measuring!
