Introduction to Gel Pen Art
Gel pen art is a vibrant and versatile medium. It offers a range of effects and styles that can transform simple sketches into striking pieces of artwork. This guide explores the essentials of gel pen art, from the pens themselves to paper selection.
Types of Gel Pens and Their Features
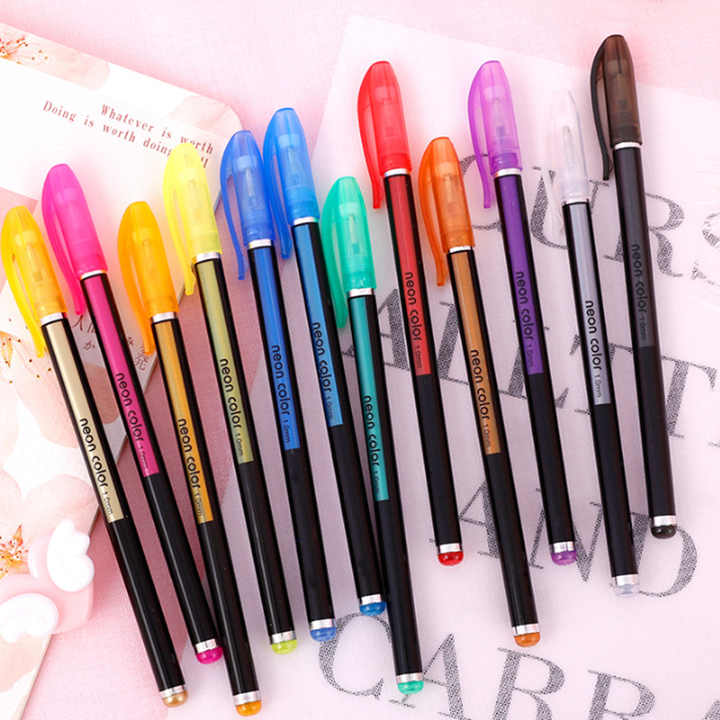
When it comes to gel pens, variety is key. There are several types including glitter, pastel, metallic, classic, and neon gel pens. Each brings a unique flair to your creations. Glitter pens add sparkle, while metallic pens offer a shiny finish. Pastels provide soft hues, classics ensure solid coverage, and neons make your art pop with bright color.
Some gel pens hold more ink and last longer, extending your creative sessions. Many come with fine tips for detailed work and ergonomic designs for a comfortable grip during long art sessions.
Selecting the Right Paper for Gel Pen Art
Choosing the right paper is crucial for gel pen art. You need thick, smooth paper for the best results. This type allows for easy layering and blending without bleeding through. High-quality paper also prevents buckling when you use techniques like wet blending or painting with gel pens. For adult coloring books or detailed work, always opt for paper designed specifically for gel pen use.
Remember, proper paper and pen selection can take your gel pen art from good to great.

Basic Gel Pen Techniques
Unlock the full potential of gel pen art by mastering basic techniques. These foundational skills are easy to learn but can dramatically enhance your doodles and drawings. Let’s explore some of the most popular methods.
Hatching and Cross Hatching
Hatching involves drawing parallel lines close together. It’s great for shading and adding texture. Start with light pressure and gradually increase for deeper shades. Cross hatching takes this technique further, by layering another set of lines over the first, creating a mesh-like pattern. This method works well for darker tones and intricate textures.
Stippling and Circular Patterns
Stippling means creating shades and dimensions with small dots. Place dots closer together for darker areas and spread them out for lighter ones. It’s a patient process, but the results can be incredibly detailed. Circular patterns, on the other hand, involve drawing tight or loose spirals to fill spaces. This creates a playful, dynamic look in your art.
Creating Textures with Doodled Lines
With gel pens, you can get creative with doodled lines to make unique textures. Try weaving lines in and out for a braided effect, or layering squiggles for a lively background. Experiment with the pressure and speed of your lines to vary the texture. These textured patterns can bring a new dimension to even the simplest sketches.
Advanced Gel Pen Techniques
Taking your gel pen art to the next level involves mastering advanced techniques. These methods will help you blend colors seamlessly, add depth to your creations, and even dabble in graphic design. With practice, these techniques will become invaluable tools in your art repertoire.
Blending Methods with Gel Pens
Blending is crucial for achieving smooth color transitions in gel pen art. Two popular methods are dry blending and wet blending. In dry blending, you apply a second color over a dry layer to mix hues gently. For wet blending, combine colors while the ink is still damp for a seamless blend. Start with lighter colors and gradually add darker shades to build intensity.
Remember to practice on scrap paper before applying these techniques to your final artwork. This helps prevent potential errors and familiarizes you with the blending behavior of different gel pens.
Layering and Creating Depth
Layering is about adding dimension to your work. Begin with a base color and then layer complementary or contrasting colors on top. This can create the illusion of depth and highlight areas of interest. Finer tips of your gel pens are great for detailed work, helping define edges and add precision to your layered pieces. Experiment with varying line weights and color densities to make your art pop off the page.
Using Gel Pens for Graphic Design
Gel pen art isn’t just for traditional drawing – it’s also a fantastic medium for graphic design. With their bold and vibrant colors, gel pens can produce lines that stand out, perfect for eye-catching designs. Sketch thumbnails on paper, and then fill in with gel pens to bring your digital designs to life. You can scan these creations and edit them digitally, combining the best of both worlds.
Graphic design projects with gel pens might include logo concepts, typography art, and pattern design. Utilize the assorted colors in your gel pen set to create unique and striking designs.

Creating Gradients and Color Transitions
Achieving seamless gradients with gel pen art adds depth and a professional touch to your drawings. Here are techniques to create smooth color transitions that mimic the blending prowess of watercolor and the precision of digital graphics:
Techniques for Smooth Gradients
Smooth gradients in gel pen art require a thoughtful approach. Start with your lightest color, applying it gently at one end. Gradually layer the next shade, slightly overlapping the previous one. Continue this process, allowing each color to blend slightly into the next. As you reach the darker end of the gradient, reduce pressure to seamlessly fade the colors into each other.
To aid the transition, use a colorless blender pen, if available, or a white gel pen to soften the edges between hues. Practice makes perfect, and experimenting on scrap paper is key to mastering the technique.
Experimenting with Color Overlaps
For more dynamic artworks, experiment with color overlaps. Choose colors that blend well together and apply the first layer. While still damp, add a second color on top, slightly offset to create an overlap. This method not only creates interesting gradients but also new colors where the inks combine.
Experiment with different color combinations and overlap patterns. Try using complementary colors for a bold effect, or similar tones for a subtle transition. Overlapping with metallic or glitter gel pens can offer sparkling effects that add a unique dimension to your artwork.
Utilize these techniques to add vibrancy to landscapes, give life to characters’ clothing, or simply enhance your doodles. With practice, your gel pen art will incorporate gradients and color transitions that impress and captivate viewers.
Special Projects and Ideas
Bringing creativity to life with gel pen art goes beyond simple doodles. With special projects and ideas, you can channel your artistic skills into more intricate and fulfilling creations.
Adult Coloring Books
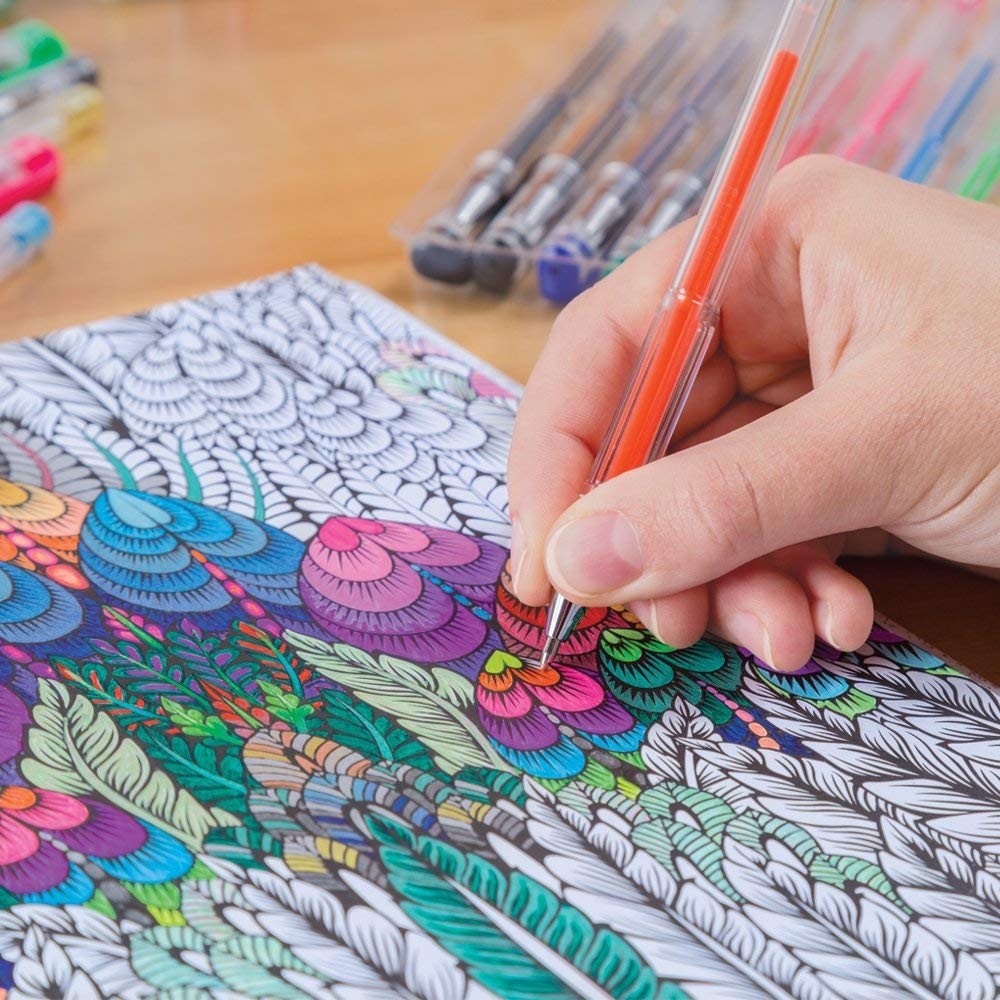
Adult coloring books offer a perfect canvas for the diverse color spectrum of gel pens. Begin with simple patterns and gradually move to complex designs. The thick, creamy ink provides a satisfyingly smooth application. With 48 colors to choose from, including glitter and neons, your coloring book pages will transform into vibrant masterpieces. Tip: Always test colors on scrap paper to plan your palette!
Cartooning and Character Creation
Cartoonists love the precision and pop of gel pens. Sketch your characters in pencil first, then trace with a boldly colored gel pen. The fine tips of gel pens are ideal for adding details like expressive eyes or textured clothing. Experiment with different coloring techniques to bring cartoons to life.
Mandala Art on Black Paper
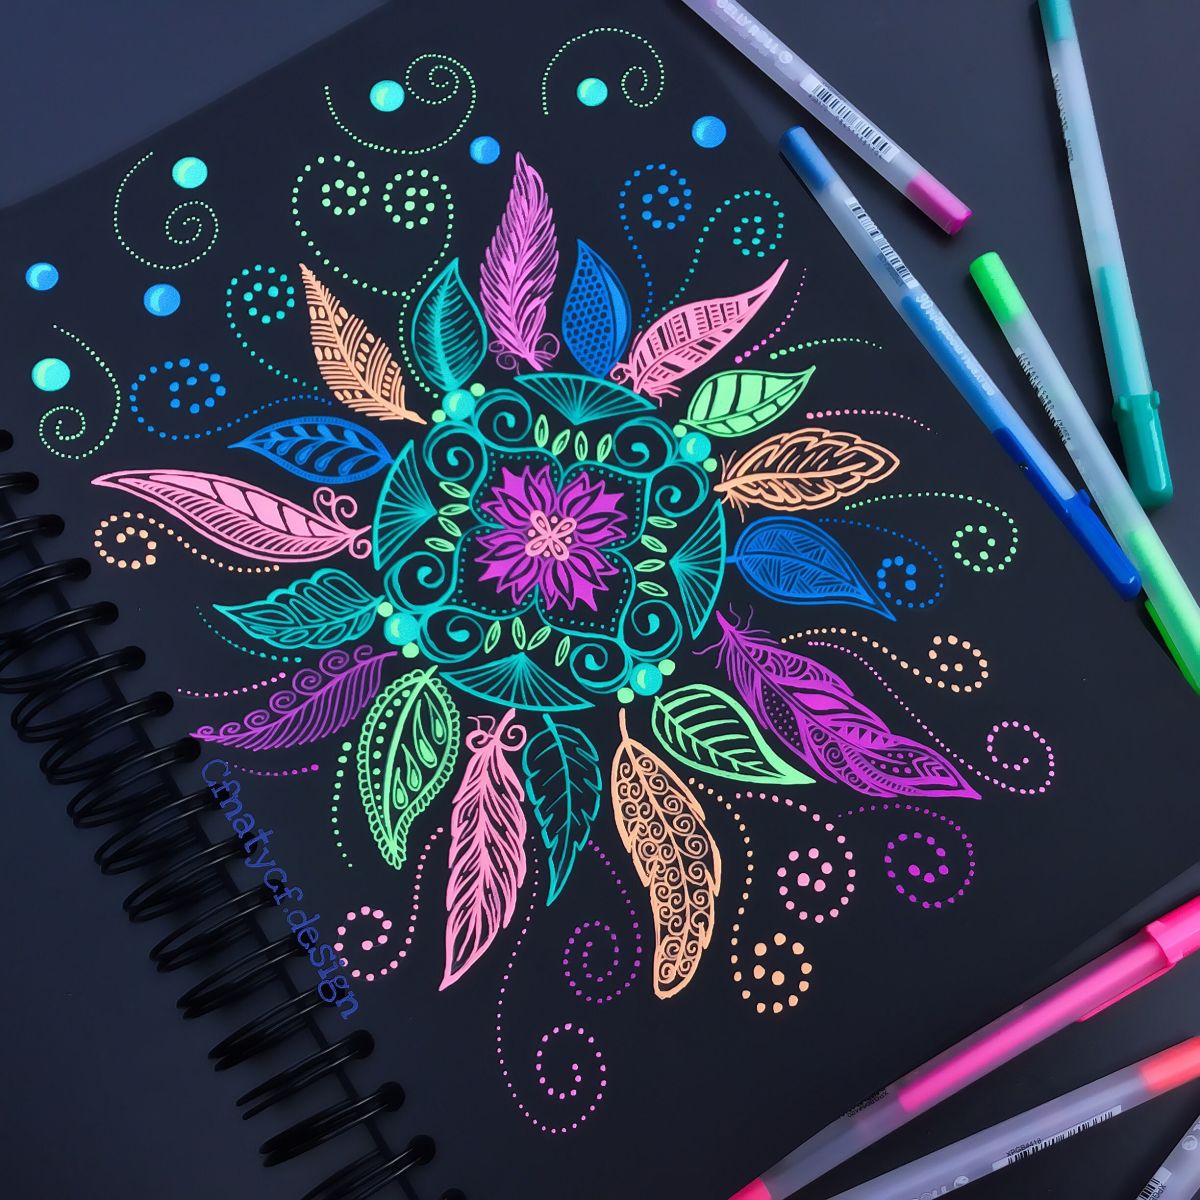
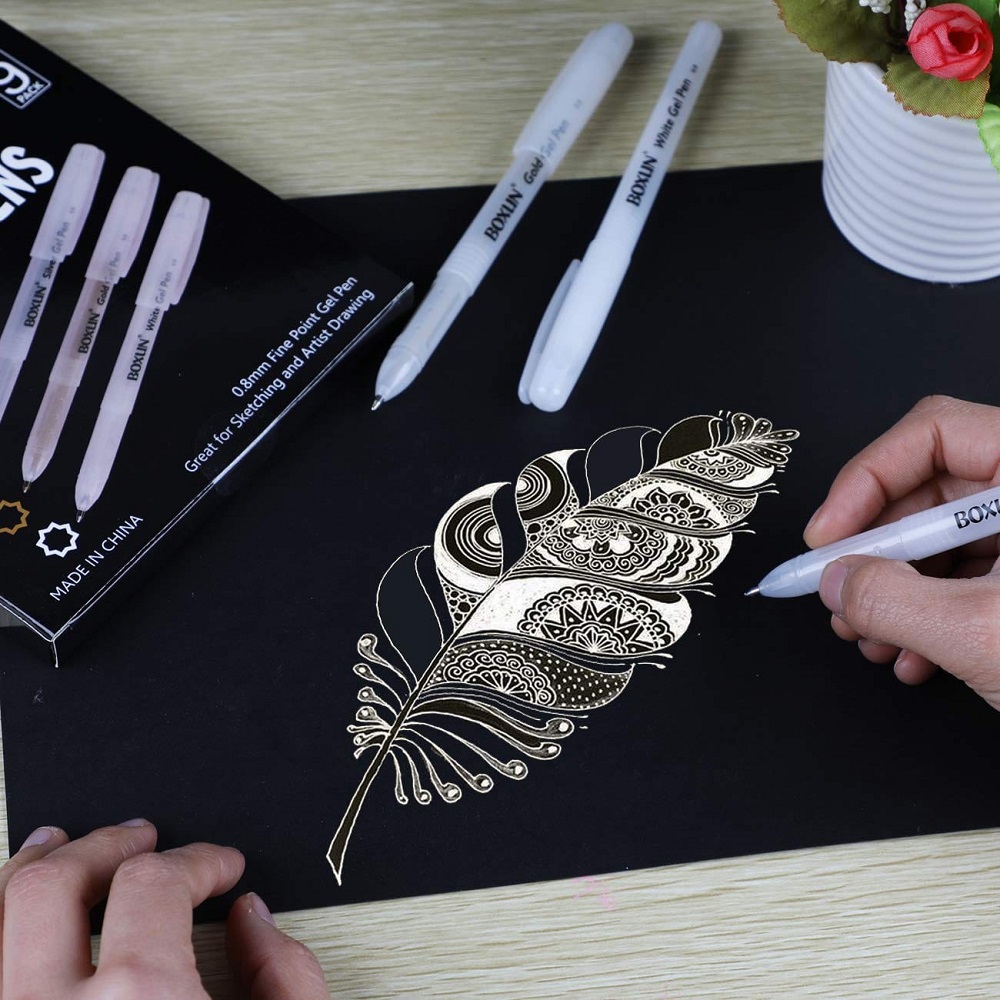
Create stunning mandala art on black paper for a dramatic effect. The gel pen’s ink stands out against the dark background, making designs appear almost luminescent. Geometric patterns and freehand designs gain depth and contrast. Take your time with intricate stencils, or flow freely with hand-drawn lines. Pair neon or metallic pens with black paper for a truly eye-catching display.

Tips for Maintaining Your Gel Pens
To keep your gel pen art vibrant and your pens in prime condition, proper maintenance is essential. Follow these helpful strategies for the care and storage of your gel pens.
Proper Storage Solutions
Storing gel pens correctly prolongs their life and keeps the ink flowing smoothly. Here’s how you can store them right:
- Keep them horizontal: Store your gel pens flat in a case or drawer to keep the ink evenly distributed.
- Avoid heat and sunlight: Heat and direct sunlight can dry out the ink. Find a cool, shaded spot for storage.
- Use a storage box or case: A case protects the pens from dust and damage, making them easy to carry.
Keeping your gel pens properly stored ensures that they stay ready for your next creative adventure.
Handling and Care Tips
Handling your gel pens with care is key to their longevity. Here are some simple tips:
- Cap after use: Always replace the cap firmly to prevent the ink from drying out.
- Gentle pressure: Use light to medium pressure when drawing to avoid damaging the tip.
- Clean tips: Wipe the tips with a soft cloth if they get clogged to ensure smooth ink flow.
By following these handling and care tips, you’ll enjoy consistent performance from your gel pens, and your gel pen art will continue to shine with vivid colors and intricate details.
