Introduction to Microscope Slides
Microscope slides are the cornerstone of any microscopic analysis. They are thin, flat pieces of glass or plastic that scientists use to hold specimens. When you peer through a microscope, the slide is what holds the tiny object you’re examining. Without slides, viewing minute details of samples under a microscope would be nearly impossible. Knowing how to use them correctly is vital for anyone involved in microscopic studies.
Using microscope slides involves a series of steps. First, you need to select the right type of slide for your specimen. Second, you’ll need to prepare the specimen properly. This may include staining or mounting procedures. Lastly, you should handle and store the slides carefully to avoid damage or contamination. Throughout your work, keep microscope slides clean and free of fingerprints or dust.
Slides are not one-size-fits-all. There are different types for various applications. For instance, some specimens might require a thicker slide or a special coating to enhance visibility. Understanding these differences helps you choose the best slide for your work.
Using microscope slides correctly can significantly improve the clarity and quality of your observations. With practice, you can master their use, leading to more accurate and insightful discoveries. In the following sections, we’ll delve deeper into the types of slides, specimen preparation, and the techniques needed to handle slides like a pro.
Types of Microscope Slides
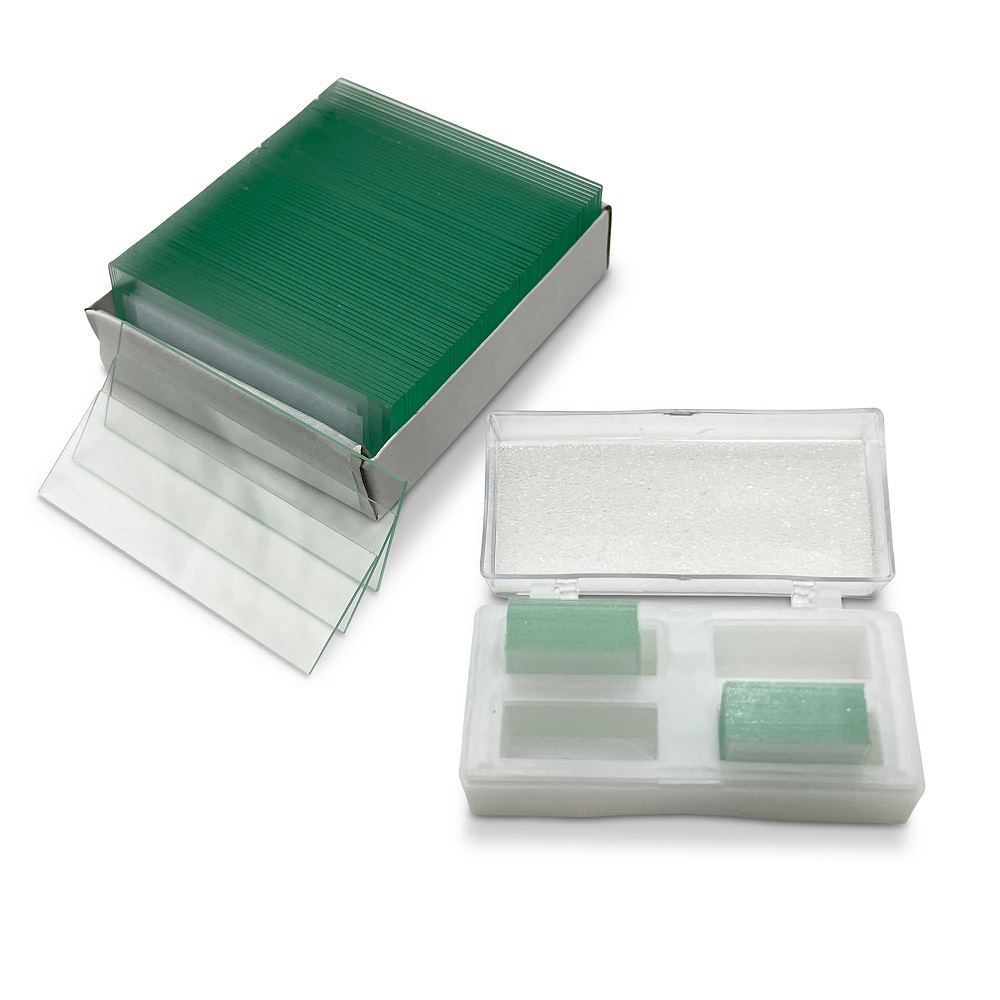
When selecting microscope slides, consider the type of specimen you will examine. Different types cater to various needs. Here are some commonly used types:
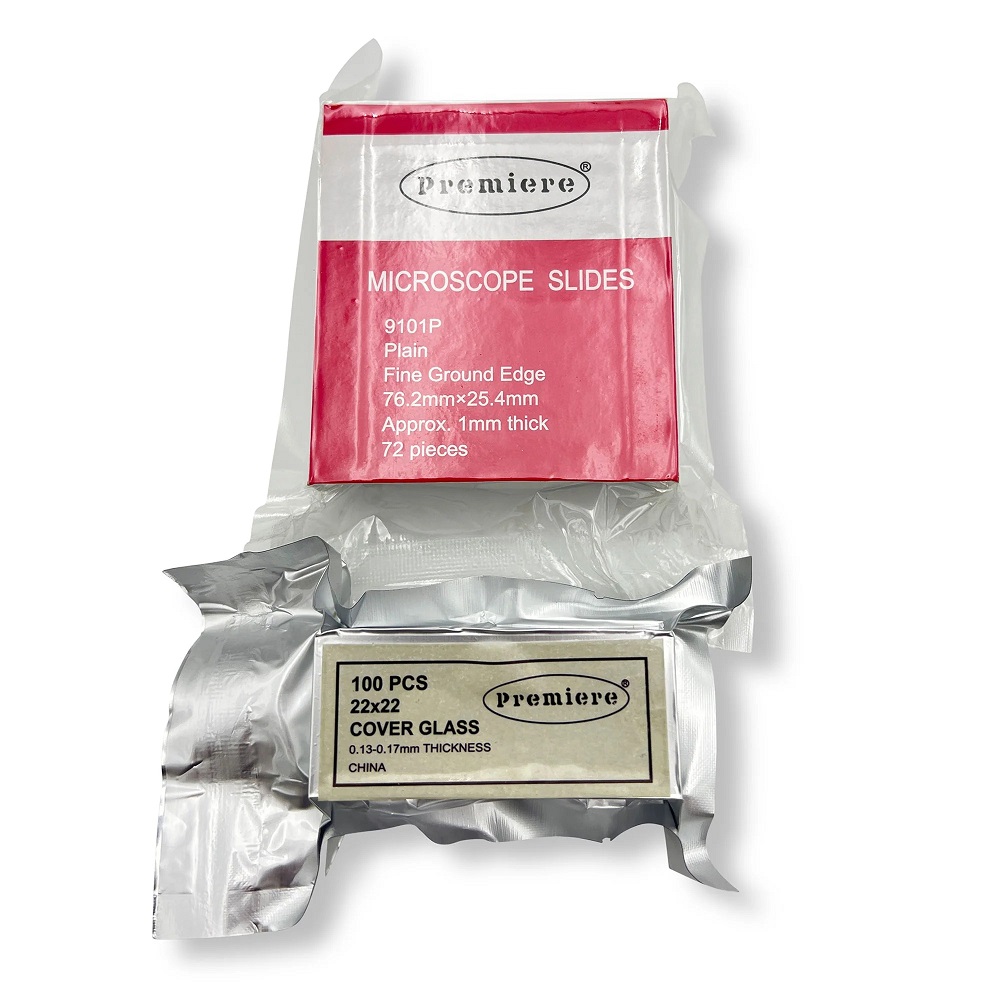
- Standard Slides: These glass slides are the most common. They work well for general use.
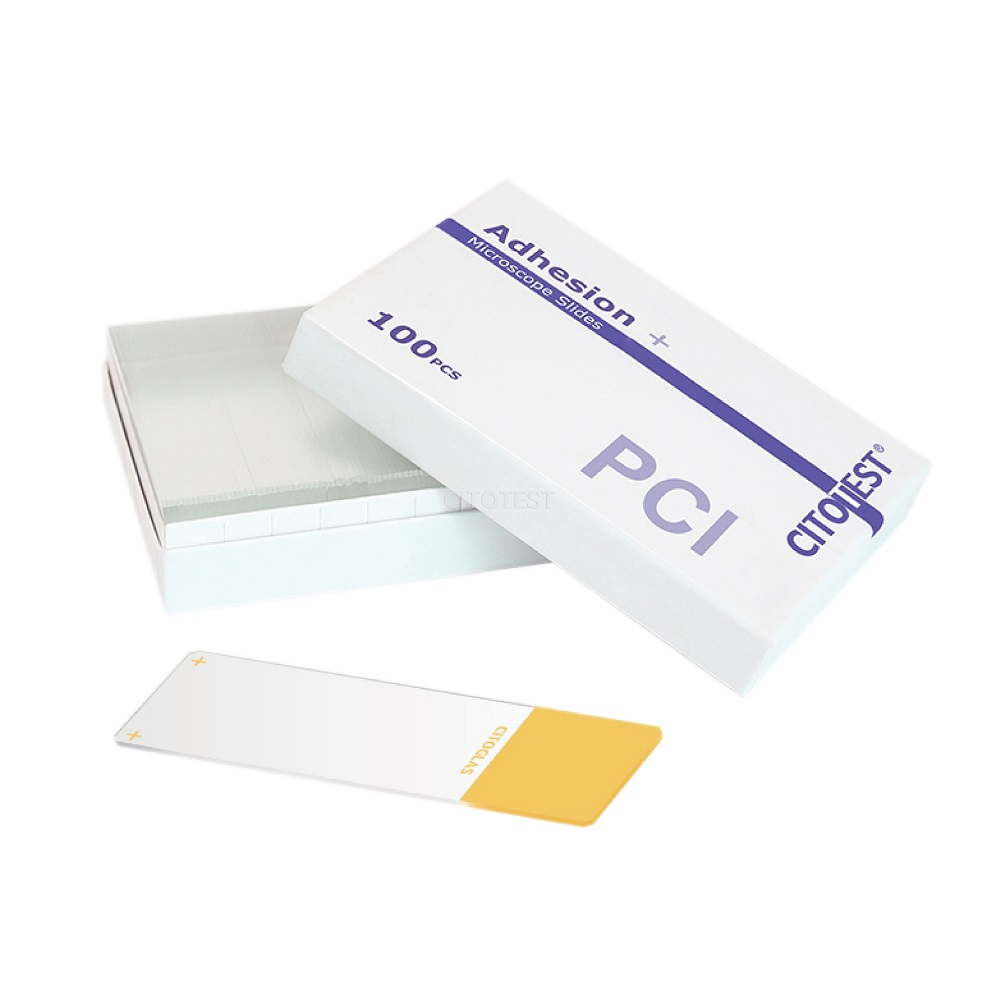
- Frosted Slides: One end is frosted to make labeling easier. These are suitable for documentation.
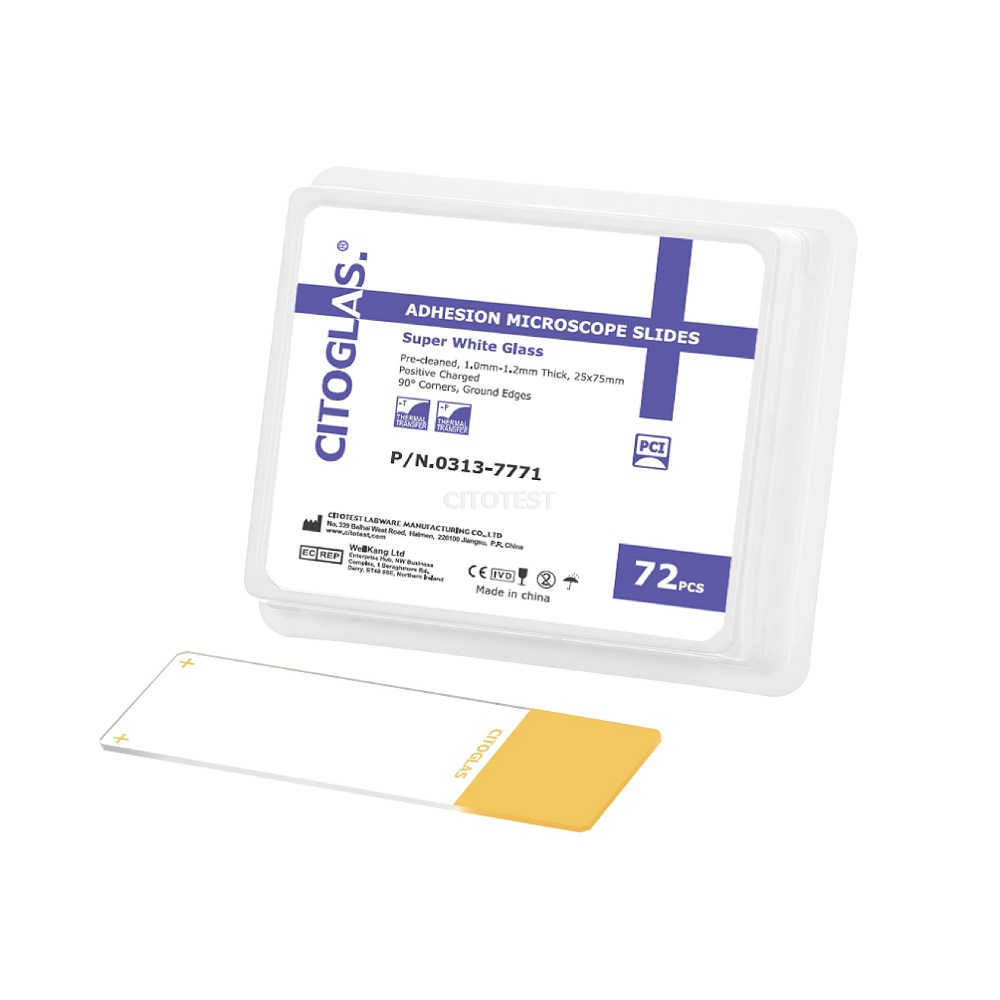
- Charged Slides: They have a special coating to keep specimens in place. Ideal for histology.
- Cover Slips: Thin pieces of glass placed over the specimen on a slide. They help protect and flatten the sample.
Selecting the right type boosts the quality of your microscopic study. Each type of slide serves a specific purpose. For example, some slides may be pre-treated to assist in the adherence of certain types of cells or tissues. Charged slides can be particularly useful when working with tissue sections, as the coating helps to attract and bind the specimen, making them less likely to wash away during staining procedures.
The thickness of the slide can also be important, depending on the type of microscope and the magnification used. Thicker slides, sometimes known as cavity or well slides, contain depressions to hold liquid or larger specimens. These are essential when viewing living microorganisms or cultures.
In summary, your choice of slide will depend on the specimen’s characteristics and the intended microscopic analysis. With the correct type of microscope slides, you can significantly enhance the visibility and examination of your samples.
Preparing Your Specimens for Study
Preparing specimens is a critical step in using microscope slides effectively. Here’s how to do it:
- Clean the Slide: Start with a clean slide to avoid any unwanted particles or smudges.
- Thin Sections: Cut the specimen into thin sections to ensure it can be easily examined under the microscope.
- Fixing the Specimen: Use appropriate techniques to fix the specimen onto the slide. This may involve adhesives.
- Drying: Allow the specimen to air dry completely before proceeding with staining or covering.
It’s important to prepare your specimen in a way that preserves its integrity and enhances its features. Delicate specimens require gentle handling and precise sectioning. Sometimes, you might need to use a special medium to support the specimen during sectioning and mounting. For example, embedding in paraffin can be helpful for preserving tissues for histological studies.
Ensuring your specimen is properly attached to the microscope slide can prevent it from moving during the examination, providing a clearer view. In summary, meticulous preparation of your specimens allows for more accurate observations and is vital for successful microscopic analysis. Remember to always handle the slides and specimens with care to maintain their quality.
Proper Handling and Cleaning of Microscope Slides
Proper handling and cleaning of microscope slides are imperative for accurate microscopic analysis. The following steps outline best practices:
- Handle with Care: Always hold slides by the edges to avoid fingerprints on the surface.
- Wear Gloves: Gloves prevent oils from your skin from contaminating the slide surface.
- Use Lint-Free Wipes: Clean slides with wipes that won’t leave residue or fibers.
- Dedicated Cleaning Solutions: Employ cleaning solutions specifically made for microscope slides.
- Gentle Washing: If slides are reusable, wash them gently with mild detergents.
- Rinse Thoroughly: Ensure all soap is completely rinsed off to avoid any visual interference.
- Air Dry: Allow slides to air dry in a dust-free environment or use a lint-free cloth to carefully blot them dry.
Remember, cleanliness is key. Dirt or oils can obscure microscopic details. Clean slides reduce the risk of errors in your results. By handling slides properly, you protect the integrity of your specimens and the validity of your observations. Each step of the cleaning process plays a crucial role in maintaining the quality and clarity of your microscopic analysis.
Staining Techniques for Enhanced Visibility
Staining is a key process in microscopy. It adds contrast to specimens, making them easier to see. Different stains are suited to different types of samples. Here are the main steps for staining microscope slides:
- Choice of Stain: Select a stain that is appropriate for your specimen. Common stains include hematoxylin, eosin, and Gram stain.
- Application: Apply the stain carefully to avoid flooding the slide.
- Timing: Leave the stain on for the right amount of time. This will differ by stain type.
- Rinsing: After staining, rinse the slide gently. This removes excess stain and avoids blurring.
- Drying: Let the slide dry fully before examining it under the microscope.
For bacteria, the Gram stain differentiates by cell wall properties. It classifies them as Gram-positive or Gram-negative. This is crucial for identifying and understanding bacterial specimens.
Histology often uses hematoxylin and eosin (H&E staining). This combines two dyes to show various structures within tissues. The nuclei stain blue with hematoxylin, while cytoplasmic components turn pink with eosin.
Bear in mind that the goal of staining is to enhance visibility without damaging the specimen. Always follow protocol closely for the best results. With the right staining technique, you can achieve greater detail and contrast in your microscopic studies.
Mounting Specimens on Slides
Mounting specimens is a crucial step in slide preparation. It secures your sample in place for microscopic examination. Follow these simple steps for effective mounting:
- Apply Mounting Medium: Use a drop of the right medium to affix the specimen. This substance holds the specimen to the slide.
- Place the Specimen Carefully: Position your sample on the slide gently. It keeps the integrity and orientation of the specimen intact.
- Cover with a Cover Slip: A cover slip protects the specimen. Place it lightly on top to flatten the sample.
- Avoid Air Bubbles: When placing the cover slip, try to prevent trapping air. Air bubbles can distort the view under the microscope.
- Let It Set: Wait for the mounting medium to harden. This secures the specimen before you proceed.
Proper mounting helps in preserving the details of the specimen. It also ensures clarity when viewing under the microscope. With specimens in place, they are less prone to shift or get damaged. For slide longevity, mount your specimens accurately. Well-mounted slides contribute to the reliability of your microscopic analysis. Always mount with care to maintain the quality of your microscope slides and specimens.
Storage and Maintenance of Microscope Slides
Once you have mastered the use of microscope slides, ensuring their longevity is crucial. Proper storage and maintenance are key to preserving the quality of your slides. Below are essential tips to keep your microscope slides in top condition.
- Store in a Dry Place: Keep your slides in a dry area to prevent moisture damage.
- Use Slide Boxes: Organize slides in dedicated boxes that cushion and prevent scratches.
- Avoid Direct Sunlight: Store your slides away from sunlight to prevent any thermal damage.
- Label Clearly: Mark your slides with dates and details for easy identification.
- Check Regularly: Examine your slides often for any signs of wear or deterioration.
- Handle with Care: Even during storage, handle slides by the edges with clean gloves.
Proper maintenance also means cleaning your slides before and after use, regardless of whether they’re new or reused.
- Re-clean Before Use: Wipe down stored slides before use to remove any dust that may have settled.
- Maintenance After Use: Clean slides thoroughly after each use to remove any residue.
Remember, taking care of microscope slides is not just about cleanliness or organization. It’s about maintaining an environment where your specimens are protected, ensuring each microscopic analysis yields the most accurate results possible. By following these storage and maintenance protocols, you ensure that your slides are always ready for the next discovery.
Troubleshooting Common Issues with Microscope Slides
Even with careful handling, you may face issues with microscope slides. Let’s explore common problems and solutions.
Dirty or Oily Slides
If slides appear dirty or oily, they can blur your specimen. Clean them with a lint-free wipe and a dedicated cleaning solution. Be gentle to avoid scratches.
Scratched Slides
Scratches can distort your view. If a slide is scratched, it’s best to replace it. Always handle slides with care to prevent damage.
Air Bubbles Under Cover Slips
Air bubbles can interfere with viewing. To avoid them, place cover slips at an angle and gently lower them onto the specimen. If bubbles form, gently tap the cover slip to release them.
Specimen Drying Out
A dried-out specimen can lose detail. Use a mounting medium that seals well. If the specimen dries, remount it with fresh medium and a new cover slip.
Improper Staining
Bad staining can hide details. Ensure you use the right stain and time the process. Rinse carefully to remove excess stain.
Labeling Errors
Incorrect labels lead to confusion. Label slides clearly with a permanent marker. Check the labels before storing or examining slides.
By addressing these issues, you enhance the clarity and quality of your microscopic observations. Proper troubleshooting maintains the integrity of microscope slides and specimens.