
Introduction to Microscope Drawing
Embarking on the journey of microscope drawing starts with understanding what it entails. Microscope drawing is a skilled art form that helps us record and study the intricate details of microscopic subjects. By learning to draw through a microscope, one can capture the complex structures and beauty of specimens that escape the naked eye. This skill is valuable in scientific fields, such as biology and microbiology, where accurate representations are crucial for analysis and education.
For beginners, mastering microscope drawing can appear daunting. However, with the right approach and tools, anyone can learn to create detailed illustrations. Start by familiarizing yourself with the microscope’s components. Knowing how to manipulate the eyepiece, objective lenses, and focusing knobs is essential. Skillful handling of these elements is the foundation of a good microscope drawing. Moreover, patience and steady hands play a significant role in capturing the precision required in these drawings.
Before diving into the techniques, one must appreciate the history and significance of microscope drawings. In the past, they were the primary method scientists used to document microscopic discoveries. Even today, despite advances in digital imaging, hand-drawn illustrations hold a special place. They can express an artist’s perspective and shed light on features that might not be captured by a camera. Thus, as we move through the steps and methods in this guide, remember that microscope drawing is not just about technical skills but also about creating a bridge between science and art.
Essential Tools for Microscope Illustration
To start microscope drawing, you need the right tools. Good quality drawing tools can make a huge difference. First, you’ll need a reliable microscope. Aim for one with various magnification levels. This lets you observe details at different scales. Your microscope should have a fine focusing knob. This ensures precise adjustments when viewing specimens.
Next, invest in high-quality paper. Smooth, durable paper works best for detailed illustrations. Choose paper that won’t smudge or bleed when you use it. You also need a set of sharp pencils. Pencils in different grades let you capture a range of tones. A mechanical pencil helps with fine details. Don’t forget an eraser that lifts graphite without damaging your paper.
For inking, precision pens are crucial. They should have waterproof, fade-resistant ink. This keeps your drawings from blurring over time. A magnifying glass is also useful. It helps you see small details while drawing. In addition, a drawing board provides a stable surface. Secure your paper on the board before you begin.
Remember to have blending stumps for shading effects. They help in creating texture and depth. A ruler can ensure straight lines for structured parts of your subject. Lastly, keep a notebook for recording observations. It’s vital for noting features to include in their illustrations.
With these tools, you’re well-equipped to tackle microscope drawing. They help in capturing the beauty and complexity of microscopic worlds. Ensure that each instrument is at hand before you begin. This sets the stage for a successful microscope illustration.
Step-by-Step Guide to Drawing a Microscope
Preparing to draw a microscope may look complex, but just follow these steps. Start by arranging your workspace. Make sure it’s well-lit and free of clutter. Select your tools from the list of essential items discussed earlier and set them out within easy reach. Now, let’s begin the step-by-step process of your microscope illustration.
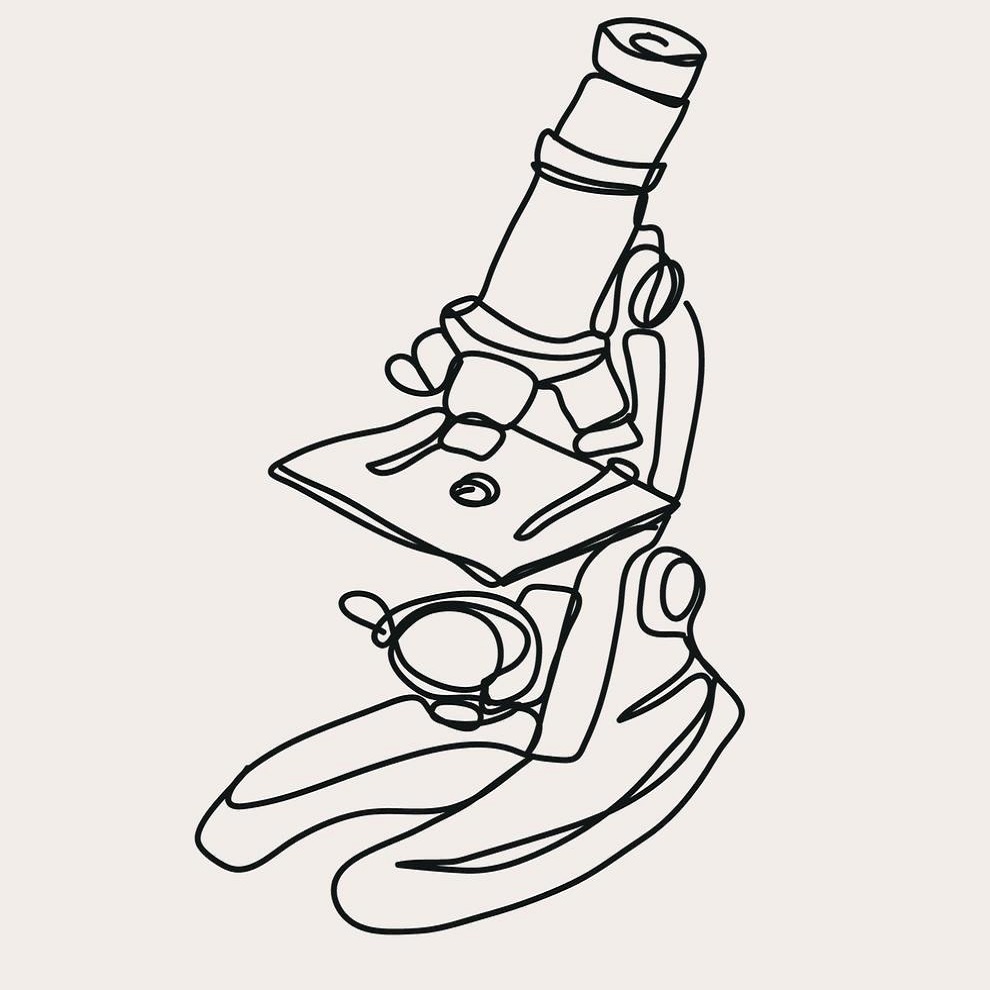
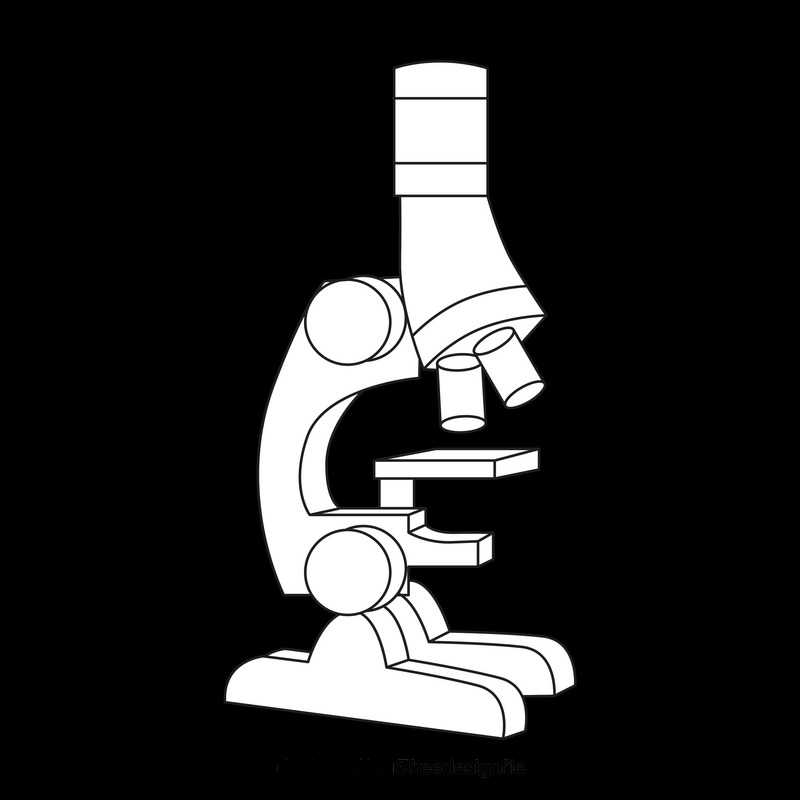
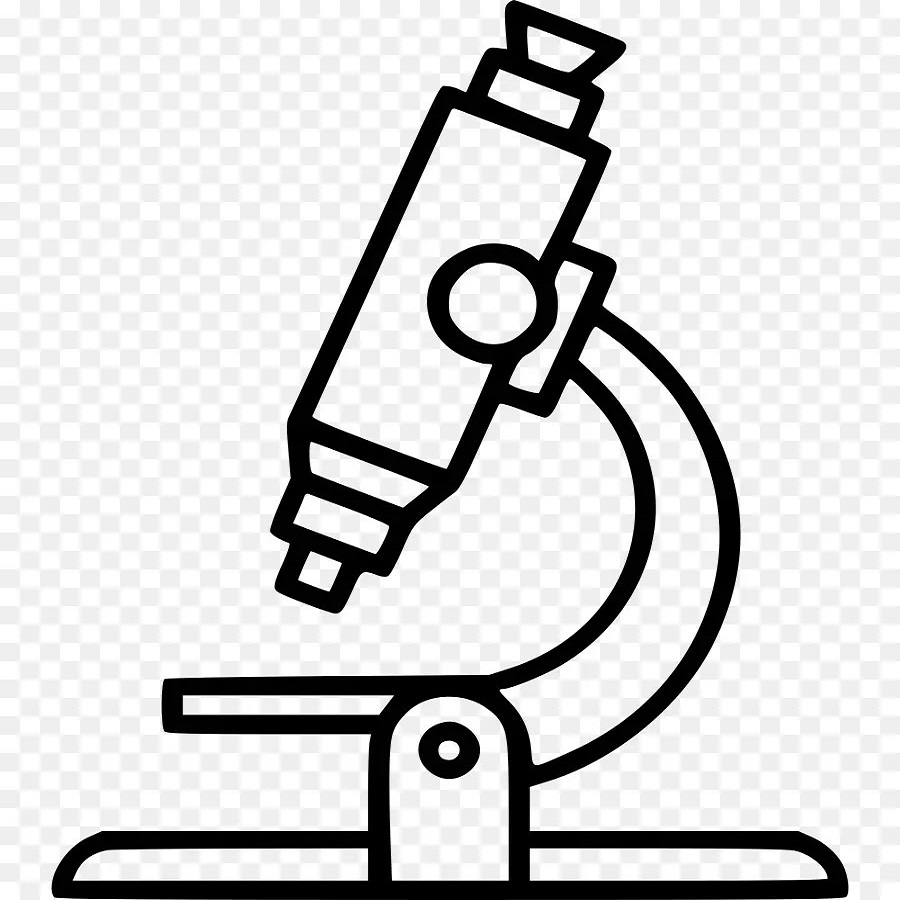
- Begin with a light outline. Use a pencil to sketch the basic shape of the microscope. Draw the eyepiece, arm, stage, and base.
- Add details slowly. Focus on one part at a time. Illustrate the fine details of the eyepiece, adjustments knobs, and objective lenses.
- Refine the outline. Once you’re confident with the placement of parts, darken the lines. This will make your drawing stand out.
- Use shading techniques. These give depth to the microscope. Shade lightly under the microscope base and around the eyepiece for a three-dimensional effect.
- Enhance details using a mechanical pencil. This tool allows you to create very fine lines and textures. Draw the finer parts like the focusing knobs and lens details.
- Ink your drawing, if desired. Use a precision pen for this step to maintain the accuracy of your lines and details. Wait for the ink to dry before erasing any pencil marks.
- Review and adjust. Look over your drawing carefully. Make small adjustments to improve its accuracy and overall look.
By following these steps, you’re on your way to creating an accurate and detailed microscope drawing. Remember, practice is key. The more you draw, the more familiar you’ll become with the shapes and textures—and the better your drawings will be.
Tips for Improving Observation Skills
Improving observation skills is key to successful microscope drawing. Good observation helps you notice fine details that may not be visible at first glance, leading to more precise drawings. Here are some tips to enhance your skills:
- Stay Patient: Observation takes time. Don’t rush. Spend time with your specimen, and details will emerge.
- Keep a Log: Record your observations. Note shapes, patterns, and any unique features you see.
- Use Grids: Place a transparent grid over the eyepiece. It helps break down complex structures into manageable sections.
- Adjust Lighting: Change the light angles on your specimen. This can reveal details that different lighting can hide.
- Draw Layers: Start with basic shapes, then slowly add layers of details as you notice them.
- Close One Eye: When looking through the eyepiece, close one eye. This can give a clearer view.
- Regular Breaks: Take breaks to avoid eye strain. Fresh eyes can spot details you might have missed.
- Practice Consistently: Like any skill, observation improves with regular practice. Keep practicing microscope drawing.
By following these tips and continually practicing, your ability to observe and capture the minutiae of your subjects under the microscope will greatly improve. This sharpened skill set is invaluable, not only in the realm of microscope drawing but across all visual arts and scientific documentation where precision is paramount.
Shading and Texturing Techniques
Shading and texturing are key elements in microscope drawing. They bring life and depth to your illustrations. Here’s how to apply these techniques effectively:
- Understand Light Source: Identify where the light in your drawing is coming from. Shade areas opposite the light more heavily to create depth.
- Create Texture: Use pencil strokes to mimic textures. For rough surfaces, use back-and-forth shading. For smoother surfaces, use closely spaced lines.
- Layering: Start with light shading. Build up to darker tones gradually. This gives a sense of volume and form to your microscope drawing.
- Blending Stumps: These tools can smoothen your shading. Roll and drag the stump over pencil marks to blend shades smoothly.
- Highlighting Details: Leave areas near the light source lighter. This suggests highlights and adds realism.
- Use of Contrast: Combine dark shadows with light areas. High contrast can emphasize the fine details of your subject.
- Practice, Practice, Practice: With time, your skill in shading and texturing will improve. Keep practicing different techniques.
Remember, shading and texturing are about creating a three-dimensional illusion on paper. They must be used thoughtfully to enhance your microscope drawings without overwhelming the fine details. By employing these methods, you’ll add complexity and sophistication to your scientific illustrations.
Capturing Details: Magnification and Focusing
Capturing the essence of microscope drawing hinges on two key factors: magnification and focusing. These are not just technical steps but vital components that bring out the intricate nature of your subject. Proper magnification allows you to zoom in on the minute features, highlighting elements that are otherwise invisible. Meanwhile, focusing sharpens your view, ensuring that the details are crisp and clear.
Magnification Techniques
Start by selecting the right objective lens. Each lens has a different magnification power. Begin with the lowest strength; it helps to locate your specimen. Then, switch to a higher magnification for detailed work. Adjust the eyepiece until you see the subject clearly. Use the fine focus knob gently. This will bring small details into sharp relief without blurring them.
Focusing Skills
Mastering focusing takes practice. The key is to adjust slowly and avoid overshooting the clear image. Begin with the coarse focus to get the subject into the general focus area. Then, use the fine focus for precision. Remember to breathe, as even small movements can shift your image. With patience, you’ll fine-tune your focusing technique, a crucial step in microscope drawing.
Good microscope drawing requires clear detail. Use the tools and techniques outlined to capture the minute aspects of your subjects accurately. As you practice, your skills in magnification and focusing will improve, culminating in stunning, detailed illustrations.
Common Challenges and How to Overcome Them
Drawing through a microscope is not without its challenges. Common issues include maintaining focus, handling the detail in shading, and staying patient. Here are strategies to tackle these problems effectively:
- Focusing Issues: When details blur, take a step back. Use the fine focus knob slowly. Ensure you’re working in a steady, calm environment.
- Detail Overload: Start simple. Focus on large shapes before adding smaller details. This helps manage complexity.
- Shading Difficulties: If shading feels overwhelming, practice on scrap paper first. Start with light pressure and increase gradually.
- Consistency Struggles: Make templates. They help maintain proportions and angles across multiple drawings.
- Patience Testing: Break work into sections. Focus on completing one small area at a time. This makes progress feel faster.
- Hand Fatigue: Take regular breaks. Stretch your fingers and wrists. Short pauses can refresh your grip and concentration.
Remember, each challenge is a chance to improve. Stay positive, practice regularly, and work methodically. This turns each hurdle into a step forward in your microscope drawing skills.
Incorporating Microscope Drawings into Scientific Documentation
Microscope drawings play a pivotal role in scientific documentation. They provide a tangible record of observations. Here is how to effectively include them in your scientific work:
- Label Clearly: Every drawing should have clear, readable labels. Include the magnification scale and the date of the drawing.
- Accurate Representation: Drawings must mirror the true structure of the specimen. Accuracy is essential in science.
- Use Annotations: Beside your drawings, write short notes. Describe the observed features and their significance.
- Reference in Text: When writing your report or paper, refer to the drawings. Mention them when discussing specific features of the specimen.
- Consistent Style: Maintain a consistent style throughout your documentation. This makes your work look professional.
- Present Sequentially: If your study requires a series of drawings, arrange them in order. Show changes or developments clearly.
- Digital Backup: Store digital copies of your drawings. They are handy for presentations and preserving your work.
By following these guidelines, you can ensure that your microscope drawings enhance your scientific communication. Keep working on your microscope drawing skills. This will improve the quality and clarity of your scientific documentation.