Introduction to the Diaphragm in Microscopes
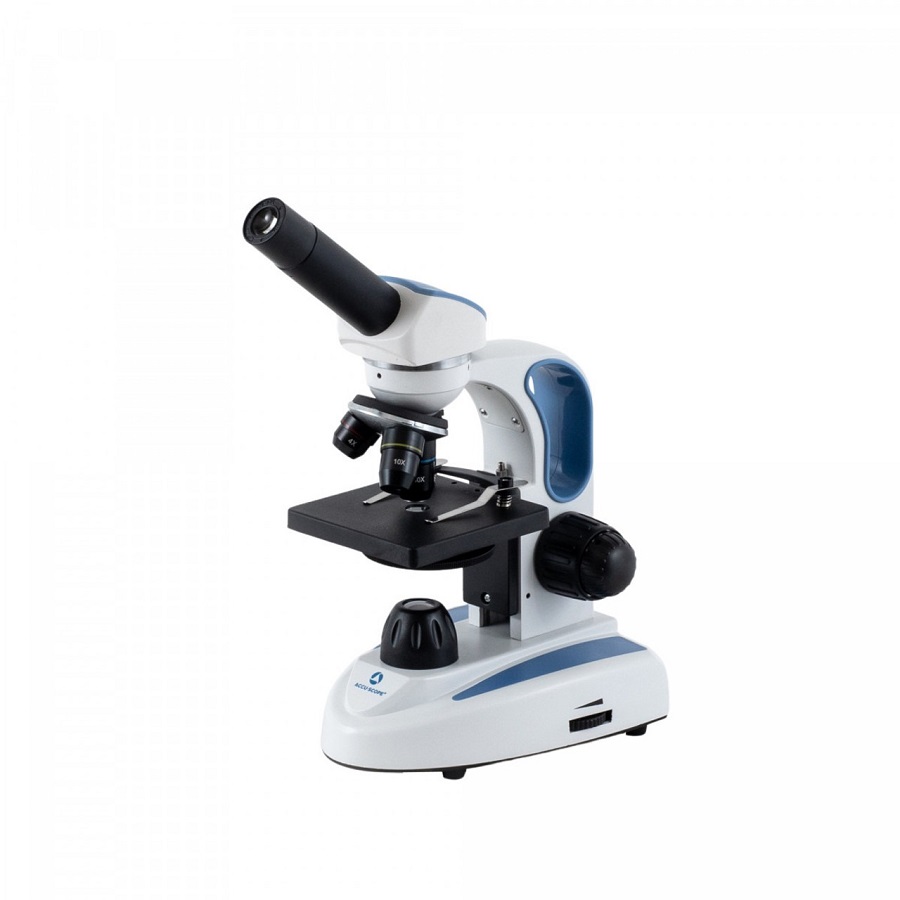
A diaphragm microscope features an adjustable diaphragm, crucial in controlling light. This component resides beneath the microscope’s stage. It shapes and directs light’s passage onto the slide. By doing so, it plays a key role in enhancing the specimen image. The diaphragm’s ability to adjust light intensity is valuable for various samples. Thin, translucent samples may require less light compared to denser materials. Therefore, knowledge of the diaphragm microscope’s function is essential for clear observation.
With different types of diaphragms, each serves unique purposes. They vary in shape, size, and mechanism. Aperture and field diaphragms are common examples you will encounter. Users can finely tune the amount of light with the aperture diaphragm. This control ensures that the light only illuminates the specimen area under observation. As a result, it improves contrast and resolution. Understanding how to manipulate the diaphragm is fundamental in microscopy. By mastering its use, you enhance your analysis accuracy.
In upcoming sections, we will explore the diaphragm’s functions, its types, and the role it plays in microscopy. Proper maintenance and care of the diaphragm, as well as troubleshooting common issues, will also be addressed. Stay tuned to learn how you can manipulate the diaphragm microscope to achieve optimal viewing experiences.
Key Functions of the Microscope Diaphragm
The diaphragm microscope plays a crucial role in microscopy. Understanding its key functions is fundamental for any microscopist. Here are the primary functions that the diaphragm serves:
- Light Control: The diaphragm controls the amount and angle of light that reaches the specimen. This is essential to observe fine details and maintain the specimen’s integrity.
- Image Clarity: By adjusting light flow, the diaphragm enhances image clarity. It prevents light overflow that can wash out the specimen’s features.
- Contrast Enhancement: It increases contrast by restricting light to the area of interest. As a result, the background remains dark, making the specimen stand out.
- Depth of Field Adjustment: The diaphragm can adjust the depth of field. This determines the thickness of the area in sharp focus in the specimen.
- Maximized Resolution: It aids in achieving the highest resolution possible by reducing light diffraction. A well-adjusted diaphragm ensures sharper images.
- Reduced Glare: By minimizing excess light, glare is significantly reduced. This, in turn, reduces eye strain during long microscopy sessions.
- Specimen Protection: Low-intensity light minimizes the risk of heat damage to sensitive specimens. This is critical for live cells or delicate structures.
Understanding and properly manipulating the diaphragm microscope is necessary for optimal visualization. As we move forward, we will delve into the differing types of diaphragms and how each affects the imaging process.
Types of Diaphragms and Their Differences
In the world of microscopes, diaphragms are not all the same. They come in different types, each with unique characteristics. Aperture and field diaphragms are the most common. Let’s dive into the specifics of each type and identify their differences.
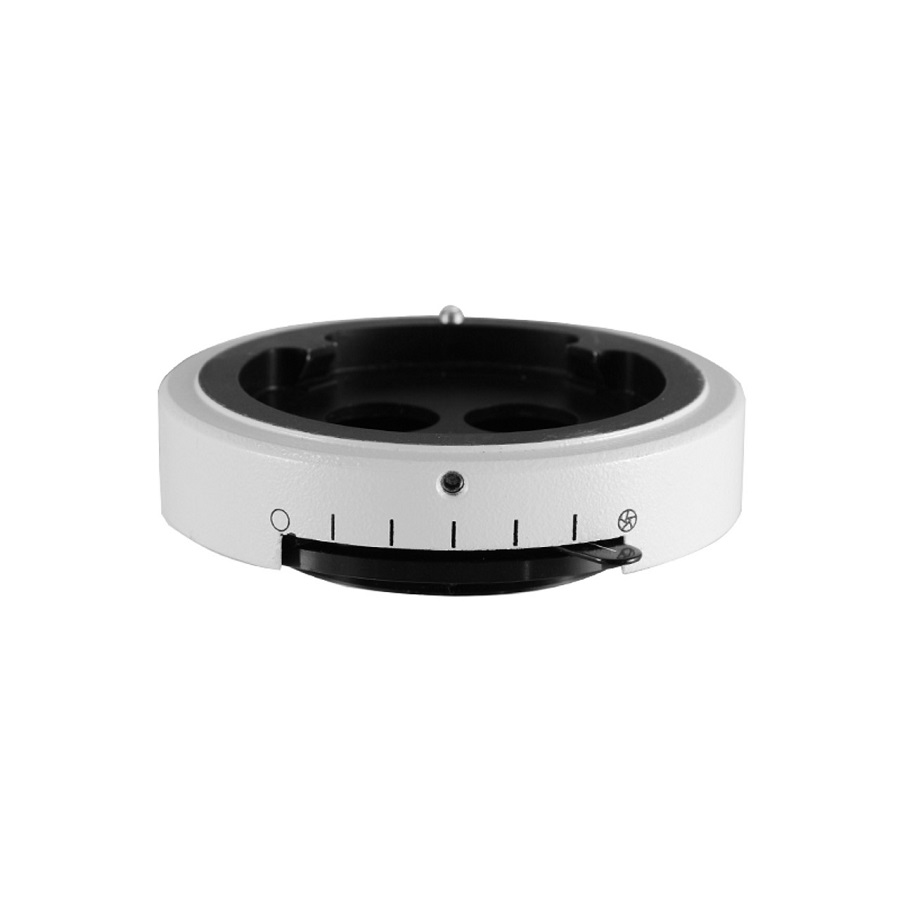
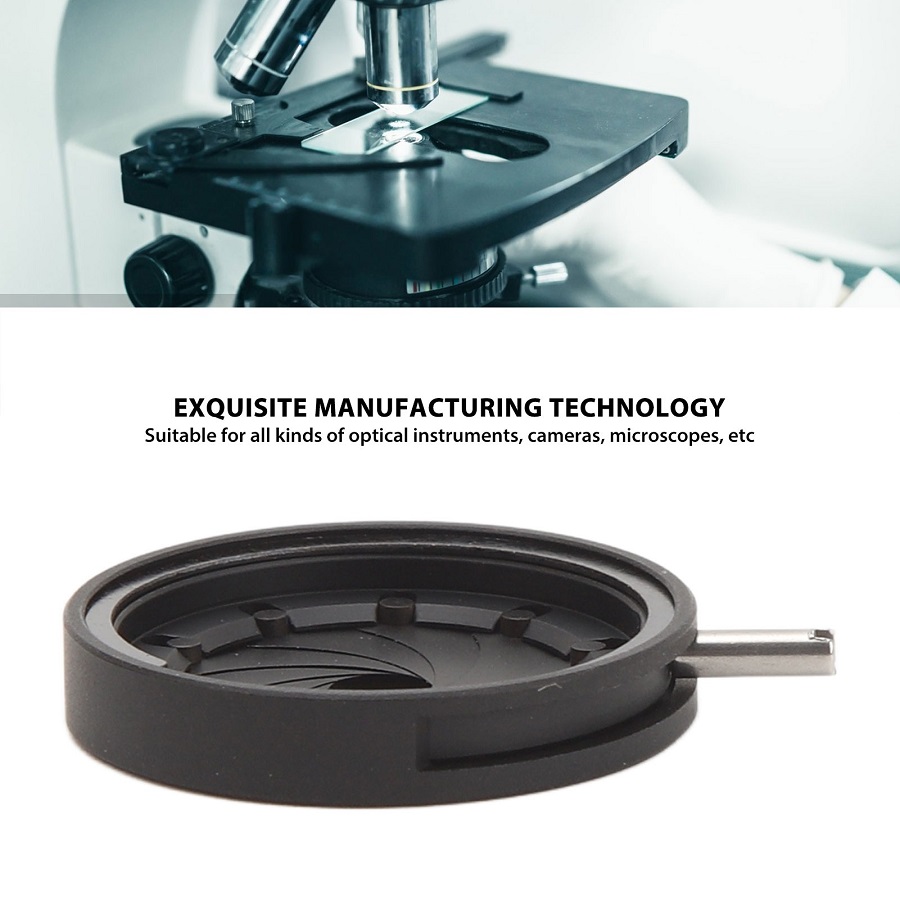
Aperture Diaphragms: Found in the optical pathway, aperture diaphragms control light’s intensity and focus on the specimen. They often have multiple leaves that can open and close to fine-tune the beam of light. Microscopists use these to regulate resolution and contrast. This type is crucial for high-detail observation.
Field Diaphragms: These diaphragms sit closer to the light source and shape the overall field of light entering the microscope. By adjusting a field diaphragm, you control how much background light surrounds the specimen. This affects the evenness of illumination and helps reduce glare.
Each diaphragm type serves a distinct purpose in microscopy. The aperture diaphragm mainly enhances image quality, while the field diaphragm improves illumination control. Skilled use of both ensures the greatest clarity and contrast for your specimen slides. For those looking to achieve precision in their microscopic studies, understanding these differences is key. It’s about balancing light just right, to reveal the finest details without damaging the specimen. Manage them well, and your diaphragm microscope will give you a clear window into the microscopic world.
The Role of the Diaphragm in Image Contrast and Resolution
The diaphragm microscope plays a pivotal role in image contrast and resolution. When examining specimens, contrast is the difference between the lightest and darkest parts. This difference helps to distinguish details. It is critical for clear identification of specimen features. The diaphragm aids in achieving such contrast by controlling light intensity. It makes sure the light is just right. Not too bright to cause glare, nor too dim to lose details.
Resolution refers to the microscope’s ability to reveal fine details clearly. It defines how distinct the individual parts of a specimen appear. By adjusting the diaphragm, light spreads over the specimen in an optimal way. This reduces blur and enhances sharpness. A correct diaphragm setting prevents light from scattering. It means less diffraction. Less diffraction equals better resolution. Sharp, high-resolution images are what every microscopist aims for.
In summary, the diaphragm’s role is vital for quality microscopy. It ensures the right amount of light shines through. This creates excellent contrast and fine resolution in images. Mastery in its adjustments can make or break the clarity of microscopic observations. Proper use of the diaphragm can dramatically improve your examination results.
How to Adjust the Microscope Diaphragm for Optimal Viewing
Effective use of a diaphragm microscope hinges on proper diaphragm adjustment. Mastery of this skill is a must for any microscopist eager to observe specimens at their best. It is a simple yet crucial process that impacts image contrast and resolution. Here’s a straightforward guide to adjusting your microscope diaphragm for optimal viewing:
- Place your specimen slide on the stage and secure it.
- Start with a low power objective to locate your specimen.
- Open the diaphragm completely to allow maximum light to pass.
- Gradually close the diaphragm while observing the specimen through the eyepiece.
- Adjust until you see the best contrast and clarity without losing details.
- Be careful not to over-adjust, which can cause the image to darken excessively.
- If the specimen is too bright or too dim, adjust the light source’s intensity.
- For live specimens, use minimal light to prevent heat damage.
You may need to readjust the diaphragm when you switch to a different objective lens. Always make minor adjustments to find the perfect balance of light. Proper diaphragm control will not only improve the image quality but also enhance your overall viewing experience. Remember, the key is to adjust the intensity of light precisely where it is needed, while reducing it elsewhere. Practice this process to become proficient and ensure the finest observations possible with your diaphragm microscope.
Common Issues and Troubleshooting the Microscope Diaphragm
Even the most skilled microscopists can face issues with the diaphragm microscope. Recognizing common problems and knowing how to fix them is critical. Here are frequent issues and their solutions:
- Reduced Contrast: If your image lacks contrast, check the diaphragm setting. It may be too open, allowing too much light. Slightly close the diaphragm to improve contrast.
- Blurry Images: Poor resolution can result from incorrect diaphragm use. Ensure it is not closed too much. Adjust the aperture to allow more light and reduce blurriness.
- Excessive Glare: This happens when too much light reflects off the specimen. Dim the light or close the diaphragm a bit to reduce glare.
- Uneven Illumination: If lighting on the specimen is not even, reposition the field diaphragm. Align it properly to fix uneven lighting.
- Overheating Specimens: Live specimens might get heat damaged. Use lower light intensity and open the diaphragm less.
- Diaphragm Stuck: Sometimes the diaphragm may not move smoothly. Do not force it. Check for debris that might be causing the issue and clean gently.
- Diffraction Patterns: If you see strange light patterns, your diaphragm is likely too closed. Open it until the patterns disappear.
Regular upkeep and a steady hand when adjusting can prevent these issues. Practice makes perfect. With experience, pinpointing and fixing diaphragm problems becomes easier. For diaphragm microscope users, mastering these troubleshooting steps is a part of the journey to expert microscopy.
Enhancing Microscopy Skills: Tips for Diaphragm Manipulation
Improving your skills with a diaphragm microscope requires practice and knowledge. Here are some tips to help you manipulate the diaphragm proficiently:
- Learn the Basics: Start with understanding how the diaphragm affects light and your specimen.
- Go Slow: Adjust the diaphragm slowly. Watch the changes in contrast and resolution closely.
- Use Both Eyes: While adjusting, keep both eyes open to reduce eye strain and improve perception.
- Find Balance: Aim for a balance where details are clear but the light doesn’t overpower the image.
- Check Often: Recheck your settings whenever you change objectives or specimens.
- Start Wide: Begin with a wider diaphragm and narrow it as needed for the right amount of light.
- Practice Regularly: The more you practice, the better you become at finding the sweet spot quickly.
- Record Settings: Note down successful diaphragm settings for various specimens for future reference.
Manipulating the diaphragm effectively is a skill that enhances all aspects of microscopy. Keep honing this skill to ensure that you consistently achieve the highest quality images possible with your diaphragm microscope.

Caring for Your Microscope’s Diaphragm: Maintenance Best Practices
To ensure that your diaphragm microscope functions optimally, regular maintenance is crucial. Here are best practices for caring for the diaphragm:
- Clean Regularly: Dust and debris can alter light paths. Gently clean the diaphragm with a soft brush or compressed air.
- Handle with Care: When adjusting the diaphragm, use light touches. Avoid forcing any movements which might damage it.
- Check for Alignment: Ensure the diaphragm aligns correctly with the light source and lenses. Misalignment can affect image quality.
- Lubricate Moving Parts: If the diaphragm has adjustable parts, a small amount of lubricant helps maintain smooth operation.
- Avoid Harsh Chemicals: When cleaning, don’t use harsh chemicals. They may corrode the diaphragm or other microscope components.
- Store Properly: When not in use, cover the microscope to protect the diaphragm from dust.
- Regular Inspection: Include the diaphragm in your routine microscope check. Look out for any signs of wear or damage.
- Use Correctly: Follow the guidelines for proper diaphragm manipulation to prevent unnecessary stress on the system.
By following these simple steps, you can keep your diaphragm microscope in good working order. Proper care extends the life of your equipment and guarantees reliable results.