Introduction to the Iris Diaphragm
The iris diaphragm is a key component of a microscope. It plays a crucial role in controlling the amount of light passing through the specimen. Much like the aperture in a camera, this mechanical feature allows for precise light adjustments. This can significantly affect the quality of the image you see under the lens. Understanding how to use the iris diaphragm helps in achieving clear and detailed microscope images.
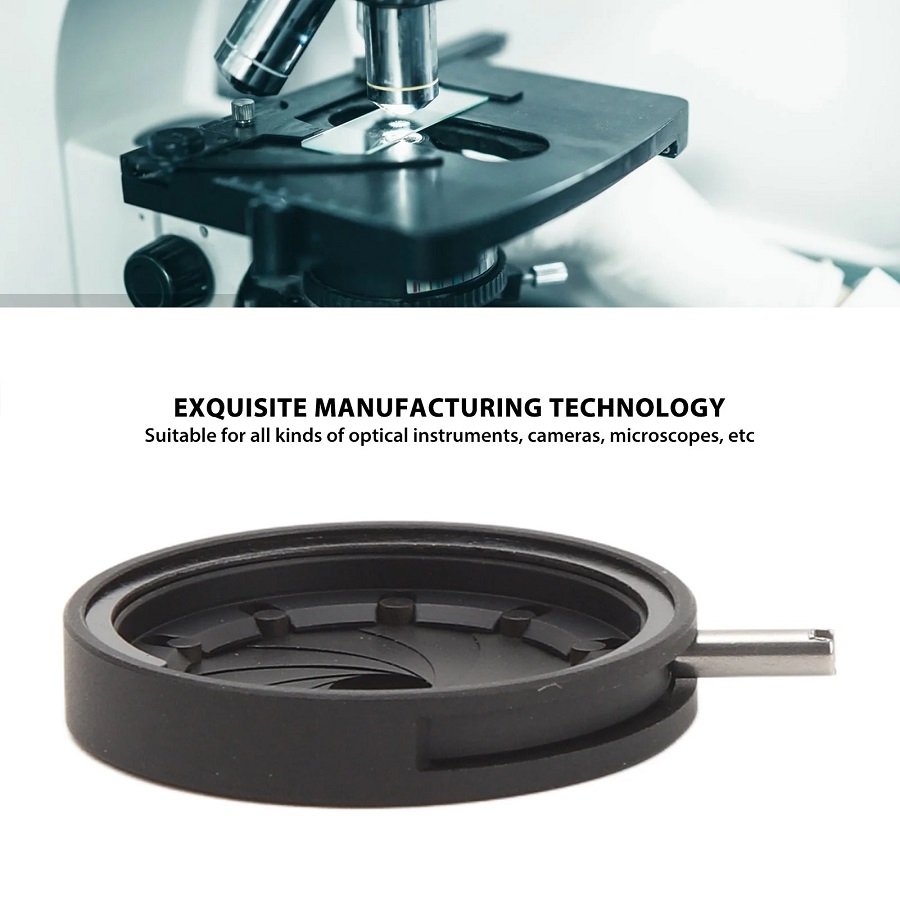
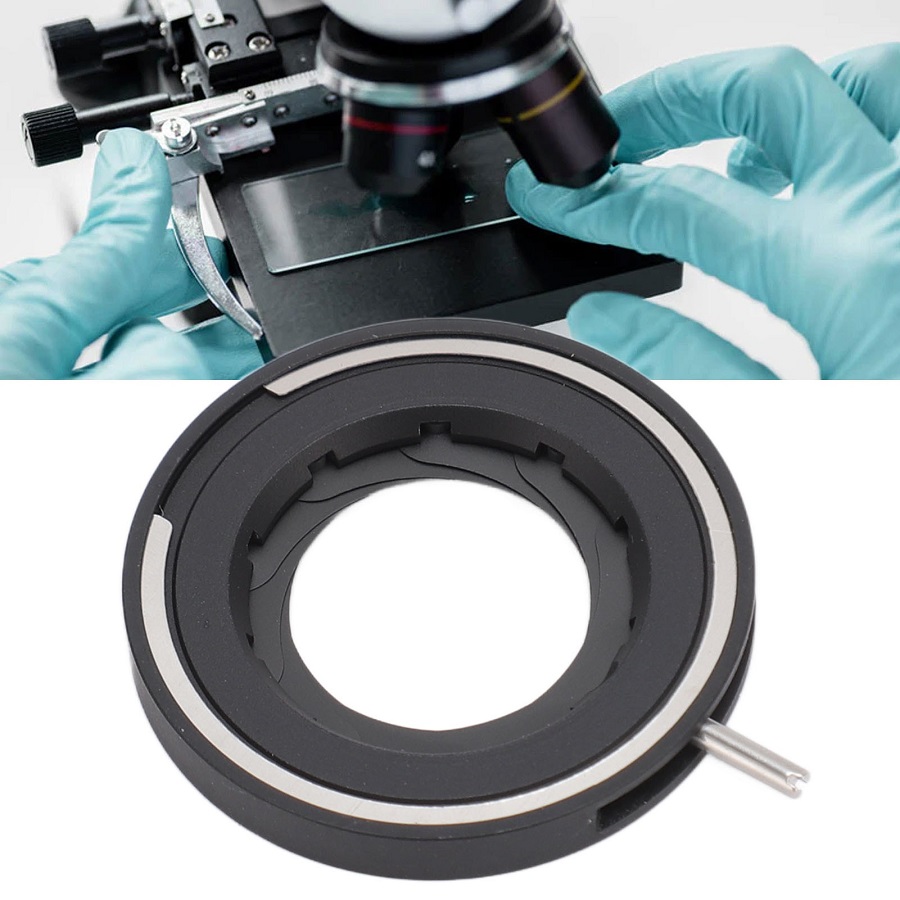
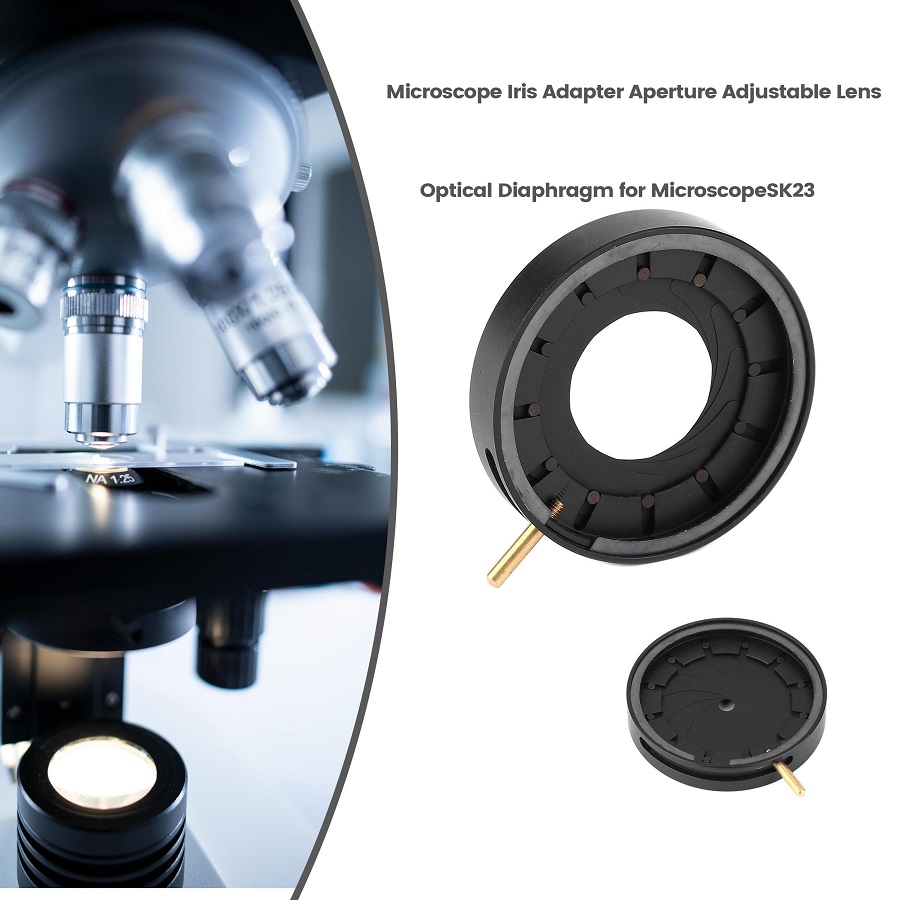
For those new to microscopy, the iris diaphragm might seem complex. Yet, it’s quite simple once you learn the basics. It consists of thin, overlapping plates. These plates form a circle, or aperture, that can widen or narrow. By manipulating the diaphragm’s lever, you adjust this aperture to change the light. Managing light is vital in microscopy for several reasons. It impacts the contrast and resolution of the image. Proper use of the iris diaphragm microscope component can reveal fine details of the specimen.
It’s important for microscope users, amateur or professional, to master the iris diaphragm. Knowledge of its function and operation enhances the microscopy experience. In this blog, we will discuss how the iris diaphragm works, its role in image clarity, and how to adjust it effectively. We’ll also cover common mistakes to avoid and maintenance tips. Plus, we’ll look at real-world case studies. These show the effects of iris diaphragm adjustments on observations. By the end, you’ll have a comprehensive understanding of this vital microscope part and how to use it.

How an Iris Diaphragm Works in Microscopy
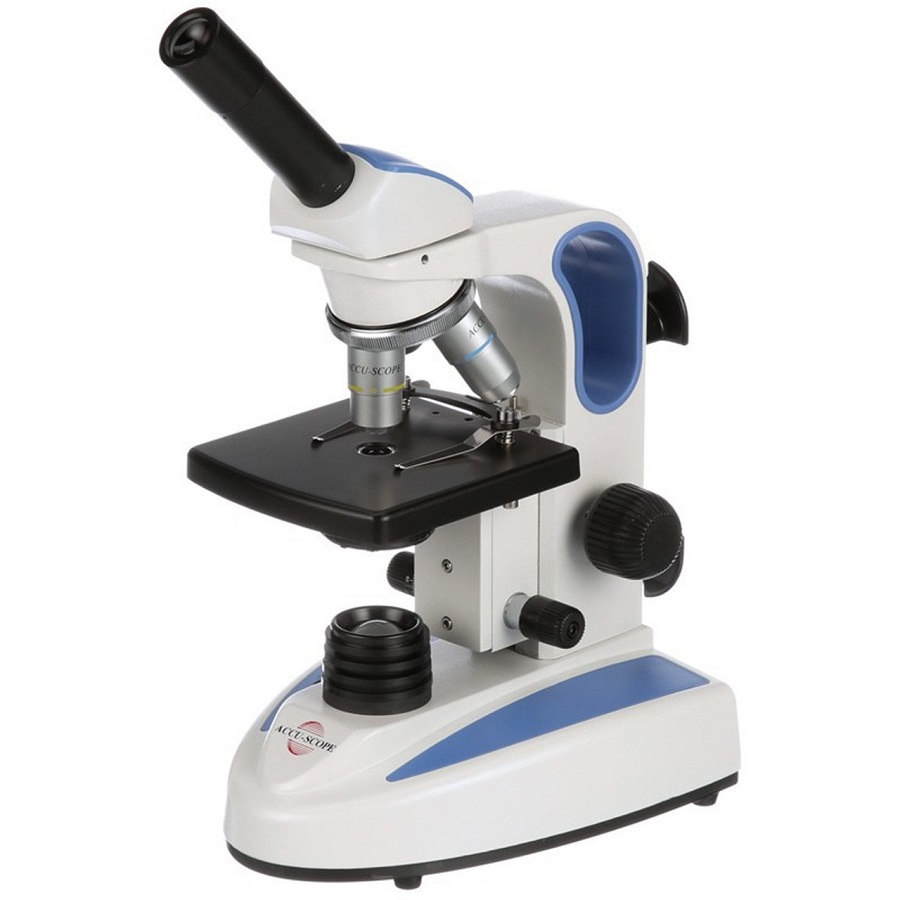
To grasp how an iris diaphragm microscope aids in viewing, imagine it as a camera’s aperture. This comparison makes it intuitive. The iris diaphragm sits below the stage where you place your slides. It surrounds the light source of the microscope. By using a lever attached to it, you can adjust the size of the opening that lets light through.
When you glide the lever, the overlapping plates inside the diaphragm either retract or expand. This action changes the aperture’s diameter. A larger aperture allows more light to illuminate your specimen. Conversely, a smaller aperture permits less light. Through this simple mechanism, the iris diaphragm regulates the light intensity and distribution on the slide.
Why is this crucial? Light control is paramount in microscopy. Too much light can wash out details. Too little, and your image is too dark to discern features. The iris diaphragm enables you to find the sweet spot for optimal light. This control is what lets you see the fine details in the clearest way possible. Mastering its use is an essential skill for any microscope user.
In summary, the iris diaphragm is a fine-tuning tool for microscope lighting. By manipulating its lever, you regulate the light’s path and enhance your observation quality. As Will Rogers once said, “An ounce of practice is worth a pound of theory.” The same applies to using the iris diaphragm in microscopy – practical experience will lead to mastery.

The Role of the Iris Diaphragm in Image Clarity
The iris diaphragm microscope part is crucial for clear images. It fine-tunes light and contrasts on the slide. When you adjust the diaphragm, you change how light interacts with your specimen. This is key for clear and sharp microscopic images.
By narrowing the aperture, the iris diaphragm increases contrast. It makes fine details stand out. A wider aperture lowers contrast which can be helpful for thick or denser specimens. Proper use ensures you see the best possible detail.
The iris diaphragm helps to avoid glares and light scatter. Too much light can lead to glare, obscuring details. The diaphragm controls light to reduce this. This ensures a clearer view.
The right iris diaphragm setting is vital for resolution. High resolution gives a clearer image. To get this, use the diaphragm to adjust light and contrast. This will help you see even the smallest specimen features.
Thus, the iris diaphragm plays a pivotal role in image clarity in microscopy. It allows you to balance the light and achieve the ideal contrast. This helps in revealing the intricate details of the observed specimen.
Adjusting the Iris Diaphragm for Optimal Viewing
To achieve the best view through a microscope, proper adjustment of the iris diaphragm is key. Here are simple steps to get optimal viewing:
- Begin with Proper Lighting: Make sure the microscope’s light source is on and properly adjusted before touching the diaphragm.
- Open the Diaphragm Fully: Start with the iris diaphragm fully open. This lets in the maximum amount of light.
- Place the Slide: Mount your specimen slide onto the stage and bring it into focus using the objective lenses.
- Adjust the Light: Slowly close the diaphragm while watching the specimen. Look for a point where the view is clear but not too dark.
- Fine-Tune for Contrast: If details are hard to see, adjust the diaphragm until the desired contrast is reached. Too little contrast makes it hard to define features.
- Be Patient: It takes time to find the perfect balance. Adjust the diaphragm slowly to evaluate the changes.
Balancing light and clarity is what the iris diaphragm microscope part is all about. When used correctly, it sharpens the details and enhances your viewing experience. Remember to make all adjustments while observing through the eyepiece to immediately see the effect. Experiment with different settings to understand how each change impacts the visual outcome. With consistent practice, you’ll quickly learn to find the ideal setting for each specimen you examine.
Common Mistakes When Using the Iris Diaphragm
When working with the iris diaphragm microscope, some common errors can occur. These mistakes can affect the quality of your microscopic images. Here’s what to watch out for:
- Over-adjusting the Diaphragm: Users often turn the diaphragm too much. This leads to either too much or too little light. Learn what proper light looks like.
- Ignoring the Specimen’s Thickness: Thin and thick slides need different light levels. Don’t use the same setting for all. Adjust the diaphragm to match the specimen’s needs.
- Forgetting to Adjust for Different Objectives: Moving to a higher power lens? Remember to tweak the diaphragm. Each lens may need a separate light amount.
- Neglecting the Field Diaphragm: This can be confused with the iris diaphragm. They are not the same. The field diaphragm controls the light field; the iris affects light amount and contrast.
- Not Being Patient: Finding the perfect balance of light and clarity takes time. Don’t rush. Adjust the diaphragm slowly and observe the changes.
By avoiding these mistakes, you can use the iris diaphragm effectively. This will improve your skills in microscopy and the quality of images you can capture.

Maintenance Tips for the Iris Diaphragm
Maintaining the iris diaphragm microscope part is crucial for consistent performance. Here are some tips to help keep it operating smoothly:
- Clean Regularly: Dust and debris can clog the diaphragm. Use a soft brush to gently clean the area.
- Avoid Contact with Liquids: Liquids can rust or damage the diaphragm plates. Keep them dry at all times.
- Handle with Care: When adjusting the lever, use gentle motions. Rough handling can misalign the plates.
- Check for Smooth Operation: The adjustment lever should move smoothly. If not, it may need service.
- Store Properly: When not in use, cover the microscope. This protects the diaphragm from dust.
- Avoid Unnecessary Adjustments: Overuse can wear out the mechanism. Adjust only as needed.
- Follow Manufacturer Guidelines: Use the manual for cleaning and maintenance steps. Different models might have specific instructions.
By following these simple maintenance steps, you can extend the life of the iris diaphragm. Proper care ensures you get the best image quality every time you use your microscope. Remember, a well-maintained diaphragm is key to excellent microscopy.
Case Studies: The Impact of Iris Diaphragm Adjustment on Observations
Adjusting the iris diaphragm microscope part can have dramatic effects on microscopic observations. To illustrate its impact, let’s look at some case studies.
In one instance, a student struggled to identify cellular structures on a stained slide. The colors looked washed out. By narrowing the iris diaphragm, the contrast increased. Suddenly, the cellular walls and nuclei became vivid and distinct.
Another case involved a professional researcher examining pond water. The light was too bright. It caused glare. By slightly closing the iris diaphragm, the light intensity reduced. This revealed the delicate features of microorganisms.
A third example featured a lab technician working with tissue samples. He started with the diaphragm fully open. The tissues appeared blurry. After adjusting for optimal light, the layers and textures of the tissues sharpened significantly.
These cases show that proper use of the iris diaphragm enhances detail and clarity. Whether for educational or professional purposes, mastering diaphragm adjustment is key. It turns good images into great discoveries. Each twist of the lever can mean the difference between a missed detail and a breakthrough observation. With practice, anyone can achieve optimal results and explore the microscopic world effectively.
Conclusion: Mastering the Use of the Iris Diaphragm
Mastering the iris diaphragm microscope is crucial for sharp, clear images. Remember the basics covered in this blog. Adjusting the diaphragm controls light and detail. Keep the diaphragm clean and handle it with care for reliable performance. Avoid common mistakes such as rushing adjustments or not matching light to specimen thickness. By focusing on these points, you can explore the microscopic world with skill and precision. Every small adjustment can reveal stunning details and enhance your observations. Practice is key, so take your time and learn from each slide you examine. With patience and experience, you’ll master the use of the iris diaphragm and take your microscopy to the next level.
