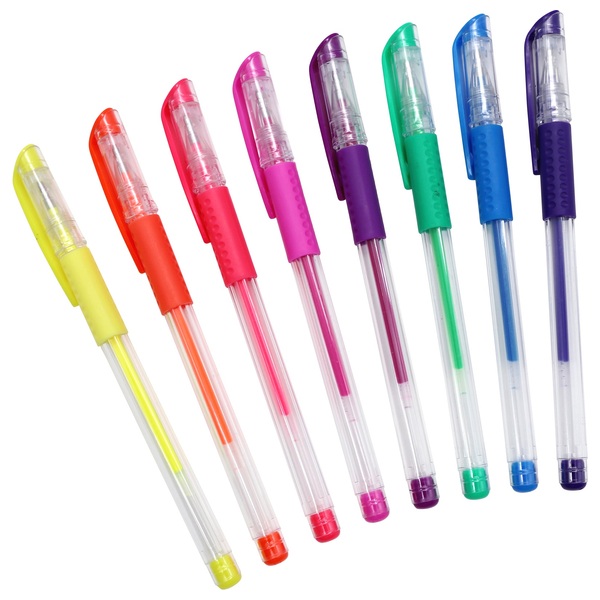
Gel pen art is a vibrant and captivating medium that has captured the hearts of artists and crafters alike. Its smooth application, vivid colors, and versatility make gel pens a popular choice for both detailed illustrations and casual doodling. If you’re looking to explore the world of gel pen art, this guide will help you get started. From essential supplies to techniques and creative ideas, you’ll discover how to unleash your artistic potential with gel pens. So grab your gel pens, and let’s dive into the colorful world of gel pen art!
Understanding Gel Pens
Different Types of Gel Pens
Gel pen come in various types, each with unique properties that can affect your artwork. Standard gel pens typically contain vibrant, pigmented ink that dries quickly on paper, making them ideal for detailed work. There are also metallic gel pens that add a shimmering touch to your illustrations, perfect for highlighting elements of your design. Glitter gel pens offer a fun twist, incorporating glitter particles that create a sparkle effect when applied.
Additionally, you can find opaque gel pens, which work well on dark paper, allowing your colors to stand out against the background. These diverse types of gel pens provide endless opportunities for expression and creativity, making them essential tools for any artist’s kit.
Choosing the Right Gel Pens for Your Style
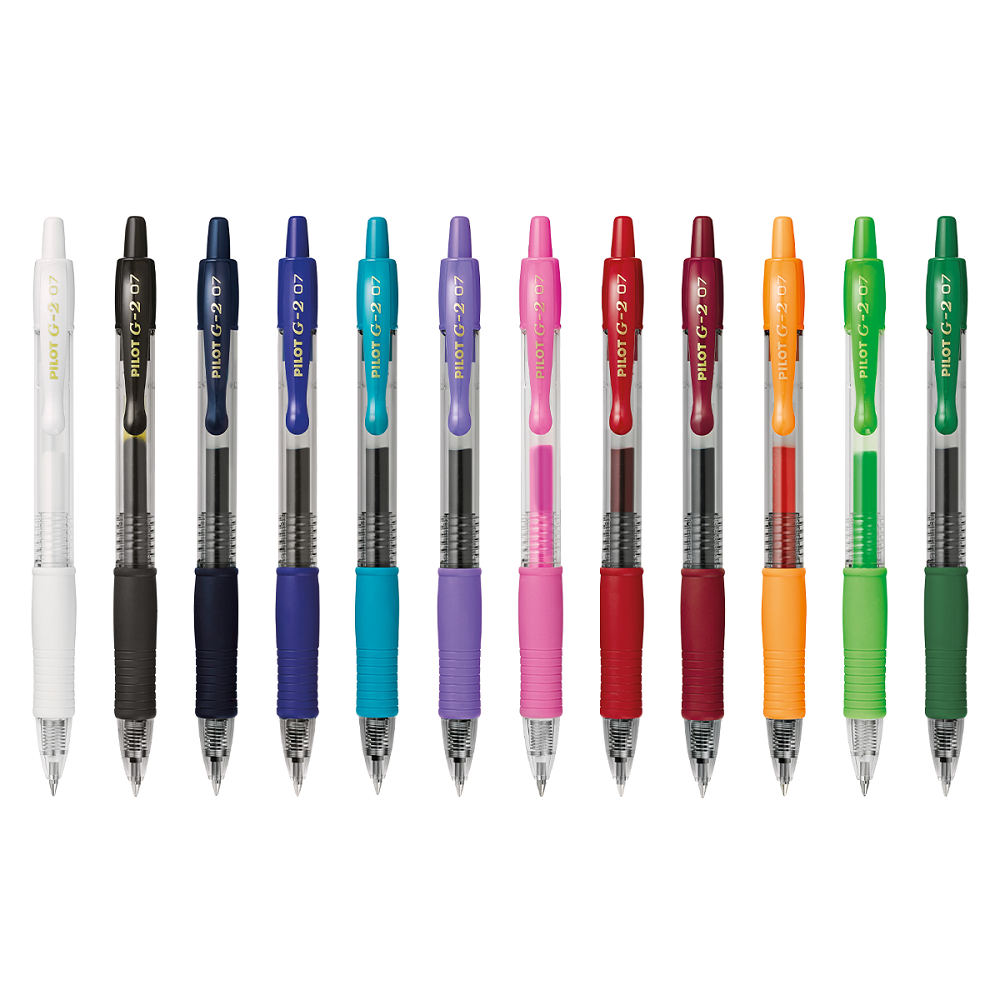
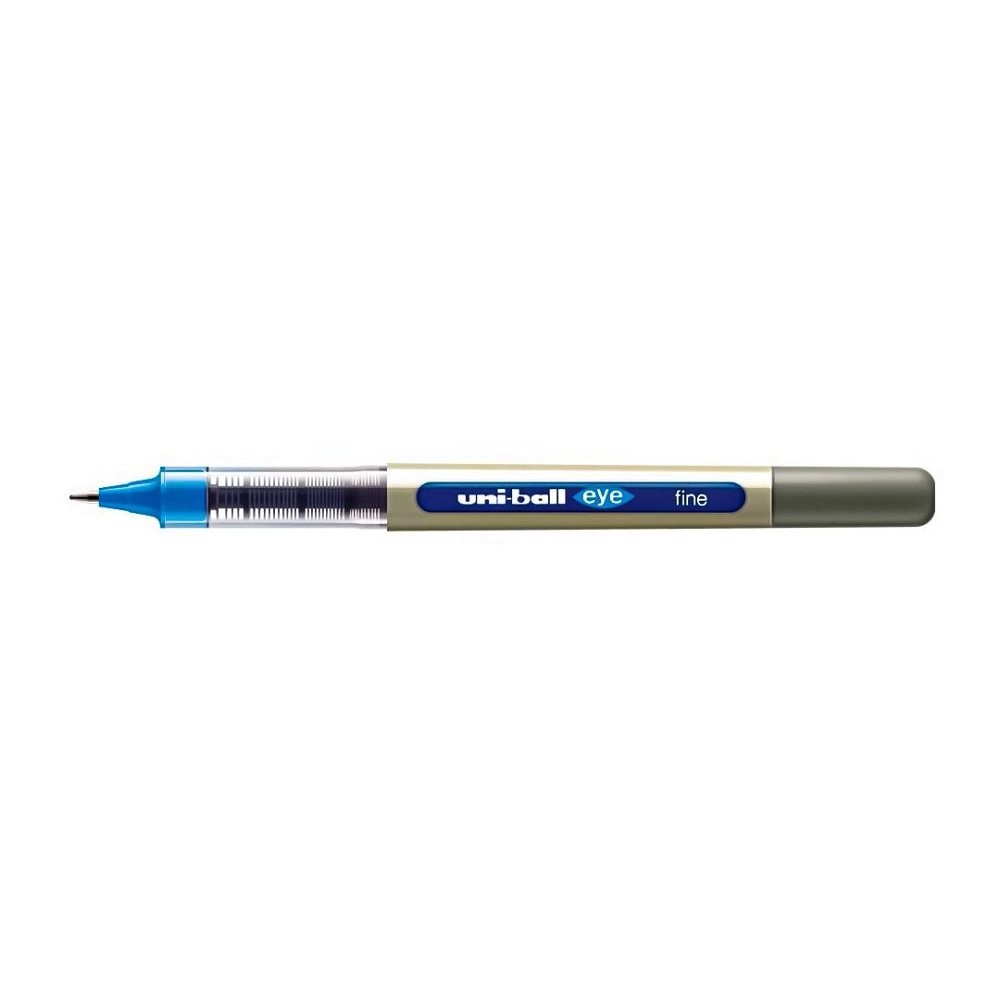
When starting with gel pen art, it’s essential to choose the right pens for your desired style and technique. Consider a starter set that includes various types, such as standard, metallic, and glitter pens. This variety will allow you to experiment and find the pen types that resonate with your artistic vision. As you progress, you can expand your collection based on your personal preferences and the specific projects you want to undertake. Investing in quality gel pens from reputable brands like Uni-ball, Sakura, or Jelly Roll ensures that you achieve reliable results and enjoy a smoother drawing experience.
Essential Supplies for Gel Pen Art
Basic Materials Needed
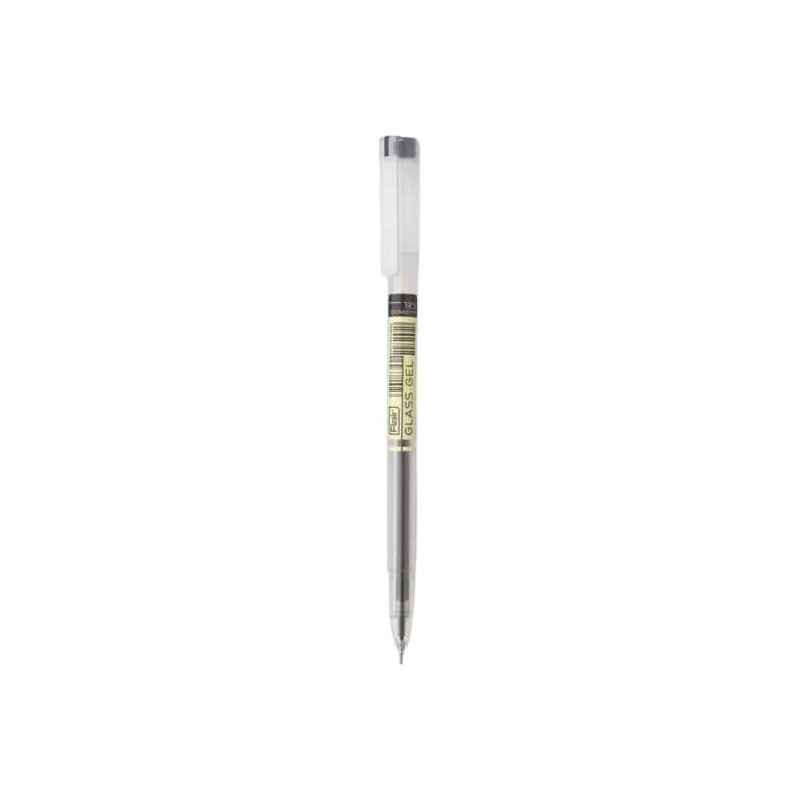
To get started with gel pen art, you’ll need a few basic materials. The primary supply is, of course, gel pens. Consider having a variety of colors in your collection to add depth and interest to your artwork. In addition to pens, a good quality sketch pad or drawing paper is crucial. Look for markers or watercolor paper, as they provide a smooth surface for gel pen application and allow colors to pop without bleeding through.
You might also want to have a pencil, eraser, and ruler for initial sketches and planning. These tools will help you create outlines and guides before applying your final gel pen illustrations. If you’re exploring coloring pages or designs, consider downloading and printing templates that inspire you.
Optional Supplies to Enhance Your Art
While the basics are essential, you can include optional supplies to elevate your gel pen creations further. For example, blending tools like cotton swabs or blending stumps can help you create smooth transitions between colors. Similarly, a white gel pen can be used for highlights and adding details, making your illustrations pop. Consider using a detailed brush pen for additional texture in your work, and invest in high-quality erasers for clean corrections.
Incorporating blending techniques like watercolor can also significantly enhance your gel pen art. Adding water or utilizing watercolor brushes can create stunning effects that add depth and richness to your illustrations. Experimenting with different combinations will expand your options and allow for more creative expression in your art.
Techniques for Gel Pen Art
Basic Techniques to Master
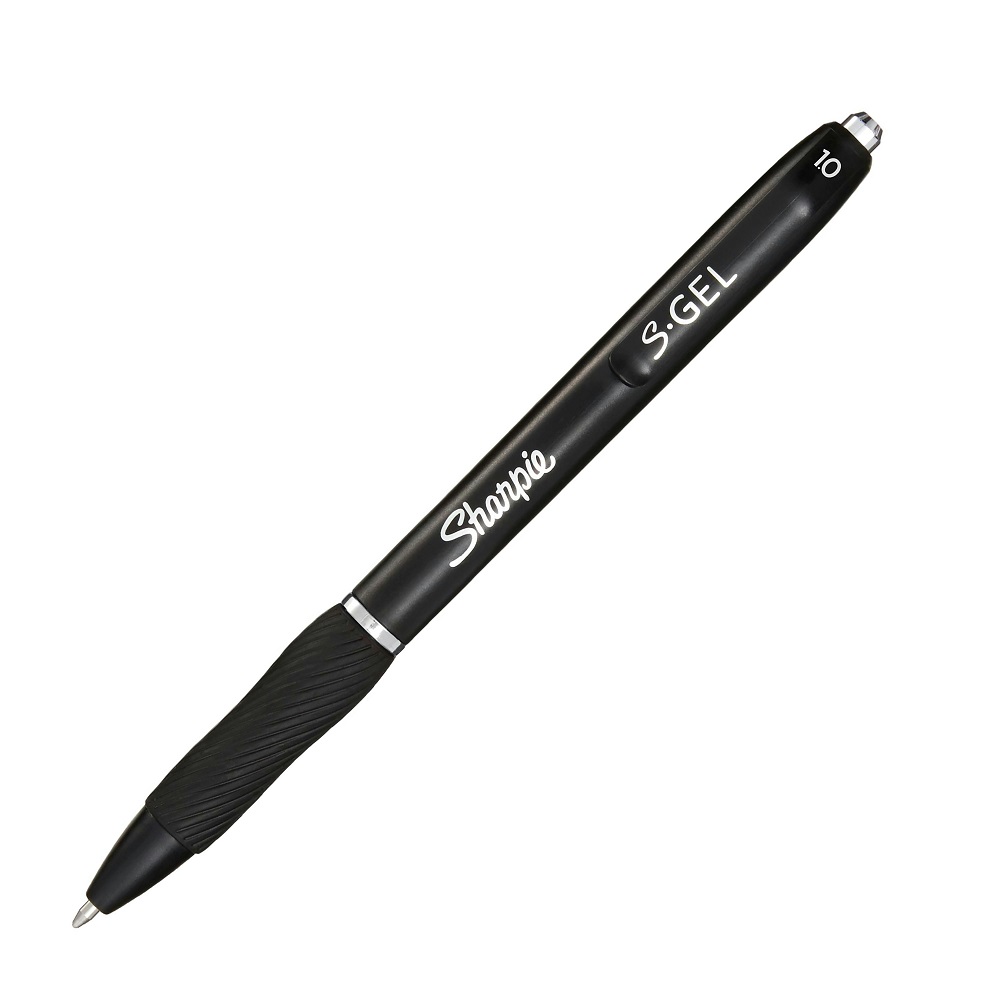
Now that you have your supplies ready, it’s time to learn some basic techniques for creating stunning gel pen illustrations. Start with simple strokes and lines to get a feel for how the pens work. Practice making different line widths by adjusting your pressure on the pen. With practice, you’ll gain control and precision, allowing you to create intricate designs.
Another basic technique is layering colors. Gel pens work beautifully when you layer them; this can create shadowing effects and added depth. Start with a light color as the base layer; once dry, you can add darker colors on top to create dimension. Be patient while layers dry to avoid smudging, as gel pens can be prone to smearing if they’re not adequately dried.
Advanced Techniques to Explore
Once you’re comfortable with the basics, consider exploring advanced techniques to take your gel pen art to the next level. One popular method is creating gradients or ombre effects. To achieve this look, select two or more colors that blend well together and apply them side by side. While the colors are still wet, use a clean brush or cotton swab to blend the edges. This technique creates a smooth transition that can enhance your visuals significantly.
Additionally, try exploring stippling and hatching to develop texture in your work. Stippling involves creating patterns using small dots, while hatching refers to drawing parallel lines. Both techniques can add depth and intricate detail to your illustrations. Experiment with different line weights and styles, as these variations can significantly influence the overall feel of your artwork.
Finding Inspiration for Your Artwork
Nature and Everyday Life
Finding inspiration is crucial when embarking on your gel pen art journey. Nature provides an abundance of inspiration with its colors, shapes, and intricate details. Consider sketching elements from flowers, trees, or landscapes, translating those observations into your gel pen illustrations. Observe how colors shift in different lighting conditions and try to replicate those effects in your work.
Everyday life around you can also ignite creative impulses. Look at your living space or objects you see regularly. Try drawing objects in your home, like coffee mugs, plants, or even your pets. Finding beauty in mundane items can inspire stunning illustrations. Keep a small sketchbook nearby to jot down ideas or quickly capture designs whenever inspiration strikes.
Online Resources and Social Media
The internet provides a treasure trove of inspiration for gel pen art. Platforms such as Pinterest and Instagram are fantastic resources for discovering new techniques, artists, and styles. Follow gel pen artists to see their work, gain insight into their processes, and learn common themes in gel pen illustrations. You can also print designs or templates as practice. Many talented artists share coloring pages specifically created for gel pens, allowing you to engage with their art while honing your skills.
Additionally, consider joining online art communities. These platforms are excellent for sharing your work, receiving feedback, and participating in challenges. Interacting with fellow artists lets you learn new techniques and gain varied perspectives throughout your artistic journey.
Creating Your Own Illustrations
Planning Your Illustrations
Once you’ve gathered inspiration and feel ready, start planning your illustrations. Begin by sketching out your ideas loosely with a pencil. This preparation will help you visualize the overall composition and layout before you dive in with gel pens. Analyze if the design needs adjustments, and don’t hesitate to change the elements to match your vision better.
Choose a focal point for your illustration to guide your design decisions. Whether you want to highlight specific elements or create a symmetrical pattern, identify how to position each aspect strategically. This planning stage is where you can exercise your creativity without commitment, as your gel pens will set the outline once you’re ready.
Choosing a Color Palette
Selecting a cohesive color palette enhances the aesthetics of your artwork. Consider complementary colors that work harmoniously together or experiment with a monochromatic scheme for a more sophisticated feel. Using a color wheel can help identify which colors blend well together while maintaining visibility.
As you work with gel pens, notice how the colors interact when layered or blended. Continually having your color palette in mind while applying colors ensures a cohesive final product. You may also want to keep a color chart with your gel pens to reference how the colors appear once applied, as sometimes pens can appear differently on paper than they do in their packaging.
Preserving Your Gel Pen Artwork
Securing and Protecting
After completing your illustrations, it’s essential to preserve your artwork. Gel pen ink can smudge or fade over time, so protecting your drawings will keep them looking vibrant and fresh. Start by allowing the artwork to dry completely. Ensure you give each layer ample time to dry, preventing smudges before moving on to preservation techniques.
Once your piece is dry, consider sealing it with a fixative spray. Spray a light layer over your artwork to protect it from moisture, smudging, and fading. Be sure to choose an acid-free fixative to prevent any chemical reactions that might alter the colors over time. Always spray this in a well-ventilated area and according to the product instructions.
Displaying Your Gel Pen Art
Displaying your completed gel pen art adds to the overall enjoyment of the creative process. Consider framing your artwork using quality frames that will not damage the paper. Matting can also enhance the presentation, drawing more attention to your illustrations. Alternatively, you can create a gallery wall boasting multiple pieces of your gel pen art, celebrating your creative journey.
If you’re feeling adventurous, consider digitizing your artwork. You can scan or photograph your pieces to create prints or digital files. This way, you can share your art with a broader audience, use it for promotional materials, or even sell prints online. Digitizing your work opens up exciting opportunities for showcasing your talent beyond traditional constraints.
Keeping the Creative Momentum Going
Practice and Experimentation
Once you start creating, keep the momentum going by dedicating time to practice and experimentation. Set aside regular intervals throughout the week for focused gel pen art. Use this time not only to work on new illustrations but also to try out different techniques and styles. Challenge yourself by imitating the work of artists that inspire you, ultimately developing your unique flair.
Be open to making mistakes as you explore your artistic skills. Each misstep is an opportunity to learn and grow. Using a sketchbook to document your progress allows you to track your development and experiment with styles that catch your eye. This process builds confidence and encourages you to take artistic risks that can lead to incredible breakthroughs.
Joining Workshops and Art Classes
Consider joining workshops or art classes focused on gel pen art. Engaging with other artists and experts provides valuable feedback and can reignite your enthusiasm for the medium. Look for community art centers or online platforms that offer lessons or tutorials specifically catering to gel pen techniques. Learning from professionals lets you absorb new tips and tricks while motivating you to keep pushing your creative boundaries.
Online resources, such as YouTube, can guide you through various techniques. Explore channels that offer step-by-step tutorials so you can follow along and practice simultaneously. Immersing yourself in the art community, whether digitally or locally, will enhance your skills and keep your inspiration flowing.
Conclusion
Gel pen art offers a colorful and enjoyable way to express yourself creatively. By gathering the right supplies, mastering techniques, and finding inspiration, you can create stunning illustrations that reflect your unique style. Embrace the experimental nature of gel pen art and remember that practice is key to improvement.
Whether you’re creating intricate designs, playful doodles, or vibrant illustrations, gel pens are an excellent medium that can provide hours of artistic enjoyment. So gather your tools, unleash your imagination, and let your creativity flow as you embark on your gel pen art journey. The world of colors, shapes, and designs awaits you—get started today!
