Introduction to Gel Pen Drawing
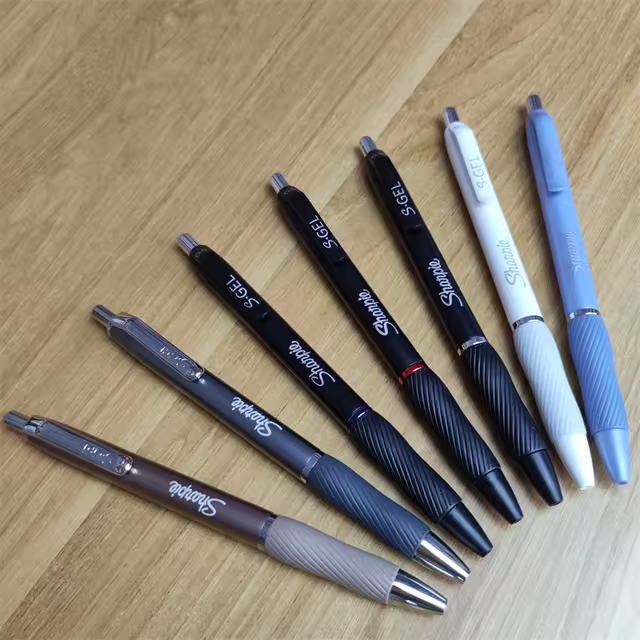
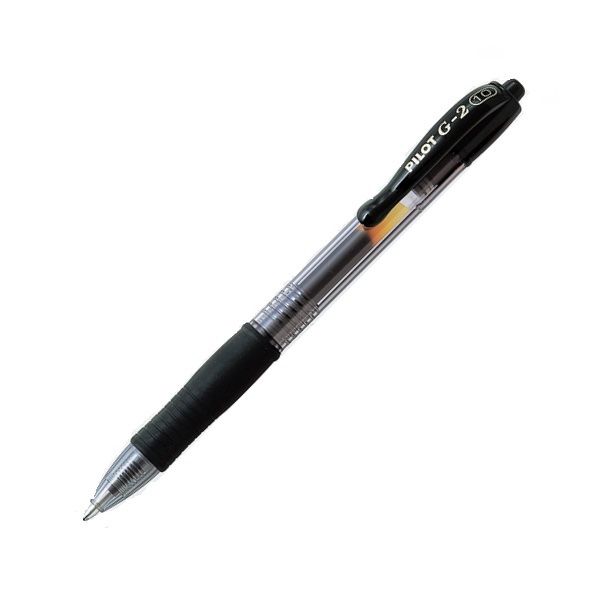
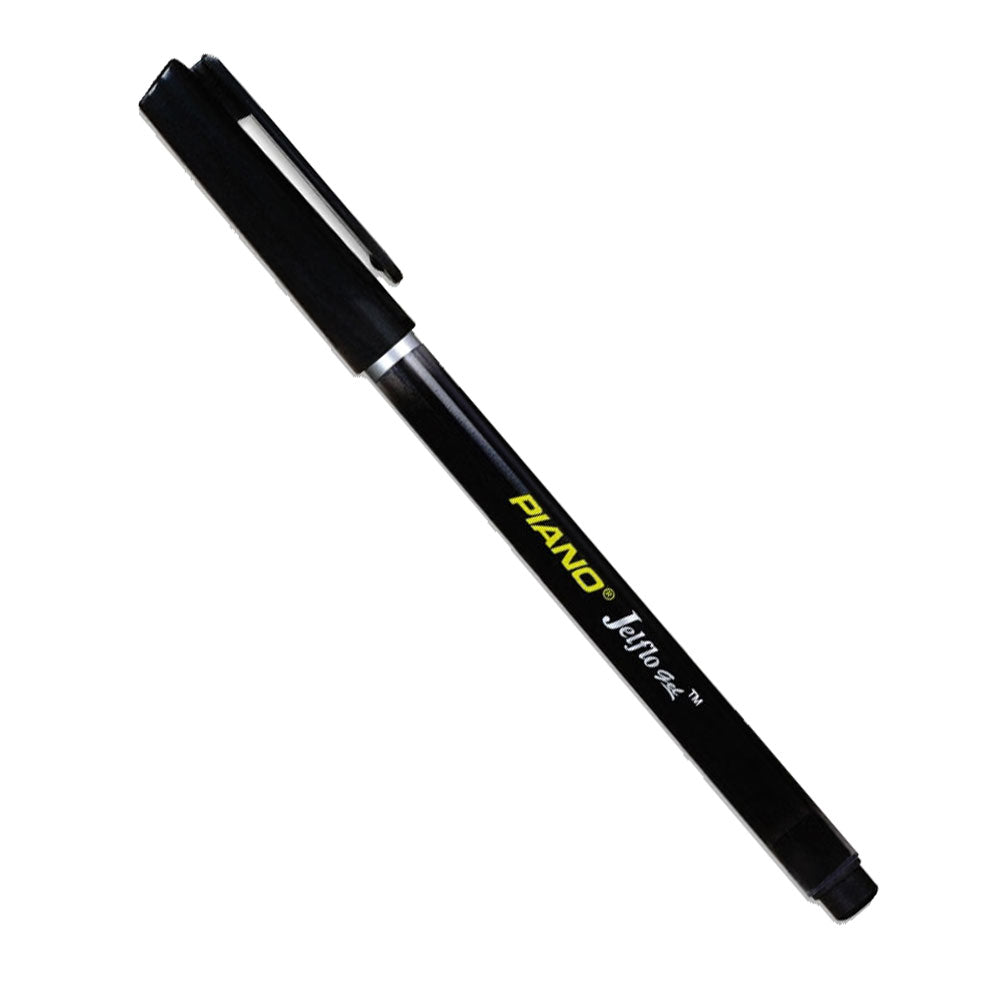
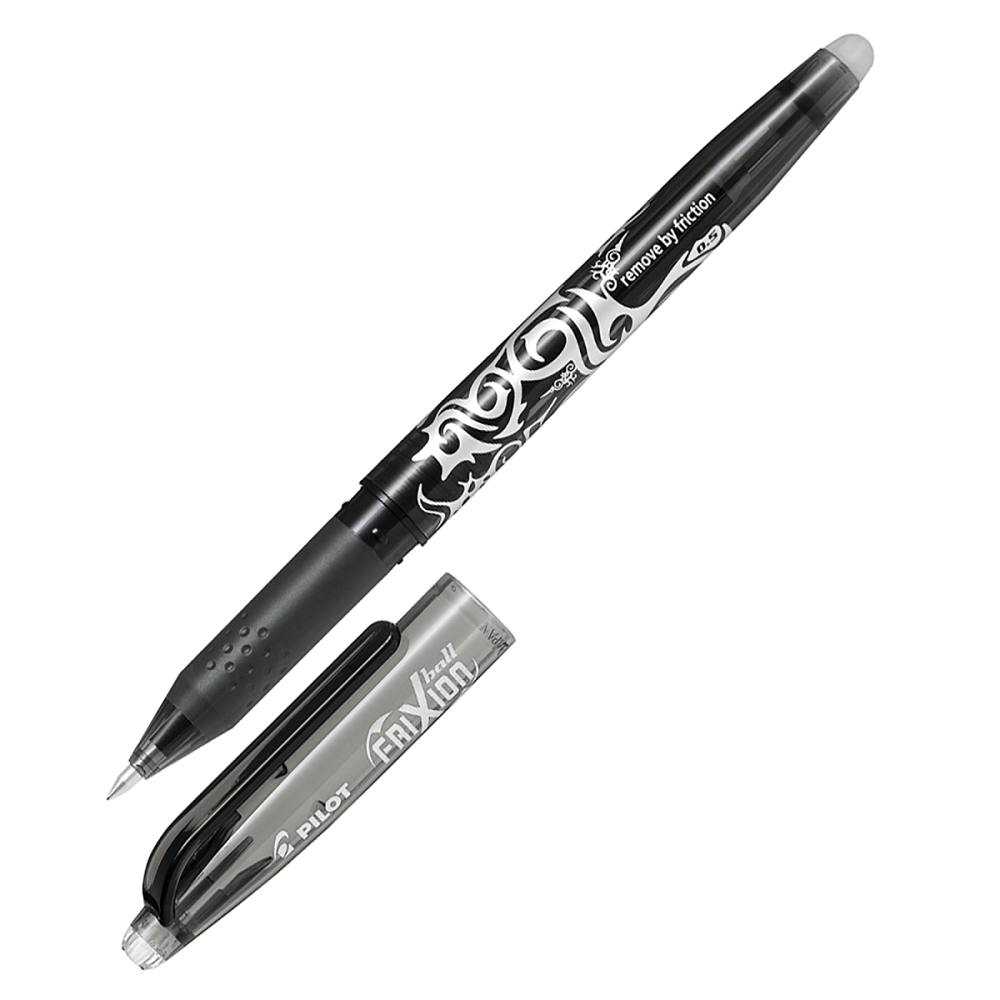
Gel pen drawing offers a vibrant and versatile medium for artists. These pens, known for their smooth ink flow and bright colors, are perfect for various artistic expressions. Whether you’re a beginner looking to start your artistic journey or an experienced artist seeking new techniques, gel pens provide the tools you need to create stunning pieces.
From detailed illustrations and intricate patterns to bold graphic designs, gel pens can handle it all. They are especially popular for their ability to produce crisp lines and strong colorations that pop on the page. Gel pens work wonderfully on different paper types, each bringing out unique aspects of their ink qualities, whether on textured, matte, or glossy surfaces.
One of the most appealing features of gel pens is the wide range of colors and effects they offer, including metallic, glitter, neon, and pastel. This variety allows artists to experiment and play with different shades and textures, adding depth and interest to their work. With this introduction in mind, let’s explore the essential techniques to master gel pen drawing and discover the supplies that will best complement your artistic endeavors.

Essential Gel Pen Techniques
Mastering gel pen drawing starts with understanding fundamental patterns and advanced blending techniques.
Basic Strokes and Patterns
To begin with gel pen drawing, familiarize yourself with basic strokes. These include:
- Straight Lines: Maintain a steady hand to draw straight, smooth lines. These are the foundation of many designs.
- Curves and Curls: Practice creating curves to add elegance to your artwork.
- Dotting: Use the dotting technique for textured effects or detailed accents.
- Hatching: Draw parallel lines close together. This helps in adding shadows and depth.
- Cross Hatching: Use intersecting lines for a more textured look.
These basic patterns form the building blocks for more complex artwork. They are essential for beginners to master before moving on to more intricate creations.
Advanced Techniques: Blending and Layering
After mastering basic strokes, explore advanced techniques like blending and layering:
- Dry Blending: Start with lighter colors. Once dry, layer a darker color on top for a smooth gradient.
- Wet Blending: Quickly blend two wet colors. This technique is ideal for creating vibrant, eye-catching transitions.
- Layering: Use layering to add complexity and richness to your drawings. Layer similar colors to intensify the hue or contrast sharply different colors to highlight specific areas.
These techniques allow you to experiment and enhance your gel pen art, giving life and color to your creations.
Choosing the Right Supplies
Selecting the Best Gel Pens
Choosing the best gel pens is key to creating high-quality art. Look for pens with vibrant, archival quality ink that won’t fade over time. A good gel pen will offer a smooth and steady flow. This prevents unsightly blobs or skips in your lines. Consider gel pens with various tip sizes for both thick and fine lines. Also, the range of colors matters. Opt for sets that include glitter, neon, and metallic options to enhance your creativity.
Paper Types for Optimal Performance
The paper you use can make a big difference in gel pen drawing. Thick, smooth paper is ideal, as it allows for easy layering and blending. Premium quality paper will reduce ink bleeding and show off the gel pen’s vibrant colors. Matte paper can give a softer effect for pastels, while glossy surfaces make metallic and neon inks stand out. Always test the paper with your gel pens to see how the ink behaves. For advanced artwork, consider acid-free paper which helps preserve your art for years to come.

Creative Projects with Gel Pens
Gel pen drawing unlocks unlimited creative potential for both aspiring and seasoned artists. These pens are ideal for a variety of artistic projects, offering users a world of vibrant color and precision. Let’s delve into some exciting projects that you can embark on with gel pens.
Doodling and Cartoon Drawing
Doodling with gel pens is not just fun; it’s a fantastic way to improve your artistic skills. Start with simple shapes and patterns, and gradually work your way up to more complex cartoons and characters. The array of colors available in gel pen sets—like metallic, glitter, and neon—brings your doodles to life, adding a pop of fun to any drawing.
Cartoon drawing with gel pens can be equally thrilling. Outline your favorite characters with bold lines and fill them in with layers of color. The unique gel ink gives your cartoons a bright, bold look that stands out on the page.
Mandala Art on Black Paper
Mandala art requires precision and attention to detail, which gel pens can deliver seamlessly. Drawing on black paper with gel pens, especially those with metallic and neon inks, creates a stunning contrast that can make your mandalas look almost 3D. Trace mandala patterns or freehand your designs; either way, the results will be mesmerizing.
Graphic Design and Character Creations
Gel pens also serve well in the realm of graphic design and character creations. The pens offer consistent ink flow, making them perfect for sketching out logos, icons, and characters with clear lines and vivid hues. Once you’re done with the drawing, you can digitize your creations with ease due to the crisp lines provided by gel pens. They’re not just for rough work; they’re a legitimate tool for finalized design pieces.
Whether you’re doodling in a notebook, creating mandalas on black paper, or sketching designs for digital conversion, gel pens are an invaluable tool for unleashing your creativity.
Tips for Maintaining Gel Pens
Maintaining your gel pens is crucial for their longevity and performance. Here are some tips to help keep your gel pens in top condition.
Proper Storage Solutions
Storing your gel pens correctly is vital. Here’s what to consider:
- Keep them upright: Store gel pens with the tip facing up to prevent ink leakage.
- Avoid extreme temperatures: Store in a cool, dry place away from direct sunlight.
- Use a storage box: A box or case will protect gel pens from dust and damage.
- Sort by color: Organize your pens by color for easy access when creating art.
By following these storage tips, your gel pens will stay fresh and ready for use anytime.
Handling and Usage Tips
Effective handling is key for smooth gel pen drawing. Here are some tips for using gel pens:
- Gentle pressure: Apply a light touch to avoid paper damage and extend pen life.
- Cap after use: Always place the cap back on immediately after use to keep the ink from drying out.
- Clean the tip: Wipe the tip with a cloth if ink flow is inconsistent.
- Regular use: Use your pens regularly to prevent ink from settling and clogging.
Good pen handling ensures a flawless ink flow, keeping your gel pen drawing experience enjoyable and your artwork spectacular.

Getting Inspired
Inspiration is the heartbeat of creativity, particularly in the vibrant world of gel pen drawing. Seeking new ideas and fresh ways to mix colors can elevate your artwork to stunning levels.
Exploring Colour Combinations
Playing with color combinations is thrilling. With gel pens, you have a broad palette at your fingertips. Neon hues bring energy, while pastels offer softness. Metallics add shine, and glitters sparkle. Start with two colors, maybe a blue and yellow, and watch green emerge where they blend. Test how different shades work together. You might discover a new favorite duo! Use the Juicy Gel Pens set example to experiment with their 48 shades.
- Choose a Theme: Picking a thematic color scheme can start your project with direction.
- Create Gradients: By overlapping colors slightly, you can create beautiful gradients.
- Contrast Boldly: Try placing opposites next to each other for eye-catching effects.
- Seasonal Hues: Use colors that remind you of seasons – oranges and browns for autumn, for instance.
From Doodles to Detailed Artworks
Even simple doodles can transform into intricate artworks. Start small. A basic flower can grow into a detailed garden scene. Turn simple circles into complex bubble textures. Practice turns doodles into masterpieces. Layer colors, blend edges, deepen shades, all while using gel pens. Soon, your craft will blossom from playful scribbles to pieces filled with depth and detail.
- Build Complexity: Add elements slowly to increase the complexity of your work.
- Patient Layering: Apply one layer, let it dry, then add more to deepen the impact.
- Step-by-Step Evolution: Allow each piece to evolve, step by step, into something more elaborate.
- Embrace Mistakes: They are chances to learn and can lead to unexpected artistic discoveries.
As you explore and blend colors, watch your gel pen drawings change from simple doodles to elaborate artworks. Keep pushing boundaries and let inspiration guide your artistic journey.
Additional Resources
Expanding your gel pen drawing skills requires not just practice, but also guidance and inspiration from a variety of sources. Below, we’ll explore two major resources that can help improve your artistic journey.
Books and Online Tutorials
Books and tutorials offer structured learning for artists at all levels. When seeking to deepen your understanding of gel pen drawing techniques, look for:
- Instructional Books: Find books focused on gel pen art, with step-by-step guides and exercises.
- Online Courses: Enroll in courses for both beginners and advanced artists. Websites like Udemy and Skillshare have diverse options.
- Video Tutorials: YouTube is a treasure trove of free tutorials. You can watch artists create and explain their methods.
- E-Books: Browse digital books that you can access instantly on your devices, often cheaper than print versions.
These resources are invaluable for learning new patterns, blending methods, and other creative strategies.
Community Forums and Social Media Groups
Joining artist communities can be incredibly beneficial. They provide platforms to share work, get feedback, and find encouragement. Here’s where to connect:
- Art Forums: Websites like DeviantArt or WetCanvas are great for posting work and discussing techniques.
- Social Media: Facebook groups and Instagram hashtags link you with fellow gel pen enthusiasts.
- Online Challenges: Participate in challenges like Inktober to stay motivated and showcase your progress.
- Art Blogs: Follow blogs that focus on gel pen art. They often share tips and feature artist interviews.
By leveraging these resources, you’ll gain access to a wealth of knowledge and inspiration that can transform your gel pen drawing abilities.
