Introduction to the Compound Light Microscope
The journey to exploring the microscopic world begins with understanding the compound light microscope. This remarkable tool has revolutionized biology, allowing us to delve into the cellular level of life. A compound light microscope uses lenses and light to magnify small objects, making them visible to the human eye.
For beginners, knowing the basics is crucial. The ‘compound’ part refers to the multiple lenses used: the objective lens and the eyepiece. When combined, they create a higher level of magnification. Typically, a compound light microscope offers varying magnification powers, which you can choose based on your specimen’s requirements.
The ‘light’ portion comes from the microscope’s illumination system, which brightens the specimen for clear viewing. It’s what distinguishes compound light microscopes from other types like electron microscopes, which use electrons for illumination.
Mastering the use of a compound light microscope involves several steps, starting with familiarizing yourself with its structure and capabilities. Whether it’s to observe single-celled organisms, inspect plant cells, or study tissues, a compound light microscope is an indispensable tool in both educational and professional settings.
In the following sections, we’ll cover the essential components that make up a compound microscope, how to prepare your specimen, and detailed operating instructions. We’ll also offer tips for fine-tuning focus and understanding the concepts of magnification and resolving power, as well as guidance for routine maintena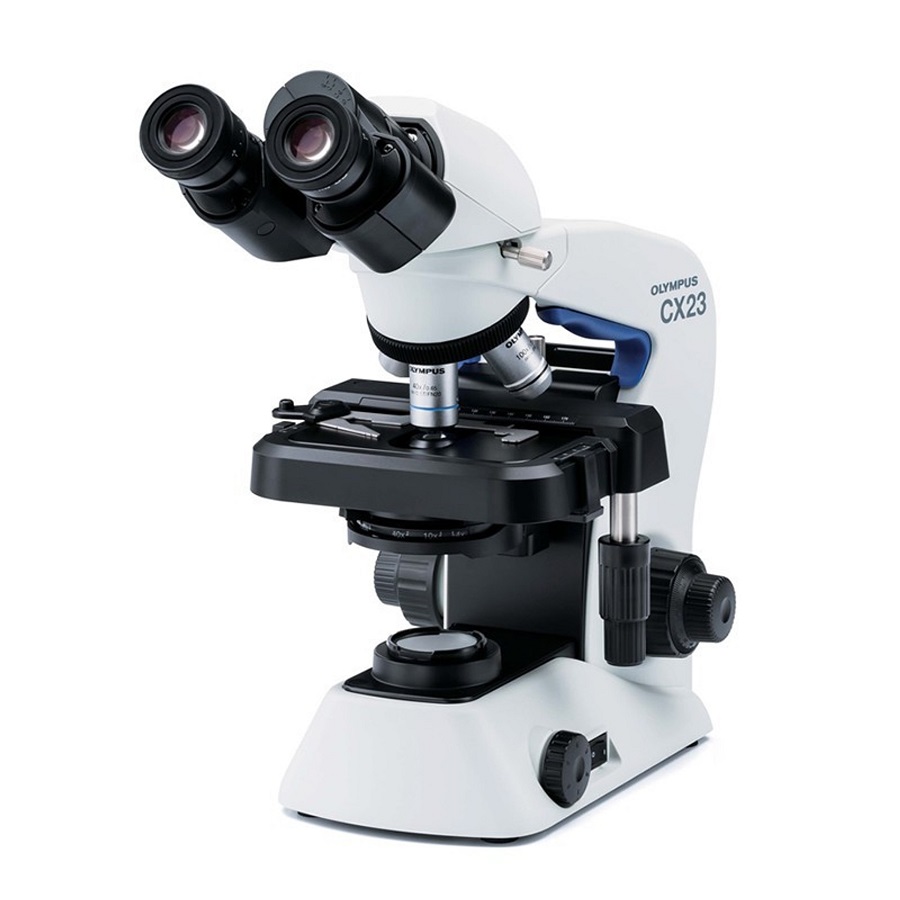 nce and troubleshooting common issues.
Embrace the magnified world with enthusiasm! Your journey with the compound light microscope promises to be a fascinating one, filled with countless discoveries.
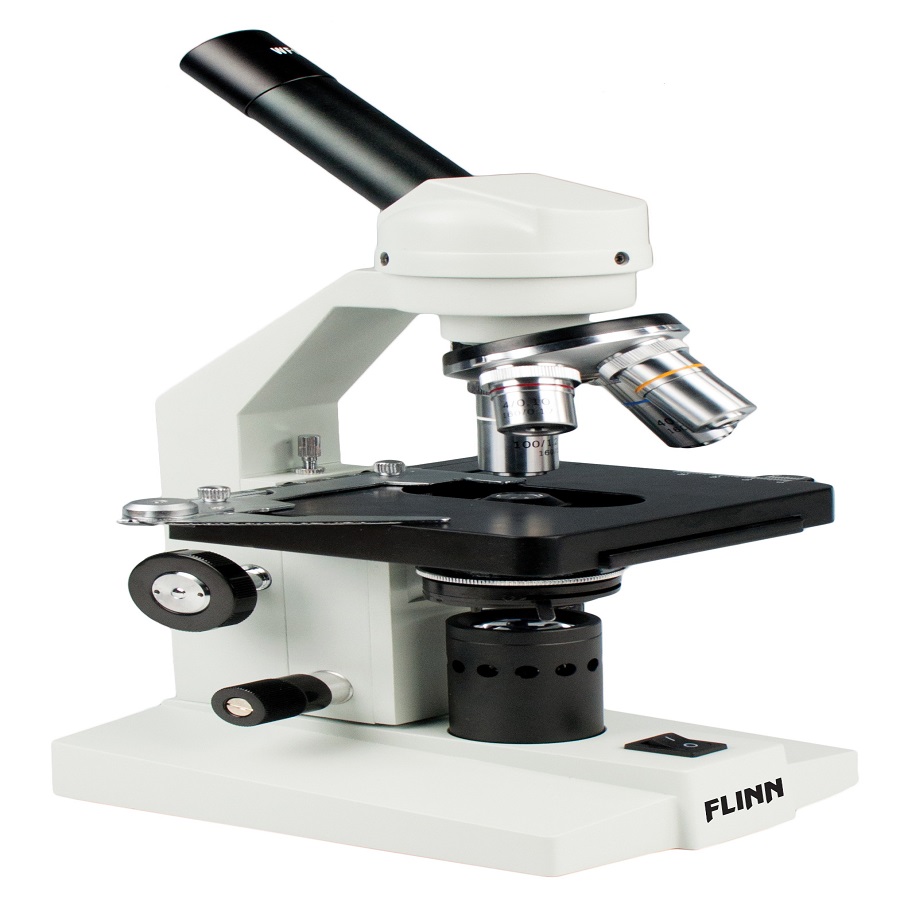
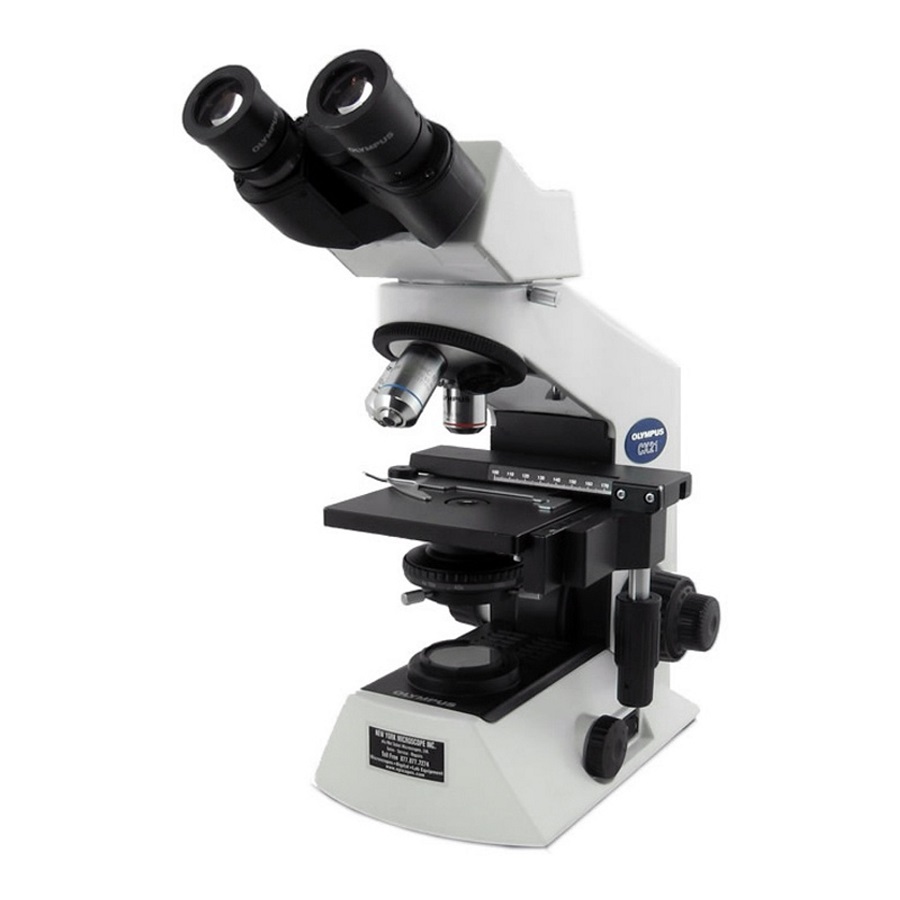
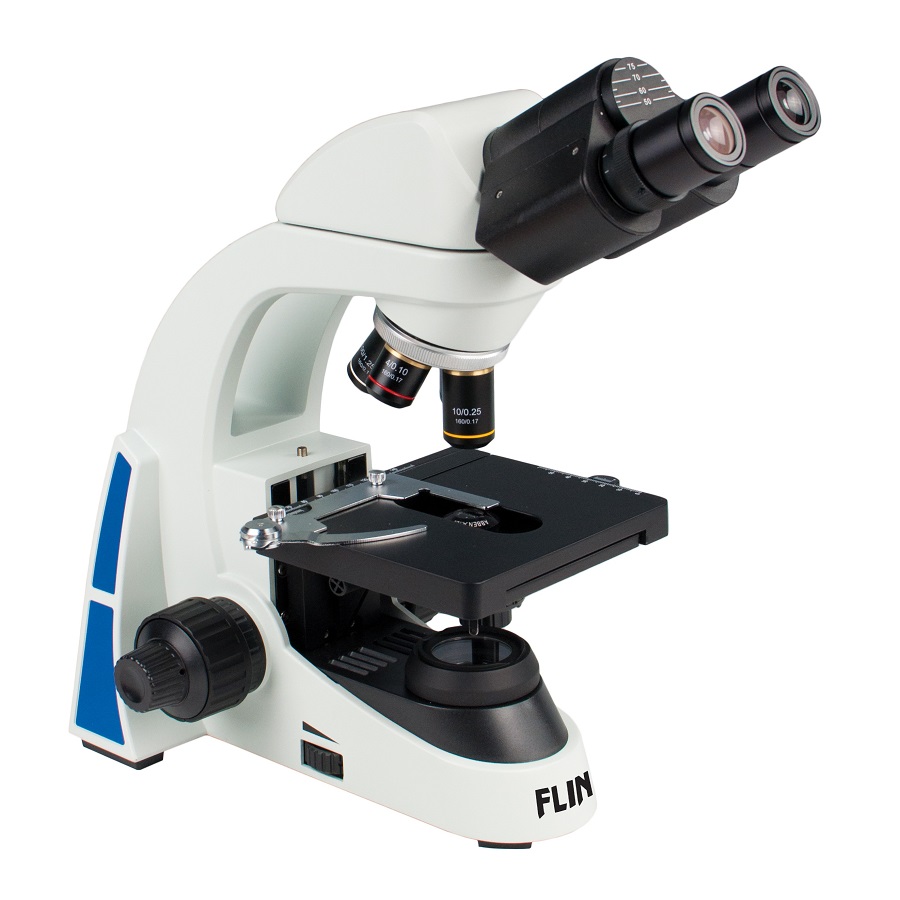
Essential Components of a Compound Microscope
A compound light microscope has several key parts that work together. Familiarity with these parts is important for anyone starting out in microscopy. Here is a breakdown of the most essential components:
- Eyepiece (Ocular Lens): This is where you look through to see the magnified image. Most eyepieces have a 10x magnification power.
- Objective Lenses: A typical microscope has three or four objective lenses. They range from low to high power, usually between 4x and 100x magnification.
- Stage: The flat platform where you place your slides. A clip holds the slides in place.
- Illuminator: A steady light source beneath the stage that shines light through the slide.
- Condenser: Located under the stage, it focuses the light onto the specimen.
- Diaphragm: This adjustable piece controls the amount of light reaching the specimen.
- Coarse and Fine Focus Knobs: These knobs adjust the focus of the microscope. The coarse knob brings the object into general focus, and the fine knob sharpens the image.
Each part is crucial for viewing a clear, magnified specimen. Take the time to learn the function of each and you’ll be well on your way to mastering the use of your compound light microscope.
Preparing Your Specimen for Observation
To view a specimen using a compound light microscope, proper preparation is vital. Here’s a step-by-step guide to get your sample ready for observation:
- Clean Your Slide: Ensure your glass slide is spotless. Fingerprints or dust can obscure the view.
- Place the Specimen: Position your specimen on the slide. It should be thin and flat for best results.
- Use a Cover Slip: Place a cover slip gently over the specimen. This prevents damage and keeps it in place.
- Add Stains if Necessary: Some specimens may need stains for better visibility. Apply stains with care to avoid damage.
- Position on the Stage: Securely place the slide onto the microscope stage and fix it with the clips.
Remember, the quality of your observation depends heavily on how well the specimen is prepared. Take your time with these steps for a clear, detailed view under your compound light microscope.
Step-by-Step Operating Instructions
Once your specimen is ready, it’s time to explore it with your compound light microscope. Follow these simple steps to begin your observation:
- Turn on the Illuminator: Start by switching on the light to illuminate your sample.
- Place the Slide: Carefully position the slide onto the stage and secure it with the clips.
- Select the Lowest Objective Lens: Rotate the nosepiece to set the lowest power objective lens in place.
- Look Through the Eyepiece: Gently bring your eye close to the ocular lens.
- Adjust the Coarse Focus: Use the coarse focus knob to bring the specimen into general focus.
- Refine with Fine Focus: Turn the fine focus knob slowly for a sharp image.
- Increase Magnification: If needed, switch to a higher power objective lens for more detail.
- Adjust the Diaphragm: Modify the light using the diaphragm for the best image quality.
- View and Record: Observe the specimen and take notes or sketches of what you see.
Each step is important to achieve a clear view of your sample. Pace yourself through these instructions and adjust as necessary for the best results. The compound light microscope reveals details that are invisible to the naked eye, so take your time to fully experience the miniature wonders of the microscopic world.
Tips for Adjusting Fine and Coarse Focus
Adjusting focus is critical when using a compound light microscope. To get a crystal-clear image of your specimen, you need to handle the coarse and fine focus knobs with care. Here are some tips to help you adjust the focus effectively:
- Start with Coarse Focus: After placing your slide, always begin with the coarse focus knob. Turn it gently to move the stage up or down until your specimen comes into general view.
- Switch to Fine Focus: Once your specimen is vaguely visible, switch to the fine focus knob. Rotate it slowly to fine-tune the image. The goal is to achieve a sharp and detailed view.
- Avoid Using Coarse Focus at High Magnification: When you’ve moved to higher magnification, don’t use the coarse focus knob. It can be too aggressive and might even damage your slide or lenses.
- Be Patient: Good focusing takes practice. If the image isn’t clear at first, don’t rush. Take your time making small adjustments to both focus knobs.
- Check Illumination: Sometimes, issues with focus are due to poor lighting. Make sure the illuminator is properly adjusted to enhance the clarity of the specimen.
By following these steps and practicing patience, you’ll become adept at using the fine and coarse focus knobs. This skill is essential for every microscope user and will greatly enhance your experience with the compound light microscope. Keep these tips in mind and you’ll master the art of focus adjustment in no time.
Understanding Magnification and Resolving Power
When using a compound light microscope, understanding magnification and resolving power is key. These concepts define how well we can see small details in specimens.
Magnification is the process of enlarging the appearance of an object. The compound microscope achieves this with lenses. The eyepiece and objective lenses work together to magnify the image. For example, if you use a 10x eyepiece and a 40x objective, your total magnification is 400x.
Resolving Power, or resolution, is the ability of a microscope to show two closely spaced points as separate. High resolving power means you can see more detail. It depends on the quality of the lenses and the wavelength of light used. The shorter the wavelength, the better the resolution.
Here are a few tips to understand how magnification and resolving power work together:
- Choose the Right Lens: Always start with the lowest magnification. Move to higher magnifications for more detail as needed.
- Understand Limits: Know that increasing magnification does not always improve resolution. If you exceed the resolving power, the image may get bigger but won’t get clearer.
- Use Light Well: Adjust the diaphragm and illuminator properly. Good lighting helps in achieving high resolution.
Remember, a powerful compound light microscope does not just magnify. It also distinguishes fine details through its resolving power. With practice, you’ll learn to balance magnification and resolution for the best microscopic views.
Maintaining and Cleaning Your Microscope
To keep your compound light microscope in top condition, proper maintenance and cleaning are essential. Here’s how to care for your microscope to ensure it lasts and performs well:
- Handle with Care: Always carry the microscope with both hands. One hand should hold the arm and the other supports the base.
- Store Properly: When not in use, cover the microscope with a dust cover and store in a dry place.
- Keep it Clean: Regularly clean the exterior with a soft, lint-free cloth. For tougher spots, use a mild, non-abrasive cleaner.
- Lens Care: Use lens paper to clean the ocular and objective lenses. Gently wipe in a circular motion to avoid scratches.
- Avoid Moisture: Ensure no liquids come in contact with your microscope. Any spills should be dried off immediately.
- Inspect Regularly: Check the microscope for loose screws or misaligned parts. Tighten and align as needed.
- Seek Professional Help: For deep cleaning or repairs, consult a professional. They have the right tools and knowledge.
Remember, the life and accuracy of your compound light microscope depend on how well you care for it. Regular maintenance and cleaning are key to keeping your microscope in excellent working condition. This way, you can continue exploring the microscopic world with clarity and precision.
Troubleshooting Common Microscope Issues
Encountering problems while using a compound light microscope can be frustrating for beginners. Effective troubleshooting can help you quickly solve common issues and get back to your microscopic exploration. Here are some typical problems and how to address them:
- Blurry Images: If the image is not clear, first clean the lenses with lens paper. Then, adjust the focus knobs. Always start with the coarse focus, followed by the fine focus.
- Dim Lighting: Check if the illuminator is on. If it is, try adjusting the diaphragm for better light control. Ensure that the light source is functioning properly.
- No Image on Viewing: Make sure the eyepiece is secured in place. Double-check that the objective lens is clicked into position. Confirm that the slide is properly mounted on the stage.
- Double Images: If you see double, the eyepiece might need realignment. Ensure that the eyepiece lens is correctly inserted into the tube.
- Difficulty with High Magnification: High magnification requires precise focusing. Only use the fine focus knob at high magnification. If the image is still unclear, reduce the magnification level to improve clarity.
- Objects Moving Out of View: If your specimen drifts out of the field of view, tighten the stage clips. Check for any loose parts that may cause movement.
- Eyepiece Discomfort: If looking through the eyepiece strains your eyes, adjust the interpupillary distance. Make sure to take breaks to avoid eye fatigue.
By understanding how to tackle these common microscope issues, you can minimize downtime and maximize your observation sessions. Remember, practice makes perfect, and soon these troubleshooting steps will become second nature. Keep this guide handy, and enjoy the incredible details of the microscopic world through your compound light microscope.