Introduction to Microscopy
Microscopy stands as a pillar in the study of small-scale entities. Its development has paved the way for major scientific discoveries. Let’s delve into the critical parts of a microscope and their functions.
History and Evolution of Microscopes
The journey of microscopes began in the late 16th century. Early designs were simple magnifying glasses, with one lens. By the 17th century, compound microscopes with more than one lens came into play. Since then, parts of microscopes have evolved rapidly. Optics improved and illumination methods advanced. The 19th and 20th centuries saw the rise of electron microscopes. These use electron beams to achieve much higher magnification. Today, modern microscopes provide unparalleled views into the micro-world.
The Role of Microscopes in Modern Science
Microscopes play a vital role in numerous fields. In medicine, they are crucial for diagnosing diseases and studying pathogens. In biology, they allow for the observation of cells and microorganisms. Engineers use microscopes to inspect tiny electronic components. Each part of a microscope works together to unlock the unseen details of objects. Scientists rely heavily on microscopes to reveal the complex structures of materials. Both education and research depend on the refinement and use of these powerful tools.

Anatomy of a Microscope
To fully appreciate and utilize a microscope, understanding its anatomy is key. Each part plays a role in making the device function effectively. We will break down the main components that are critical to its operation.
The Base and Arm
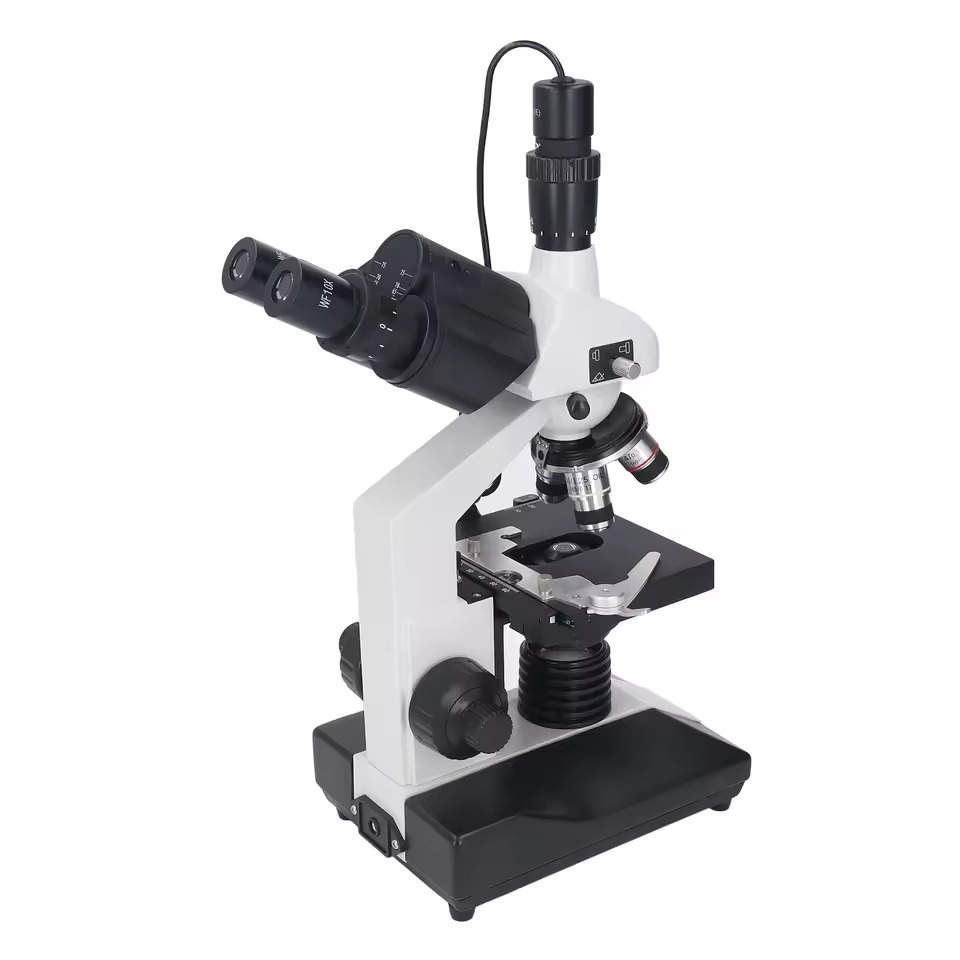
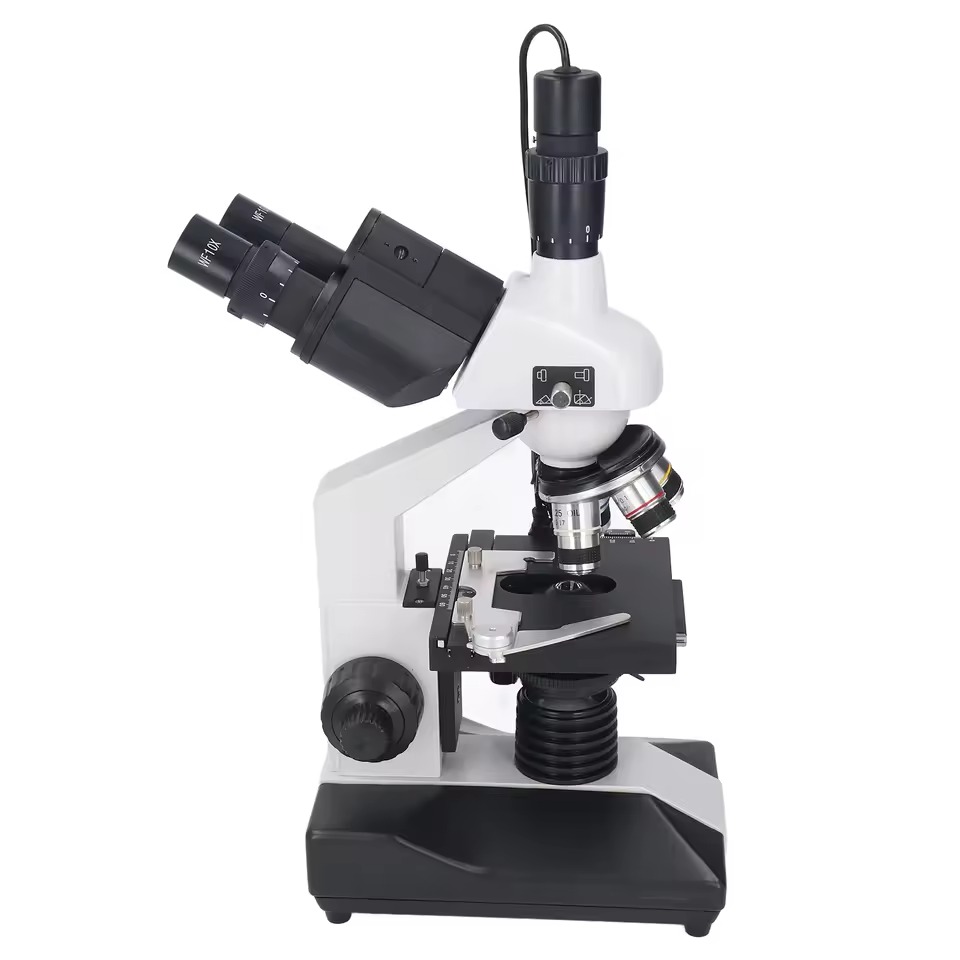
The base of a microscope serves as the foundation, providing stability for the entire instrument. It’s typically heavy to prevent tipping. The arm connects the base to other parts of the microscope. It’s what you grasp to carry the microscope safely. This solid support structure is essential for the microscope’s durability and user safety.
The Optical System: Lenses and Mirrors
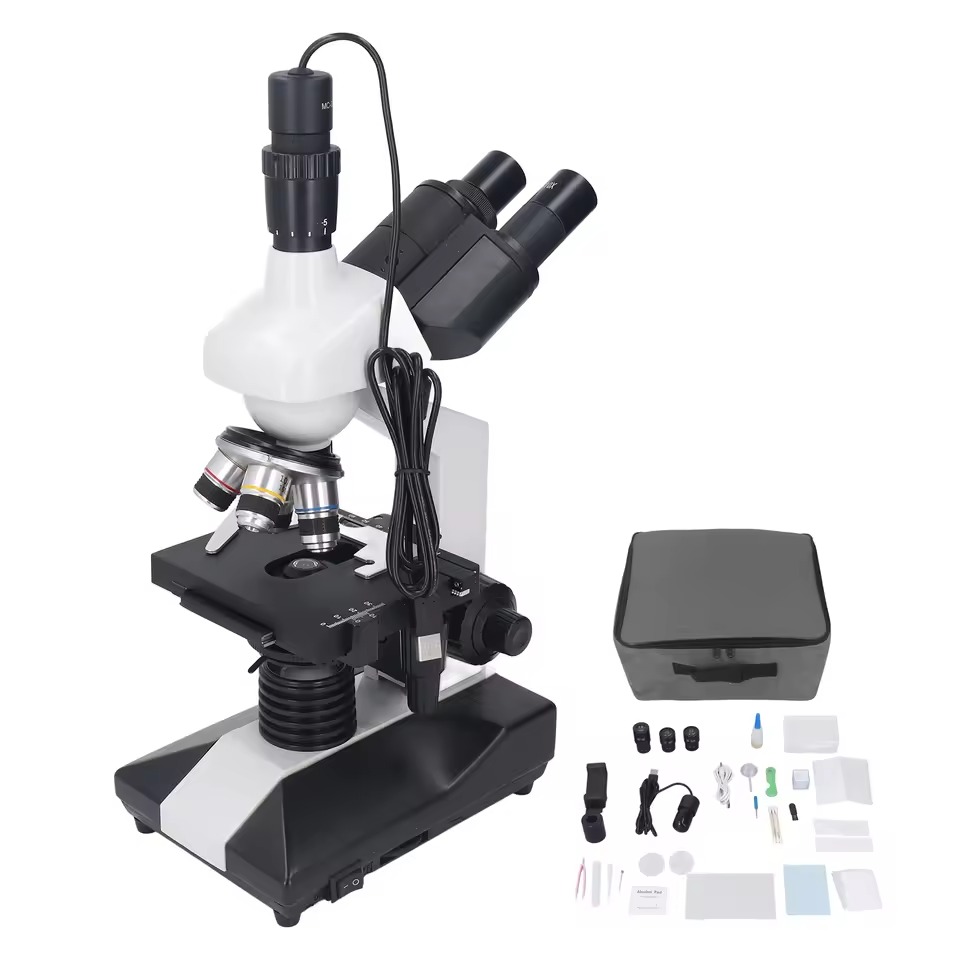
At the heart of a microscope’s optical system are the lenses and mirrors. These parts work together to magnify and direct light to your eyes. The lenses are the microscope’s main players. Including the eyepiece and objective lenses, they enlarge the image of the specimen. Mirrors, or in some cases prisms, are used to reflect light into the lenses, ensuring a bright and clear visual. Each component is carefully crafted to provide flawless magnifications of microscopic entities. The precision of the optical system is what sets a microscope apart in revealing the tiny wonders of our world.
Understanding the Illumination System
The illumination system is crucial for viewing specimens. Different light sources provide varied lighting conditions. All are key to microscopy.
Light Sources: LED, Halogen, and Others
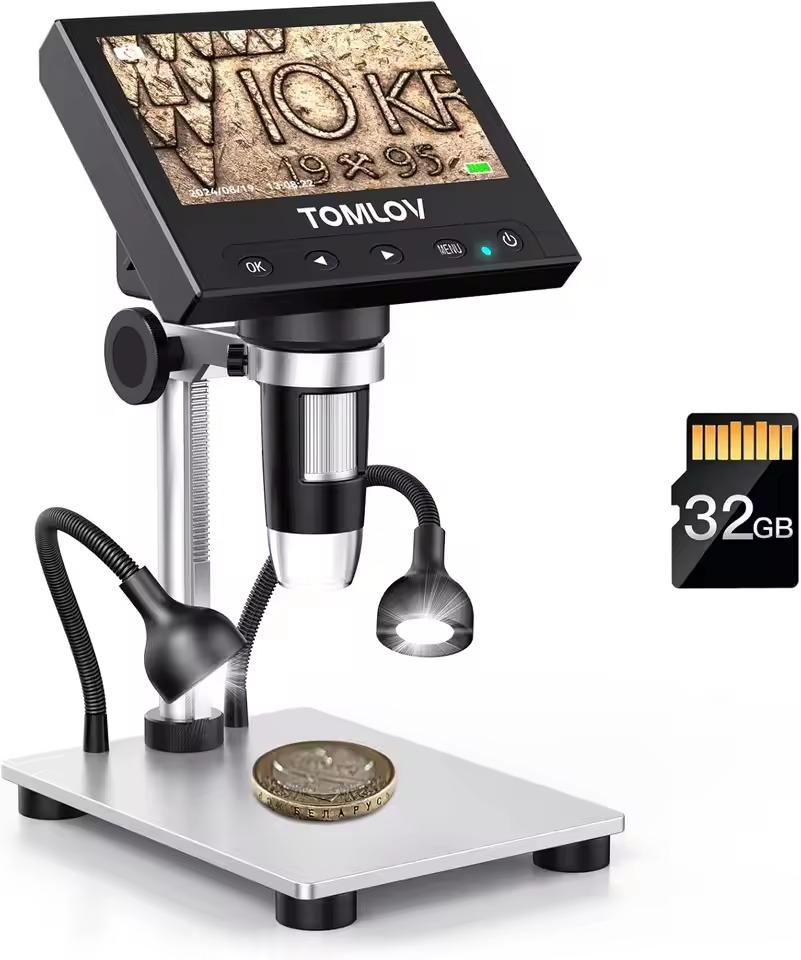
Microscopes use varied light sources like LED and Halogen. LED lights are energy-efficient and long-lasting. They give off little heat. Halogen bulbs provide brighter light. They are good for viewing tiny details. Some microscopes use fluorescent or laser lights too. Each light source has benefits for specific microscopy needs.
The Condenser and Diaphragm
The condenser focuses light onto the specimen. It helps to enhance image clarity. The diaphragm controls the amount of light that reaches the specimen. It impacts contrast and resolution. Together, the condenser and diaphragm optimize the visual for detailed observation.
The Specimen Stage Area
The stage of a microscope is a flat platform where we place slides. It is essential for keeping the specimen in the correct position. Stage clips are attached to the stage. They secure the slides, preventing them from moving during observation. This stability is crucial for examining specimens accurately and safely.
Stage and Stage Clips
Every microscope features a stage, which holds the slides containing specimens. The stage is often a rectangular shape and can be mechanical, for precise movements. Stage clips, which are simple yet vital parts of a microscope, clamp the slides in place. Some stages have clips, while others use mechanical arms to hold the slides. The choice of stage and clips affects how easily one can position and reposition the slide.
Focusing Mechanisms: Coarse and Fine Adjustment
Focusing mechanisms are knobs on the microscope’s arm. They adjust the distance between the lenses and the specimen. These adjustments help to bring the specimen into sharp focus. Two main types exist: coarse and fine. The coarse adjustment knob makes large changes, useful for initially locating the specimen. The fine adjustment knob makes smaller, precise changes. It’s used after the coarse focusing to get a clear image. Correct use of these knobs is critical for sharp, detailed observations.

Objectives and Eyepieces
In the realm of microscopes, objectives and eyepieces are key. They allow for magnification and proper viewing. Both parts have unique roles and designs. They differ by their function and significance.
Types of Objective Lenses
Objective lenses are the primary parts of microscope magnification. They are close to the specimen. These lenses vary in power. Some common types include:
- 4x (scanning objective): used to scan the whole slide.
- 10x (low power): allows for more detail.
- 40x (high power): for finer details within cells.
- 100x (oil immersion): uses oil to view tiny structures. These lenses help users see from the big picture to the tiniest details.
The Importance of Eyepiece Configuration
The eyepiece, or ocular lens, is what you look through. It works with the objective lens. It further magnifies the image. Most eyepieces have a magnification of 10x. The eyepiece tube can hold one or two eyepieces. This affects how you view the specimen:
- Monocular: one eyepiece, common in basic microscopes.
- Binocular: two eyepieces, for comfort in extended use.
- Trinocular: a third port for cameras, used in advanced research.
The correct alignment of eyepieces is vital. It ensures you get a clear, focused image. Combined with the objectives, they define the microscope’s magnification abilities.
Additional Microscope Components
To maximize the potential of a microscope, additional components play vital roles. They enhance the functionality and versatility of this scientific instrument. Let’s explore two of these integral parts.
Filters and Shields
Filters have a critical role in microscopy. They alter the light’s properties to provide better contrast or to highlight specific features of a specimen. Examples include:
- Fluorescence filters: These assist in fluorescence microscopy by selecting specific light wavelengths to excite the specimen.
- Neutral density filters: They reduce light intensity without affecting its color, which is useful in photomicrography.
- Polarizing filters: They are used to study materials with polarized light, revealing more about their structure.
Shields, such as barrier or heat filters, protect sensitive specimens from damage. They also protect users from harmful radiation in certain microscopy applications. These components are crucial for both the longevity of your specimens and user safety.
Camera and Imaging Systems
For documenting and sharing findings, camera and imaging systems are essential. They capture images of specimens for analysis or educational purposes. These systems range from simple mounted eyepiece cameras to advanced digital imaging setups, and include:
- Standard digital cameras: Easy to use and good for basic image capturing.
- Charge-coupled device (CCD) cameras: Offer high-quality images, commonly used in research.
- CMOS cameras: Provide a good balance between image quality and cost-effectiveness.
Each type of camera system has unique advantages for different needs in microscopy. Proper integration of camera and imaging systems with the microscope setup is vital for clear, accurate representations of microscopic observations.

Maintenance and Care for Your Microscope
Taking care of your microscope ensures its longevity and accuracy. Proper maintenance is as crucial as understanding its parts.
Cleaning and Storage Best Practices
To keep your microscope in top condition, follow these simple cleaning and storage tips:
- Store Carefully: Keep microscopes in a dry, dust-free area.
- Cover Up: Use a dust cover when not in use to prevent dirt from accumulating.
- Clean Optics Gently: Use lens paper or a soft, lint-free cloth for cleaning lenses.
- Avoid Harsh Chemicals: Stick to mild, specific cleaning solutions recommended for microscopes.
- Handle with Care: Always hold the microscope by its arm and base when moving it.
- Regular Checks: Inspect your microscope regularly to catch any potential issues early.
These practices prevent damage and preserve the quality of your microscope’s parts.
Troubleshooting Common Issues
Even with careful maintenance, problems can arise. Here are common issues and their solutions:
- Blurry Images: Check if the lenses are clean. Adjust the focus using the coarse and fine knobs.
- Lighting Problems: If the illumination seems off, make sure the light source is functioning correctly.
- Loose Parts: Tighten any loose screws and ensure all parts of the microscope are firmly attached.
- Image Distortion: Ensure the specimen is flat and secure with stage clips. Change the objective lens if needed.
With these tips, you can tackle small problems without needing professional help. Also, always refer to the microscope’s manual for specific guidance. Keep the parts of the microscope functioning well by addressing issues promptly.
