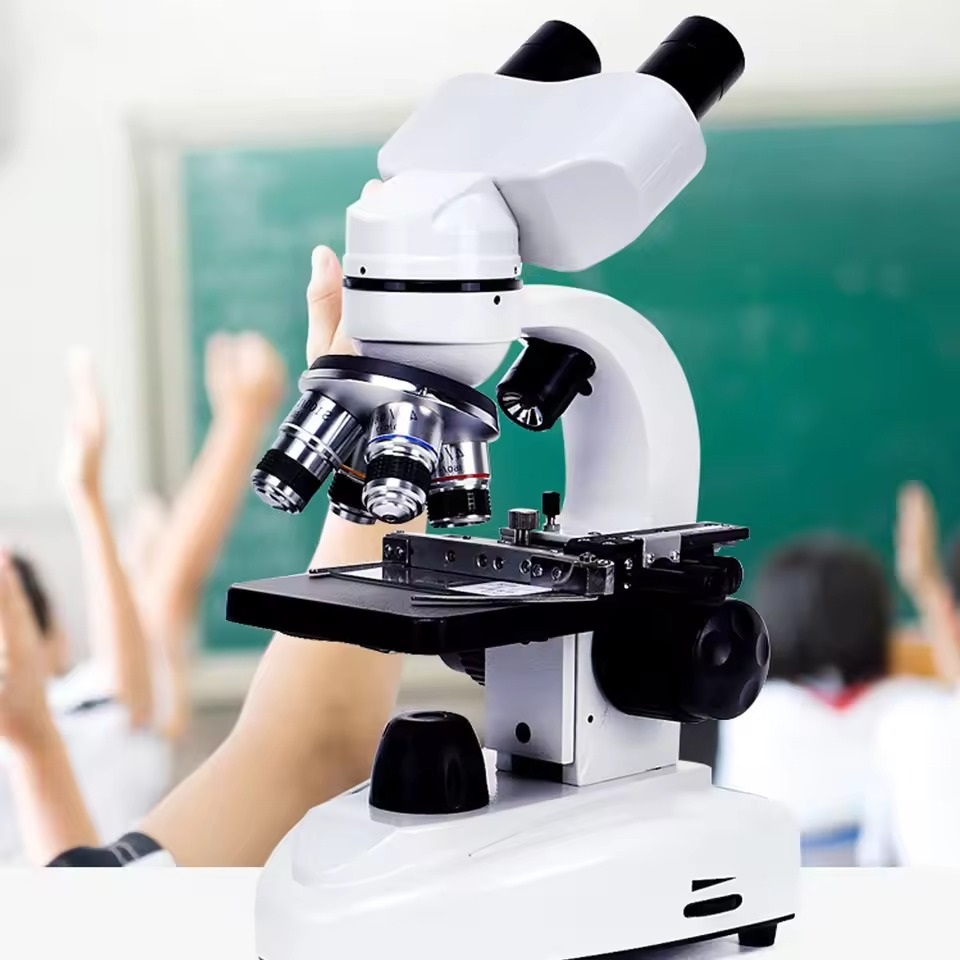
Introduction to Microscope Parts
Microscopes are intricate devices composed of several crucial parts. Each part plays a specific role in viewing tiny objects and details that are invisible to the naked eye. Understanding the different parts of the microscope can enhance your ability to use this tool effectively.
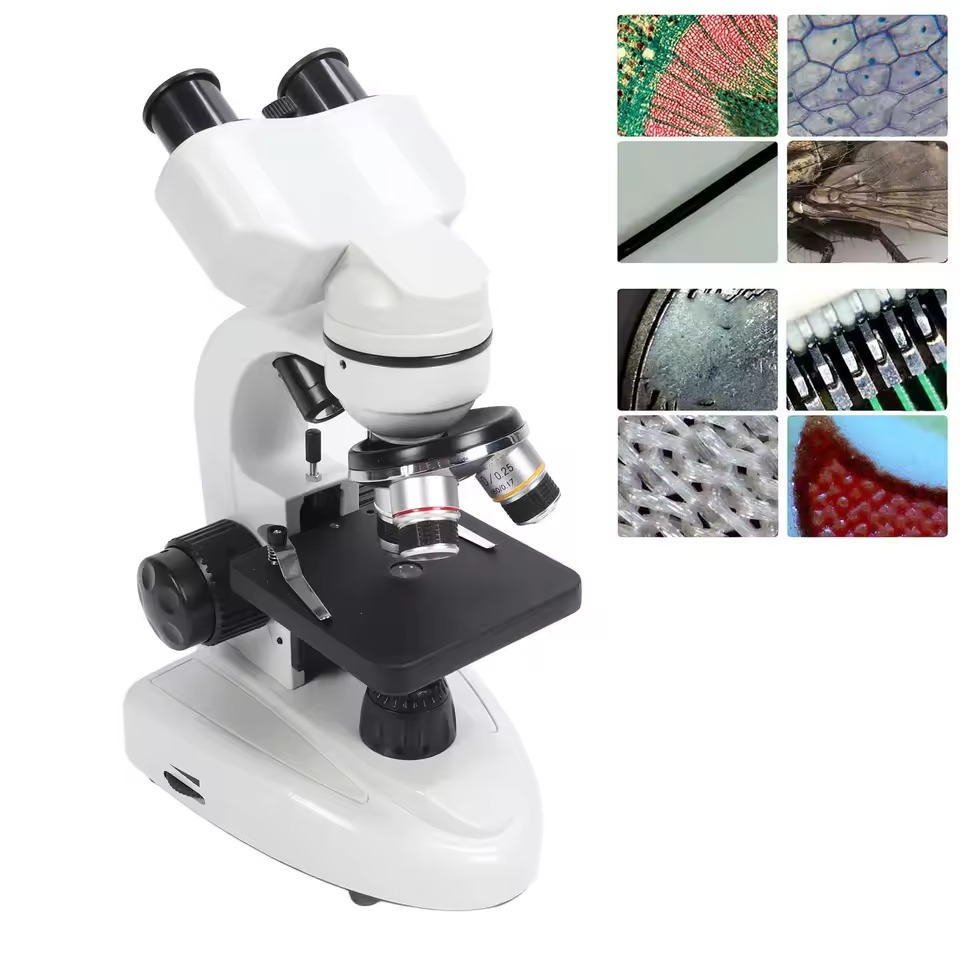
Firstly, the eyepiece, also known as the ocular lens, is where you peer through to see the magnified image. Typically, it contains a lens that magnifies 10x. Next, the objective lenses are the primary source of magnification. These precision lenses can range greatly in power, allowing detailed examination of a specimen.
The stage holds the slides where specimens lie. It has clips to keep slides in place during observation. Beneath the stage, you’ll find the diaphragm and filters. These regulate light quality and intensity, ensuring a clear view of the specimen.
Focus mechanisms, such as the fine and coarse adjustment knobs, allow precise control over the focus of your image. They can bring a specimen into sharp detail or give a broader perspective. The light source, located under or within the base, illuminates the sample, making it easier to see.
Lastly, the microscope’s base and arm provide the much-needed stability and support for the entire structure. They ensure the microscope remains steady during use, for accurate and undistorted viewing.
In summary, from the eyepiece to the base, each component of the microscope is essential for proper function and observation. Knowing the parts of the microscope and their roles will help you operate the instrument with greater skill and precision.
The Eyepiece: Gateway to the Microscope World
The eyepiece serves as the all-important gateway into the microscopic world. It’s here where your eye meets the magnified image of the specimen. Typically, the eyepiece contains a 10x magnifying lens. This is the standard magnification level that sets the basis for further enlargement using other parts of the microscope.
This component is also critical for comfort. A well-designed eyepiece reduces eye strain when viewing samples for long periods. Some microscopes have adjustable eyepieces to match different eye distances, enhancing the user experience.
As you position your eye, the lens captures light that has passed through the specimen. This ultimately creates a bright and detailed image for the observer. Mastering the use of the eyepiece is key to exploring tiny worlds with clarity and precision.
Objective Lenses: Magnification and Detail
Objective lenses are central to a microscope’s function. They play a crucial role in magnifying specimens. These lenses sit close to the slide, where the specimen is mounted. Each lens has a different level of magnification power. This allows you to view the sample with increased detail as needed.
Microscopes usually come with a set of objective lenses. Common magnifications are 4x, 10x, 40x, and 100x. You rotate the nosepiece to switch between these lenses. The higher the magnification, the more detail you can observe in the specimen.
Correct usage of the objective lenses is important for clear images. At high magnification levels, even minor movements can shift the view. It’s important to handle the focus knobs gently to maintain image clarity.
In summary, objective lenses are key for detailed observation. They let users zoom in on microscopic worlds with precision. Their varying magnifications provide flexibility in observing specimens at different depths.
The Stage: Holding the Specimens in Place
The stage is a flat platform on microscopes. It securely holds the slides with specimens. This part is crucial for sample examination. Thin metal clips keep the slides from moving during observation. This ensures that the view remains steady and clear.
Stages often come with mechanical adjusters. These adjusters allow precise movements in horizontal and vertical directions. Such fine control is necessary for detailed inspections of specimens at high magnifications. Some stages also include a measuring scale. This helps in noting the position of the specimen detail being viewed.
Ease of access and user-friendliness are vital for the stage design. It should allow for quick slide changes without disrupting focus. This contributes to an efficient and streamlined examination process. Overall, the stage must offer firm support and accessibility for optimal microscope use.
In sum, the stage is key to holding the slides in the right place. It plays a significant role in the functionality and convenience of using a microscope. Your experience with the parts of the microscope can determine the quality of your observations.
Focus Mechanisms: Fine and Coarse Adjustment
To get the sharpest possible image of a specimen, microscopes have fine and coarse adjustment knobs. These focus mechanisms are essential for viewing clarity. They allow users to adjust the focus and bring details into sharp relief.
The coarse adjustment knob makes large changes to the focus. It is the first knob you use to get the specimen into the general vicinity of sharpness. It’s especially useful at low magnifications. This knob adjusts the stage up and down quickly, bringing the image into a rough focus.
Next, the fine adjustment knob fine-tunes the image. It changes focus in small increments, perfecting the sharpness of the view. At higher magnifications, this knob is key. It helps observe the intricate details of the specimen without blurring.
Proper use of these knobs is a skill that comes with practice. Gentle turns can mean the difference between a blurred image and a clear one. Make small adjustments and observe carefully to achieve the best visual sharpness.
In short, the fine and coarse adjustment mechanisms are vital parts of the microscope. They ensure that users can adjust focus for a clear observation experience at any magnification level.
The Light Source: Illuminating the Sample
Every microscope needs a light source; it’s what makes viewing possible. In traditional microscopes, it’s often a bulb sitting below the stage. For clear observations, the light must be bright and consistent. LED lights are now common because they provide a bright, cooler light and last long. This light shines directly upwards, passing through the specimen on the slide. By illuminating what you’re trying to see, details come to life. Different microscopes have adjustable light intensity. This lets you change the brightness to fit your sample’s needs. Too much light can wash out details, while too little can hide them. So, getting the light just right is important for a good look at your specimen. In summary, the light source is a key part in making small things visible under a microscope. With it, you get the illumination needed to explore the wonders of the microscopic world.
The Diaphragm and Filters: Controlling Light Quality
The diaphragm and filters are crucial for a microscope’s function. These parts manage the light that reaches your sample. The diaphragm, located under the stage, is a disc with different-sized holes. It allows you to adjust the light amount passing through the specimen. This is essential for viewing clarity at various magnifications.
Filters are also important. They modify the light’s properties before it hits the slide. Some filters enhance contrast, others change the light’s color. This can make certain details stand out. With the right filter, you can see things you might miss under normal light.
Together, the diaphragm and filters give you control over light quality. They help you get the best possible view of the specimen. You can switch settings to match your observation needs. By managing light properly, you sharpen the image and detail. This makes your microscope work better for you.
In essence, these parts of the microscope fine-tune your view. They are small but vital to a high-quality microscopy experience.

Base and Arm: Support and Stability of the Microscope
Every microscope has a base and an arm that serve a fundamental purpose. These parts of the microscope provide the stability and support vital for precise observation. Without them, the microscope could not hold its parts in the correct alignment. This might result in skewed or distorted images, which would undermine the microscope’s function. The base of the microscope is its foundation. It supports the rest of the device. The base must be heavy enough to keep the microscope steady. Yet, it should not be so heavy that it’s hard to move. The arm connects the base to the upper parts of the microscope. It allows you to carry the microscope safely.
When in use, any shaking or wobbling can blur the details you are trying to observe. Therefore, the arm’s design is crucial. It has to be both strong and ergonomic. This ensures that while you focus or make adjustments, the microscope stays still. When you’re working at high magnifications, even a slight movement can spoil the clarity. With a sturdy arm and a weighted base, you get the steadiness needed.
In summary, the base and the arm are key to a functioning microscope. They ensure the instrument stays balanced and secure. This aids in delivering clear, undistorted views of microscopic worlds.