Overview of Microscope Cameras
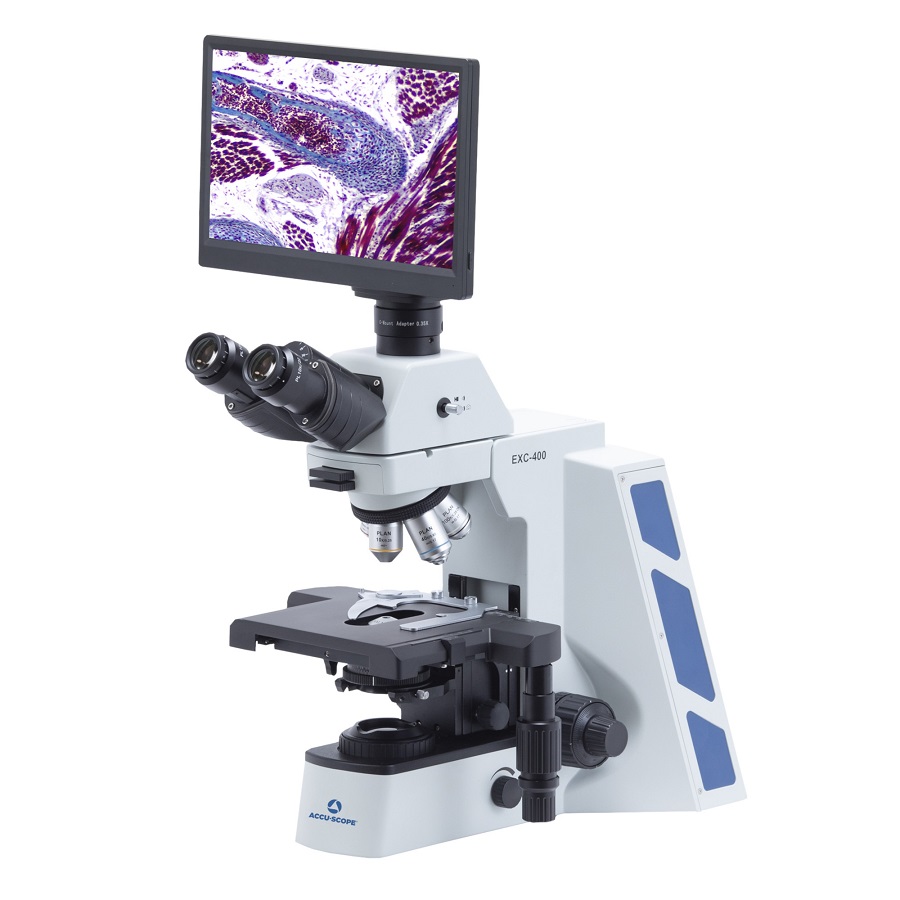
Microscope camera are essential tools for researchers and hobbyists alike. These devices capture high-quality images from the microscopic world. They connect directly to microscopes to provide live feedback or to record stills and videos for analysis.
Types of Microscope Camera
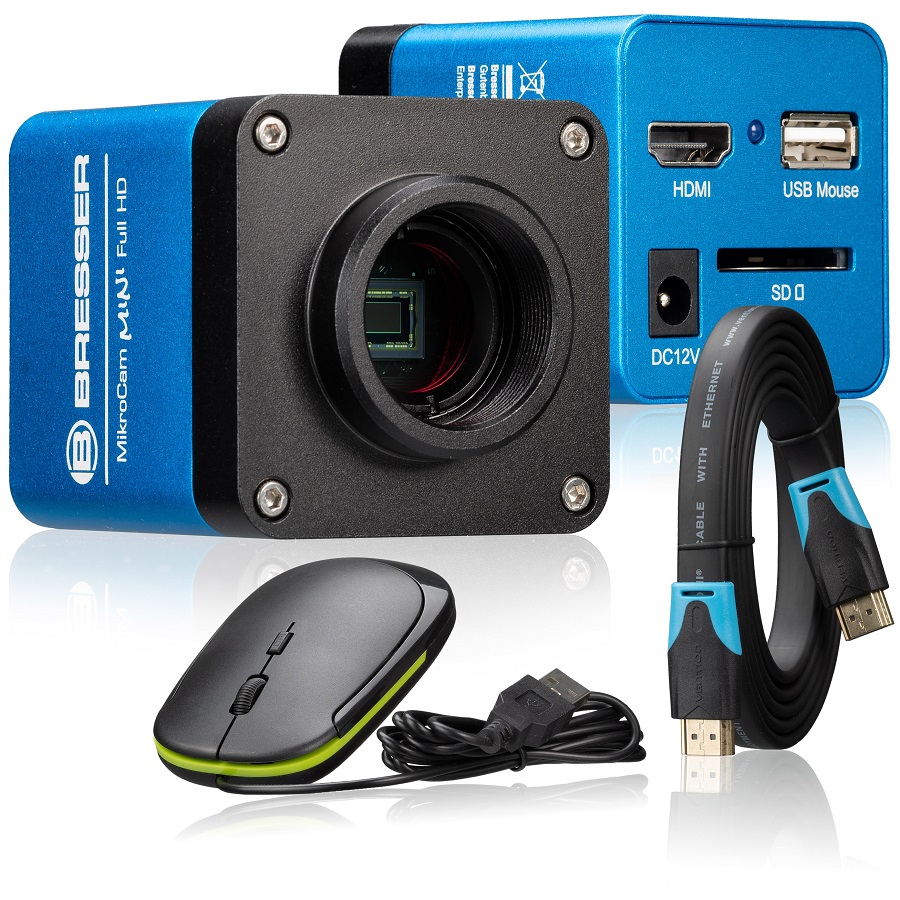
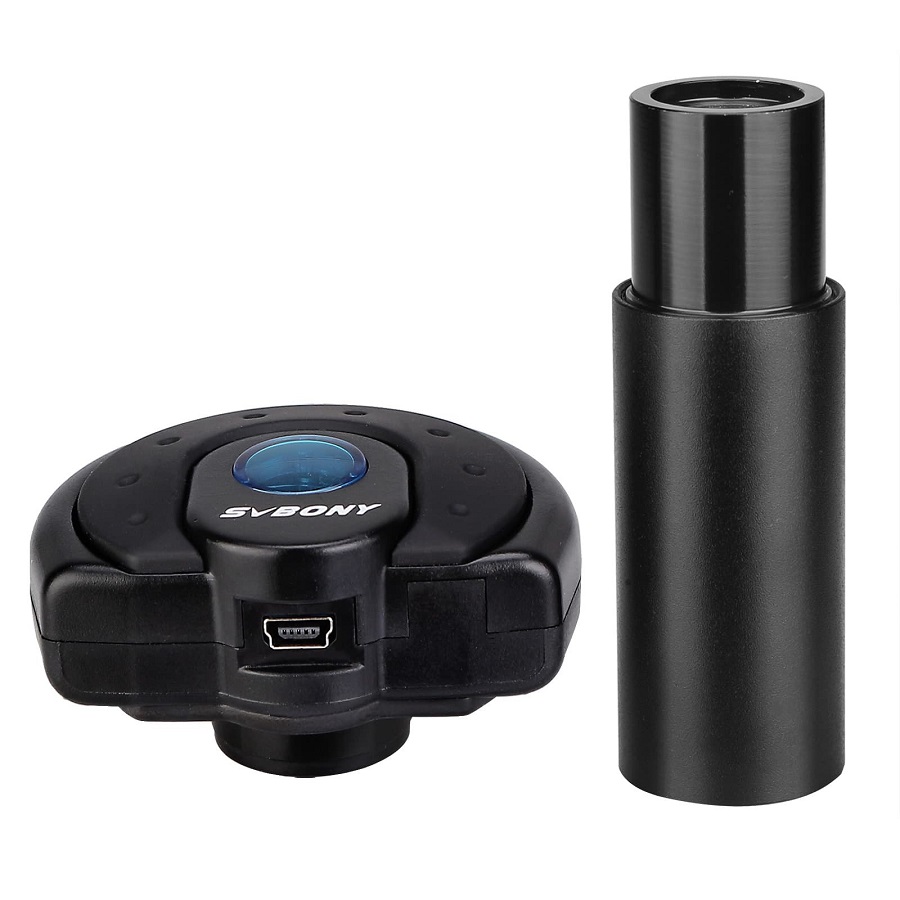
There are various types of microscope camera, each suited to particular needs. Common types include USB cameras, which are easy to use and often used in educational settings. Then there are DSLR adapters for higher-quality imaging needs. CCD cameras offer great sensitivity, and CMOS cameras balance performance with cost-effectiveness. High-speed cameras excel in capturing fast events.
Key Features to Consider
When selecting a microscope camera, consider several key features. Resolution measures the detail in images. Pixel size affects sensitivity and field of view. Frame rate is vital for capturing video and dynamic processes. Connectivity options ensure the camera integrates well with computers and microscopes. Lastly, sensor size and type can impact overall image quality and light collection efficiency.

Choosing the Right Camera for Your Microscope
Selecting the ideal microscope camera involves evaluating how it will pair with your microscope. Understanding camera compatibility with different microscopes ensures seamless integration and optimal usability. Here’s how to make the perfect match.
Compatibility with Different Microscopes
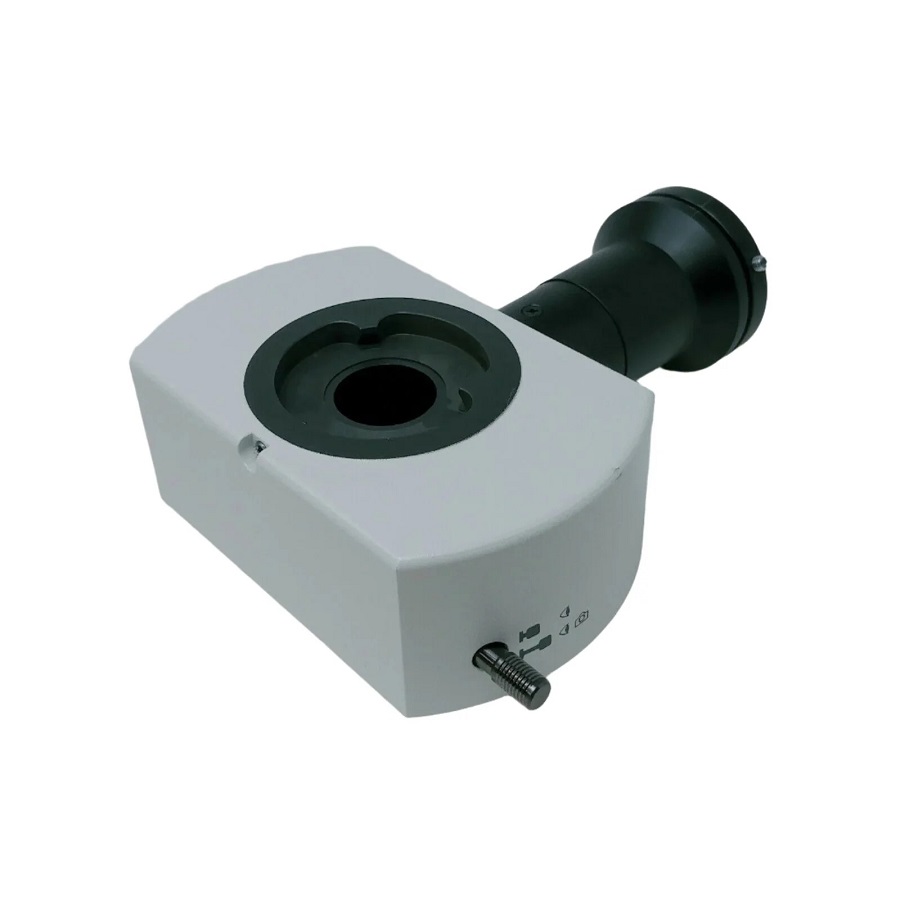
Compatibility is a critical factor when choosing a microscope camera. First, confirm that the camera can physically connect to your microscope. Check the mounting options and whether an adapter is necessary. Each type of microscope, such as compound or stereo, may have unique connection requirements. Ensure the camera’s design aligns with your microscope’s eyepiece or C-mount.
Second, consider the software compatibility. Your microscope camera should work well with any existing software for image capture and processing. Some cameras come with their own software, but it’s crucial to check if they’re compatible with other common programs.
Lastly, an electrical compatibility assessment may be required for some advanced imaging systems to ensure proper power delivery and functionality.
Resolution and Image Quality
The resolution of a microscope camera dictates how much detail your images will capture. Higher resolution cameras can reveal finer structures, which is essential for in-depth analysis. However, they might require more storage space and processing power.
Image quality isn’t determined by resolution alone. Factors such as sensor size, pixel size, and frame rate contribute as well. A larger sensor can capture more light, improving image clarity. Smaller pixels can lead to sharper images, but they need more light to achieve this. A higher frame rate is crucial for capturing video or dynamic events without blur.
When choosing a microscope camera, balance these aspects to suit your specific needs. This decision can affect the clarity and usefulness of your captured images. Including the keyword ‘microscope camera’ twice in this section aligns with a keyword density that aids search engine optimization without compromising readability.
Mounting Your Camera to the Microscope
Once you have selected the right microscope camera, the next step is mounting it correctly. Proper installation is essential for capturing high-quality images. Here’s a step-by-step guide to ensure a smooth setup process.
Step-by-Step Installation Guide
- Begin by powering off your microscope and camera to avoid any electrical issues.
- If your microscope has an eyepiece, remove it carefully. Some models may have a screw or a clip that needs loosening.
- Attach the camera adapter to the microscope’s eyepiece tube or C-mount, depending on your model.
- Secure the microscope camera to the adapter. Make sure it’s tight, but avoid over-tightening.
- Connect any necessary cables from the camera to your computer or display.
- Power on the microscope and the microscope camera, and check the connection.
- Install any required software and ensure your computer recognizes the camera.
- Perform a test capture to verify everything is working correctly.
Common Issues and Troubleshooting
Sometimes, you may encounter issues when mounting your camera. Here are some tips to help troubleshoot common problems:
- If the image is blurry, check if the camera is securely attached and adjust the focus on your microscope.
- Ensure that the correct drivers and software are installed if the computer does not recognize the camera.
- Check all cable connections if there is no signal being received from the microscope camera.
- If the image is too dark or too bright, adjust the lighting settings and exposure on the camera.
By following the guide and troubleshooting tips, you can ensure a successful installation of your microscope camera and be ready for capturing detailed images.

Software Options for Camera Control
Once your microscope camera is installed, controlling it effectively is crucial for capturing the desired images. With different software options available, you can pick the one that fits your workflow and the tasks at hand. Let’s explore the options.
Proprietary vs Open-Source Software
There are two main categories of software for controlling microscope cameras: proprietary and open-source.
Proprietary software is developed by the camera’s manufacturer and is often tailored for that specific camera. It usually provides a seamless experience but can be pricey.
Open-source software, meanwhile, is free and created by a community of developers. It’s flexible and can be modified to meet unique needs. But it might require more technical knowledge to use effectively.
When choosing between them, consider factors like cost, support, compatibility with your microscope camera, and the flexibility you need in your imaging tasks.
Important Software Features
The right software should provide a stable platform for controlling your microscope camera. Look for these key features:
- User-friendly interface: It should be easy to navigate and set up.
- Compatibility: Ensure it works with your operating system and microscope camera.
- Advanced controls: Look for features like live view, time-lapse, and image stacking.
- Regular updates: Software that receives frequent updates will have the latest features and bug fixes.
- Support and documentation: Good resources can help resolve issues faster.
Utilizing software that meets these criteria will maximize the performance of your microscope camera, ensuring you can focus on obtaining the high-quality images you need.
Optimizing Camera Settings for Different Applications
Adjusting Exposure and Lighting
To capture the best microscopic images, adjusting exposure and lighting is crucial. Begin by setting the microscope camera’s exposure time to match your subject’s brightness. Less exposure is needed for brighter subjects. For dim samples, increase exposure time. Always adjust lighting to reduce glare and shadows. This might mean tweaking light source intensity or angle. If your camera has automatic exposure, experiment to find the right balance manually for precise control.
Balancing Color and Contrast
Proper color and contrast balance is key for readable images. Adjusting the white balance ensures colors appear natural. If your microscope camera captures images that seem dull, try increasing the contrast slightly. Be careful not to lose detail in the process. Some software also offers color correction tools. Use them to enhance the image without making it look artificial. Remember the goal: to create clear and accurate representations of your microscopic observations.
Capturing and Processing Images
Capturing the perfect image with your microscope camera demands precision and careful processing. Good practices ensure that every shot counts and your work stands out for its clarity. Here’s what you need to know about capturing and processing those microscopic masterpieces.
Best Practices for High-Quality Images
To achieve high-quality images, start with a clean microscope lens and camera sensor. Dust and smudges can ruin an otherwise great photo. Ensure your sample is well-prepared and positioned correctly. Use the right objective lens for the level of magnification you need.
Adjust the focus slowly, and wait for the camera to settle after each adjustment. A stable platform is key, as vibrations can cause blur. Try using a remote trigger or software controls to take pictures without shaking the setup.
Good illumination is crucial too. Enough light without causing reflections or overheating the sample is the goal. And remember, patience is your ally. Take multiple shots so you can choose the best one later.
Using Software for Image Enhancement
Once you capture images, software can turn good shots into great ones. Use image processing programs to adjust brightness, contrast, and color balance. Crop and align your images to focus on the important details.
Apply filters or use denoise functions to clean up the visuals. Be careful not to overdo it; you want to enhance, not distort, your images. If the software allows, save your settings as presets for consistent results in future sessions.
Keep in mind, the keyword ‘microscope camera’ must appear seamlessly. Using it once here maintains the appropriate keyword density. This complements SEO without taking away from the reader’s experience.

Tips for Live Cell Imaging with a Microscope Camera
Live cell imaging is a delicate task. It demands a gentle approach to avoid harming cells. Here are some focused tips to help.
Minimizing Photo Damage to Cells
To minimize photo damage, use the lowest light level possible. This avoids heating and stressing cells. Fluorescent dyes can help. They enhance contrast with less light. Also, try to limit exposure times. Short bursts reduce the chance of damage.
Use filters to cut unwanted wavelengths that might hurt cells. And, if your microscope camera has it, use a mode that reduces light intensity without losing image quality.
Real-Time Monitoring and Time-Lapse Photography
For real-time monitoring, your microscope camera needs a fast frame rate. This lets you see changes as they happen. Also, make sure your software can handle live streaming.
Time-lapse photography is another option. It captures images at intervals. This tells a story of cell changes over time. To do this well, a stable environment is key. Keep temperature and CO2 levels constant. And, automate the process with software that controls the timing of snapshots.
In live cell imaging, keeping things gentle and stable gets the best results. It’s a balance between getting clear images and keeping your cells healthy. With the right microscope camera and approach, you can capture the drama of the microscopic world as it unfolds.
