Introduction to Diaphragm Microscopes
When we dive into the world of microscopy, understanding the diaphragm microscope function is key. A diaphragm in a microscope is a device that controls the amount of light that reaches the sample. This light control is crucial for producing clear and detailed images. Think of the diaphragm as the microscope’s iris, similar to our eyes, narrowing and widening to change the light intensity.
The diaphragm is usually located above the light source and beneath the stage where the specimen is placed. By adjusting it, you can increase or decrease the contrast of the image you’re observing. It’s essential to grasp how it works because proper use can significantly enhance your viewing experience. In this article, we’ll explore why the diaphragm is a central part of a microscope, its types, and the impact it has on image quality. We aim to shed light on the diaphragm microscope function, allowing you to get the best out of your microscopic observations.

The Role of the Diaphragm in Light Control
The diaphragm in a microscope plays a crucial role in light control. This component acts much like an adjustable window. It lets a precise amount of light through to illuminate the specimen. Too much light can wash out details. On the other hand, too little can leave the image too dark to see well.
The diaphragm adjusts to let the optimal light level through. This enhances the image quality of the specimen. A simple change in the diaphragm setting can make a huge difference. By controlling light, the diaphragm helps to reveal fine details and textures. This is why understanding the diaphragm microscope function is important for anyone using a microscope.
Effective light control is also about enhancing the lifespan of your specimen. Intense light can cause damage, especially in live specimens. With the right diaphragm setting, you avoid overexposure.
Diaphragm adjustments are practical, straightforward, and do not require technical knowledge. For clear observation, the diaphragm must work correctly. Regular maintenance ensures its proper function. Learning how to control the diaphragm is a foundational skill for any microscopy work.

Types of Diaphragms in Microscopy
Understanding the types of diaphragms in microscopy is crucial for proper use. There are mainly two types of diaphragms found in microscopes: the iris diaphragm and the disc diaphragm. Each one serves a unique purpose in light control and image quality.
Iris Diaphragm
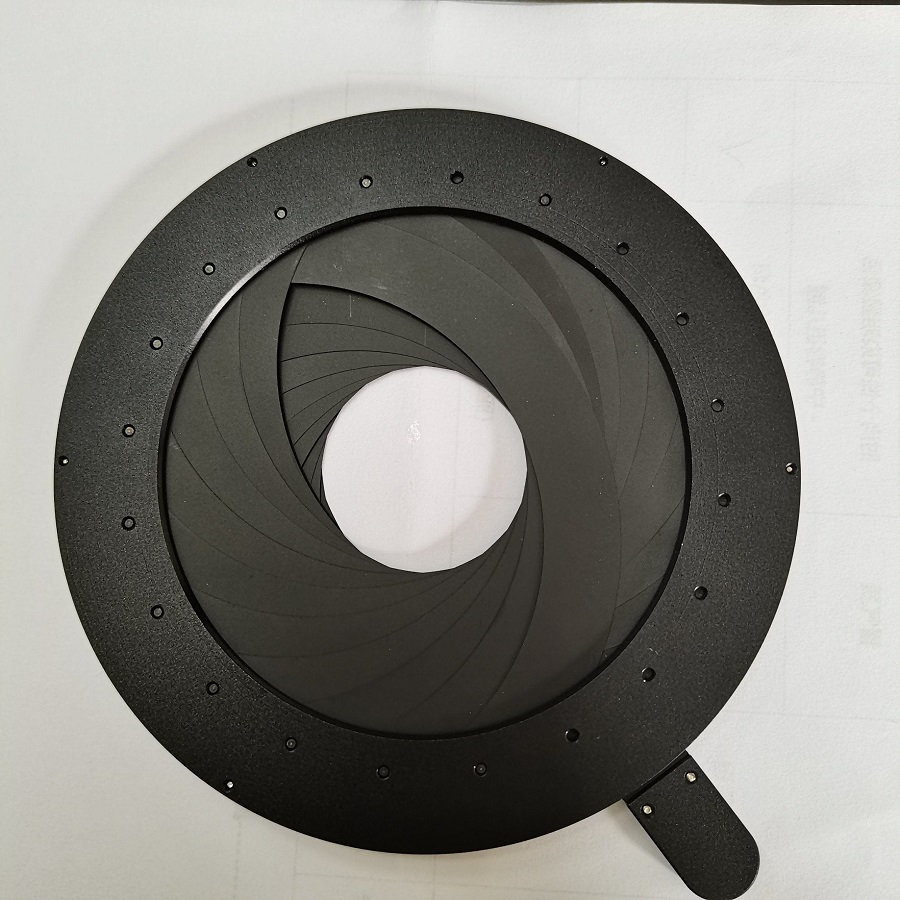
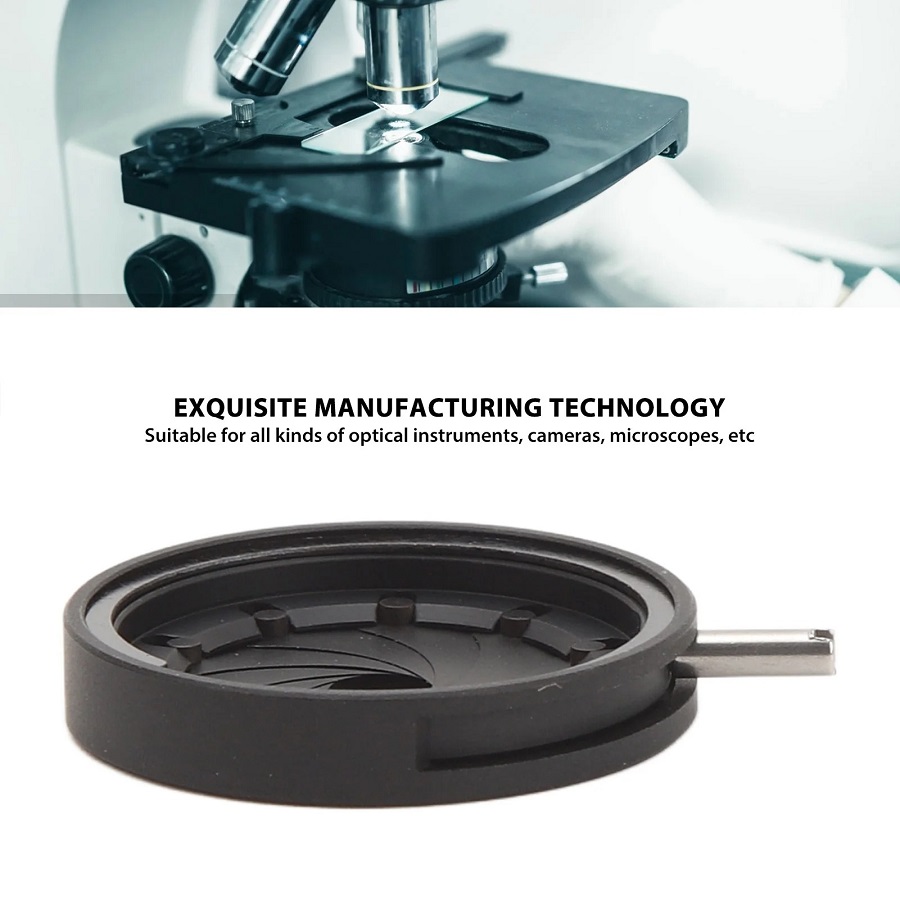
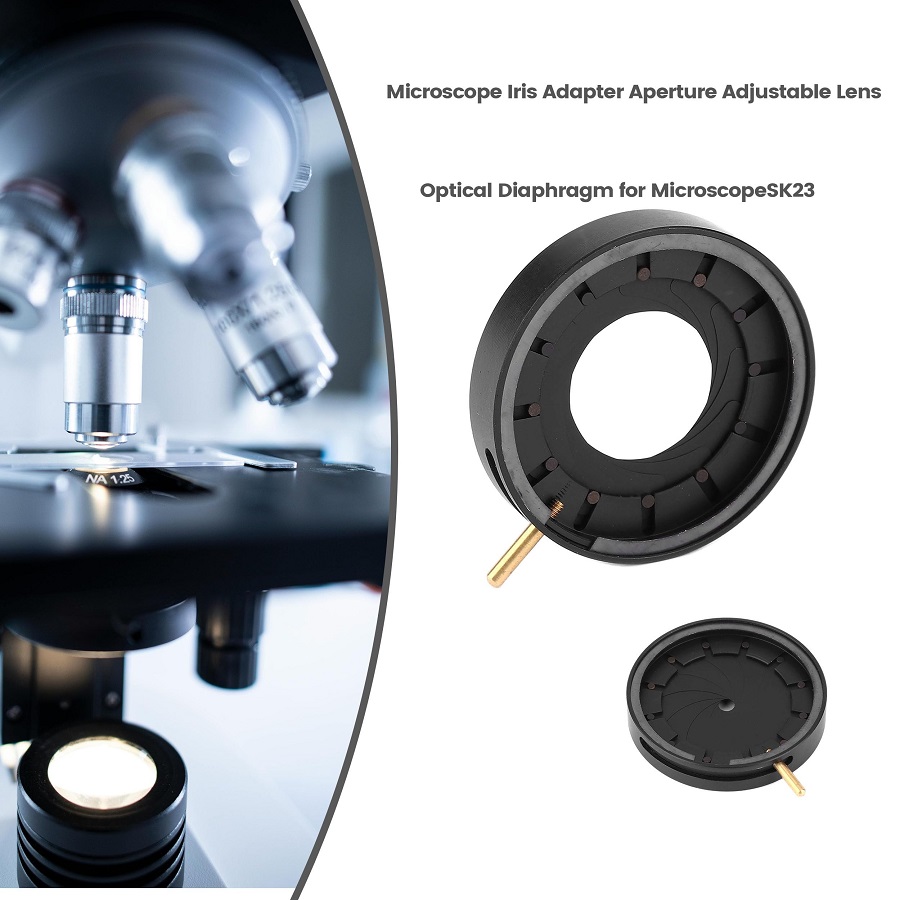
The iris diaphragm is the more common type found in high-quality microscopes. It resembles a camera’s iris. It has overlapping plates that adjust to varying sizes. This lets you fine-tune the light intensity with precision. Turning a lever controls the size of the aperture. This type is very effective at enhancing contrast and detail in your observations.
Disc Diaphragm
A disc diaphragm has different sized holes. You rotate the disc to select the hole size that matches your needs. This type is simpler and common in basic microscopes. Although it offers less control than an iris diaphragm, it still plays a role in light regulation. This diaphragm is cost-effective and easier to use for beginners.
Selecting the right diaphragm depends on your microscope’s purpose and your expertise. Each type affects the diaphragm microscope function and the quality of the microscopic images. Knowing how to adjust and match the diaphragm properly is a critical skill in microscopy.
How Diaphragm Adjustments Affect Image Contrast
Adjusting the diaphragm on a microscope changes the image contrast dramatically. The contrast is the difference between the light and dark areas in an image. With the right diaphragm setting, it becomes easier to distinguish these areas. A narrowed diaphragm increases contrast because less light passes through. This makes dark regions darker and light areas stand out more. When the diaphragm is opened wider, more light floods the specimen. This can result in lower contrast, as bright and dark regions appear closer in tone.
For observing structural details, high contrast is often desirable. It brings out the shapes and edges more clearly. By modifying the diaphragm, you can emphasize specific features of the specimen. A suitable adjustment can highlight textures that were previously indistinct. Learning to vary diaphragm openings gives you control over image contrast. This skill enhances the diaphragm microscope function and your ability to see intricate details.
Remember, too much contrast can obscure finer details, while too little makes everything appear flat. So, it’s important to find a balance. Use your eyes and experience to judge the correct level of contrast for each observation. Practicing this aspect of the diaphragm microscope function can take your microscopy skills to the next level.

The Impact of Diaphragm Settings on Resolution and Clarity
The settings of the diaphragm play a pivotal role in a microscope’s resolution and clarity. The diaphragm affects the depth of field and focus, shaping the precision of the image. Let’s come to grips with how these adjustments matter to your microscopic tasks.
A precise diaphragm setting can enhance the resolution. Resolution refers to the microscope’s ability to distinguish between two points. A narrow diaphragm opening tends to increase the resolution by reducing the amount of light. This helps in separating fine details in the specimen’s structure.
Clarity, on the other hand, is about how sharp and clear the image is. Proper diaphragm adjustments prevent blurring. They make structures within the cell or tissue stand out. Optimal clarity requires a balance in diaphragm settings. This balance ensures that light does not overwhelm subtle features.
For critiquing diaphragm microscope function, remember these points:
- A too wide diaphragm setting may reduce resolution, causing details to blur together.
- Too narrow a setting can darken the image, sacrificing clarity.
- Adjusting the diaphragm improves focus on the plane of interest, enhancing detail definition.
- Experience and practice guide you to the precise setting for each observation.
In essence, mastering diaphragm settings refines the nuances of resolution and clarity. It is an essential skill for any user aiming to maximize the potential of a microscope.
Diaphragm Manipulation Techniques for Enhanced Observation
Effective diaphragm manipulation is crucial for obtaining clear and detailed microscopic images. Here are some techniques to enhance your observation experience:
Mastering Diaphragm Adjustment
To start, learn to adjust the diaphragm smoothly. A steady hand is key. Fine-tune the light control for better contrast and clarity. Beginners should practice with standard adjustments before trying more nuanced settings.
Adjusting According to the Specimen
Different specimens require distinct light levels. Start with medium aperture and adjust from there. Observe the changes in image quality with each move.
Using External Light Sources
Sometimes, indirect or additional lighting helps. Experiment with external light sources to improve illumination. This can lessen the burden on the diaphragm and enhance the image.
Coupling Adjustments with Objectives
Each objective lens may need a different diaphragm setting. Switch between lenses and diaphragms to find the perfect pair. It’s about matching magnification needs with light control.
Continuous Practice
Much like any skill, diaphragm manipulation takes practice. Each time you use a microscope, refine your ability to control the diaphragm. With experience, you’ll discern subtle differences in image quality.
By mastering these techniques, users can significantly improve their microscopy observations. The diaphragm microscope function becomes a powerful tool in the hands of a skilled operator.
Common Misconceptions About Diaphragm Use in Microscopy
When it comes to using diaphragms in microscopy, several myths can hinder your ability to use your instrument effectively. Here are some common misconceptions that we need to clear up:
- More Light, Better Clarity: Many people think that the more light you provide, the clearer the image. This is not always true. Too much light can wash out details and reduce contrast, making it harder to see fine structures.
- Set and Forget: Some believe once you set the diaphragm, you don’t have to adjust it again. Each specimen might need different light. You need to adjust the diaphragm every time you change your specimen or magnification.
- Diaphragm Adjustments are Complex: The idea that diaphragm adjustments require technical skills is misleading. With a basic understanding of diaphragm microscope function, anyone can learn to adjust it effectively with practice.
- Specific Diaphragm for Each Specimen: It’s a common thought that each type of specimen needs a specific diaphragm type. While certain specimens may benefit from one type of diaphragm over another, learning to adjust the diaphragm can enhance image quality across a range of samples.
- Iris Diaphragms are Always Superior: While iris diaphragms offer more precision, this does not make them universally superior to disc diaphragms. Each type has its use, depending on the task and the experience level of the user.
Understanding and overcoming these misconceptions is vital. It helps in making full use of the diaphragm microscope function for better microscopy results.
Best Practices for Maintaining Diaphragm Functionality
To ensure optimal diaphragm microscope function, maintenance is key. Here’s how to care for your diaphragm:
- Regular Cleaning: Keep the diaphragm clean. Dust and oil can block light and affect image quality.
- Check for Damage: Inspect the diaphragm for wear and tear. Small defects can have a big impact.
- Practice Proper Handling: Be gentle when adjusting the diaphragm. Rough handling can cause misalignment.
- Follow Manufacturer Instructions: Use your microscope as directed. Mishandling can damage the diaphragm.
- Store Correctly: When not in use, cover your microscope. Protect the diaphragm from environmental factors.
- Routine Checks: Before use, always check diaphragm settings. Ensure it moves smoothly.
By following these practices, the diaphragm will function well and provide clear images. Good habits lead to better results and extend the life of your microscope.
