Benefits of Chalk Drawing
Easy chalk drawings is a rewarding activity for both beginners and experienced artists. It is simple to start, requiring only basic tools and techniques. Below, we’ll explore some major benefits of engaging in chalk art.
Enhancing Creativity
Chalk drawing sparks creativity by encouraging experimentation. You can quickly try new shapes and designs. Its versatility allows you to mix colors freely and create unique textures. As you explore different styles, your artistic imagination grows. This helps build confidence as you express ideas visually.
Stress Relief and Relaxation
Drawing with chalk provides a calming experience. The smooth application is satisfying and encourages focus. Art can be a way to escape stressful thoughts and unwind. You can create simple designs to de-stress or spend hours refining complex artwork. The hands-on process clears the mind, promoting mental relaxation and joy. Engaging in chalk art is a therapeutic activity that benefits emotional well-being.
Essential Tools for Chalk Drawings
To start with chalk drawings, having the right tools is essential. These tools ensure ease of use and help you achieve the best possible results. Below, we discuss the fundamentals of chalk art tools, including the various types of chalk and other necessary equipment.
Types of Chalks
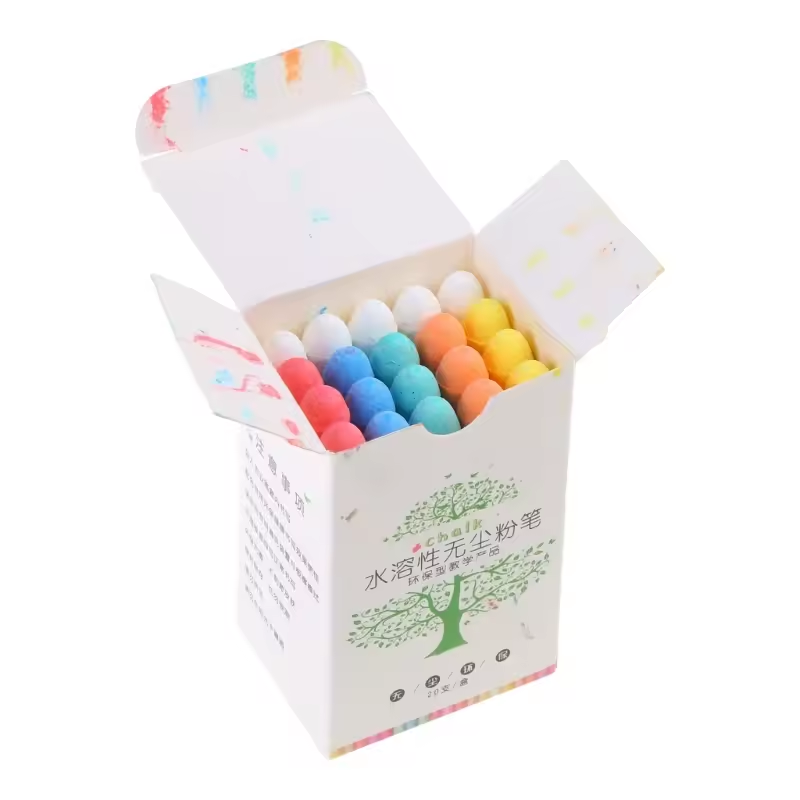
Choosing the right type of chalk can greatly impact your artistic experience. There are several varieties available:
- Soft Pastel Chalks: Known for their vibrant colors, they are ideal for blending and shading.
- Hard Pastel Chalks: These are useful for detailed work and creating sharp lines.
- Sidewalk Chalks: Perfect for large-scale outdoor drawings and great for beginners.
- Blackboard Chalks: Commonly used on chalkboards, they work well for simple designs.
- Chalk Pencils: Helpful for adding fine details and precision to your artwork.
Each type serves a distinct purpose. Beginners should try several types to find their preferred choice.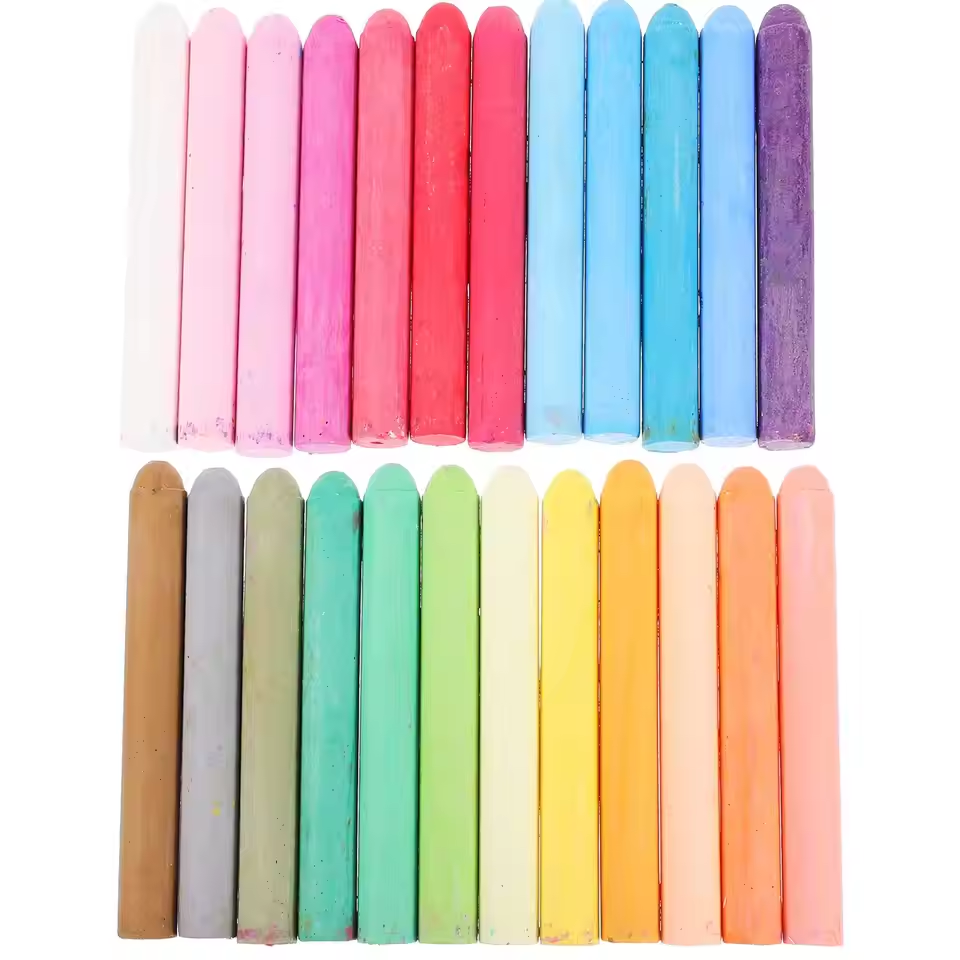
Necessary Equipment (Erasers, Fixative, etc.)
To support your chalk drawing practice, you’ll need some important equipment:
- Erasers: Choose a soft eraser or cloth to clean up mistakes easily without damaging your work.
- Blending Tools: Sponges, fingers, or blending sticks can help create smooth transitions between colors.
- Fixative Spray: Fixative preserves your artwork by preventing smudging and fading over time.
- Backing Surface: A sturdy board or paper supports your drawing and keeps your chalk organized.
- Storage Containers: Keep your chalk pieces safe and clean when not in use.
Remember, these tools make chalk drawing easier and help you maintain the quality of your artwork. Having the right supplies makes it enjoyable to create simple yet impressive chalk art.
Tips to Get Started with Chalk Drawings
Starting with chalk art can be exciting and enjoyable. By understanding the basics and practicing, you can quickly improve your skills. Below are some tips to help beginners get started effortlessly.
Choosing the Right Surface
The surface you choose plays a significant role in the outcome of your chalk drawings. Here are some popular options:
- Paper: Heavyweight or textured paper works well for small projects.
- Chalkboards: Classic choice for easy chalk drawings, perfect for both practice and display.
- Pavement or Sidewalk: Ideal for large-scale designs and outdoor creations.
- Wooden Boards: A sturdy option for more detailed and durable drawings.
- Canvas or Fabric: Useful for unique art pieces that stand out.
Beginners should try different surfaces to find what suits their style best. Testing on multiple surfaces also helps understand how chalk reacts differently on each type.
Basic Techniques to Practice
Learning a few basic techniques can make your chalk art journey smoother. Practice these to build a strong foundation:
- Color Blocking: Fill areas with solid colors to define shapes and designs.
- Blending: Use your fingers, sponges, or blending tools for smooth color transitions.
- Layering: Apply colors in layers for depth and subtle gradation.
- Outlining: Create clean edges with precise lines to shape your artwork clearly.
- Highlighting: Add white or light-colored chalk for highlights and to emphasize details.
Start with simple designs like geometric patterns or basic objects. As your confidence grows, experiment with more advanced techniques for creative freedom. By practicing regularly, you’ll develop essential skills for stunning chalk drawings.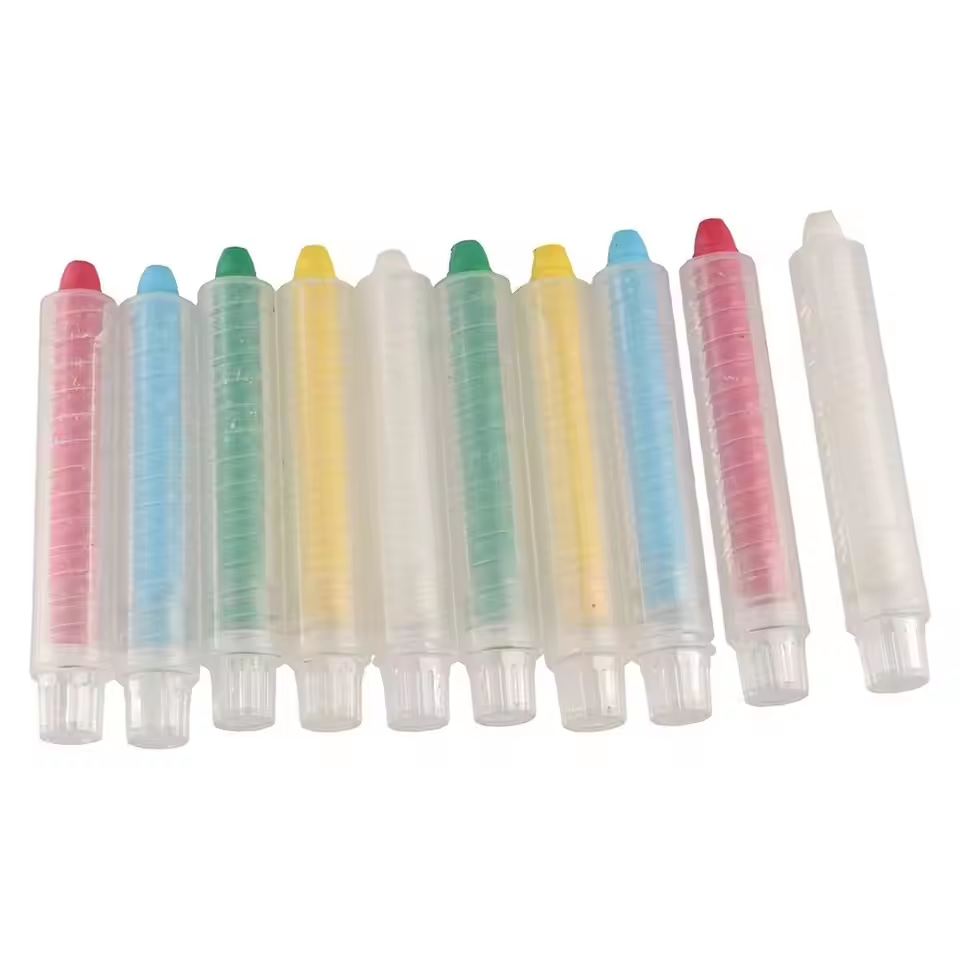
Simple Chalk Drawing Ideas for Beginners
Starting with simple designs helps beginners build confidence. These ideas are easy but visually appealing.
Abstract Shapes and Patterns
Abstract shapes and patterns are perfect for beginners exploring chalk art. Here are some ideas to start:
- Geometric Shapes: Draw triangles, circles, and squares using vibrant chalk colors.
- Swirls and Waves: Create flowing designs for a playful and dynamic look.
- Doodles: Experiment with casual patterns, lines, and zigzags.
- Repeating Patterns: Develop symmetry with repetitive motifs like diamonds or spirals.
- Mandalas: Use simple concentric designs to explore symmetry and balance.
With abstract patterns, there’s no right or wrong. Focus on having fun and experimenting!
Nature-Inspired Designs (Flowers, Trees, etc.)
Nature provides endless inspiration for chalk art. Try these ideas for a fresh and calming experience:
- Flowers: Start with daisies or roses using soft pastel chalks.
- Trees: Draw simple tree outlines or detailed ones with branches and leaves.
- Sun and Clouds: Create cheerful designs for outdoor or sidewalk art.
- Butterflies and Birds: Add life to your artwork with colorful wings and feathers.
- Landscapes: Combine elements like hills and rivers for serene artwork.
Nature-inspired drawings are easy to expand upon. Add details gradually as your skills improve. Whatever you draw, enjoy the process!
Advanced Chalk Drawing Techniques for Progression
Once you’ve mastered the basics, advancing your chalk drawing techniques can unlock new possibilities. The following methods will elevate your skills and take your artwork to the next level.
Shading and Blending
Shading and blending add dimension and a polished look to chalk drawings. Here are steps to master:
- Layer Colors Gradually: Build layers with light strokes, creating smooth transitions between hues.
- Use Blending Tools: Apply sponges, blending sticks, or even fingers for soft, seamless textures.
- Create Shadows: Darken areas for realistic depth, placing shadows on the opposite side of light.
- Experiment with Contrast: Combine dark and light tones for striking effects and better focus.
- Practice Gradation: Move from dark to light colors steadily to refine shading skills.
Blending gives your chalk art a professional touch and helps to create realistic textures and shapes.
Adding Depth and Details
Adding depth and fine details enhances the composition and visual appeal of chalk art. Follow these suggestions:
- Work on Perspective: Draw objects closer in larger size and distant ones smaller for realism.
- Introduce Highlights: Add light streaks using white chalk for emphasized features and focal points.
- Define Edges Clearly: Use sharp lines to create contrast and distinguish elements.
- Layer Details Gradually: Incorporate minor features gradually without overloading your drawing.
- Utilize Gradients: Blend colors softly for transitions and add subtle variations to show changes in depth.
Detailed chalk drawings require patience but result in breathtaking artwork. Use precision and creativity to craft impressive designs.
By embracing shading, blending, and detailed techniques, you can transform simple chalk drawings into stunning works of art. Regular practice and experimentation with these methods will help you refine your skills and explore advanced styles.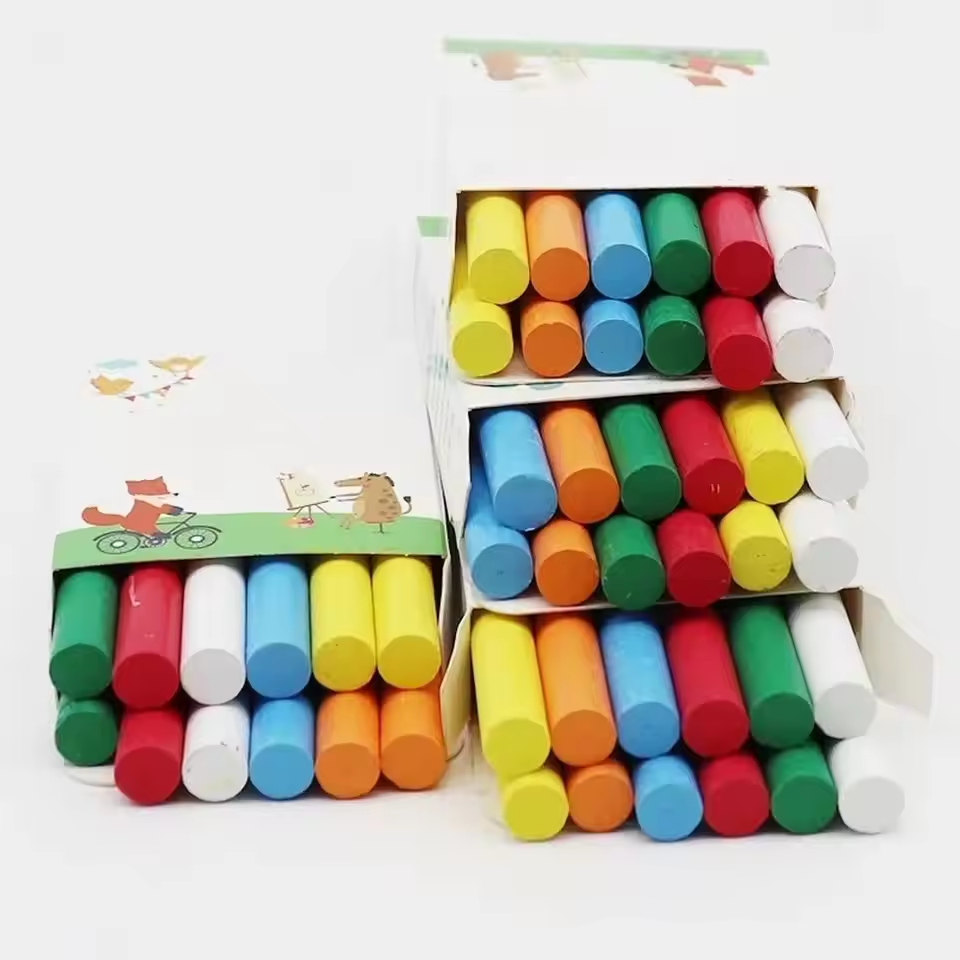
Ways to Display and Preserve Chalk Drawings
Preserving and showcasing chalk drawings helps maintain their quality and share your art with others. Here are tips to protect and creatively present your chalk creations.
Fixing Chalk Art Permanently
Fixing your chalk art ensures longevity by preventing smudging and fading. Try these steps to secure your artwork:
- Use Fixative Spray: Spray a light coat over the drawing to hold chalk in place.
- Choose the Right Fixative: Opt for a matte fixative to preserve the original texture and color.
- Apply Evenly: Hold the spray 12 inches away and cover all areas evenly.
- Let It Dry: Allow the fixative to dry completely before handling the artwork.
- Frame the Artwork: Place your art in a frame for added protection and visual appeal.
Fixing chalk art prevents accidental smudges, keeping your artwork in pristine condition for years.
Creative Display Options
Showcasing your chalk drawings adds a personal touch to your space. Here are creative ideas to display them:
- Frame and Mount: Use decorative frames that complement the artwork and match your décor.
- Chalkboard Displays: Showcase designs directly on chalkboards for reusable, changeable art.
- Wall Panels: Paint a wall section with chalkboard paint and create rotating chalk designs.
- Photo Albums: Preserve smaller drawings in portfolios or albums for organization and safe storage.
- Outdoor Exhibition: Use sidewalks or pavements for temporary yet impactful public art displays.
Displaying your chalk drawings creatively allows you to share your talent and brighten any environment. Preserve and present your art with care for both inspiration and pride.
Common Mistakes to Avoid in Chalk Drawings
Avoiding common mistakes can improve your chalk artwork and help you grow as an artist.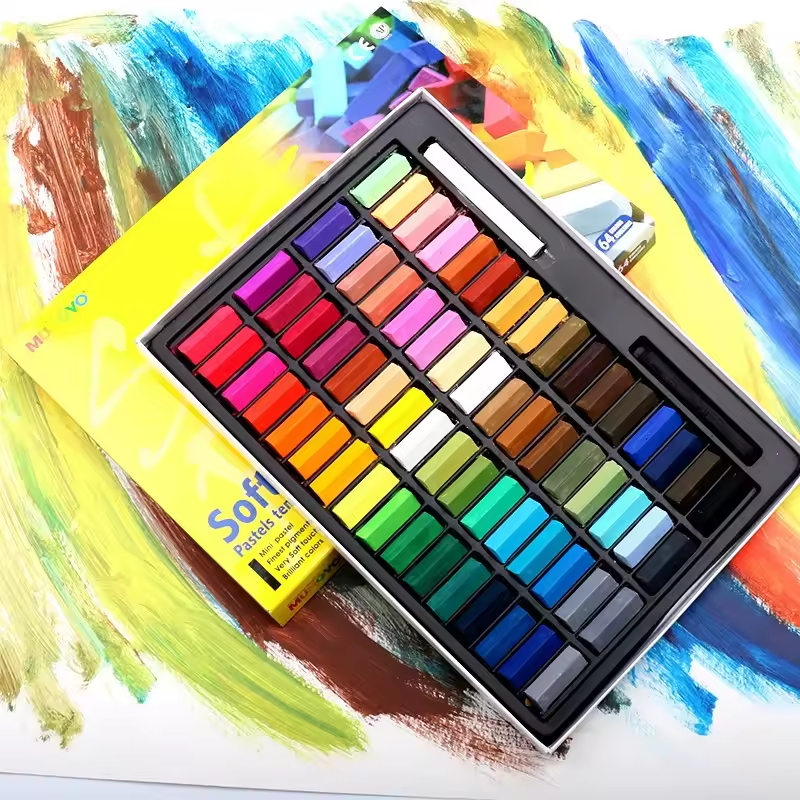
Overusing Colors
Using too many colors can clutter your design. Stick to a balanced palette for clarity.
- Choose a Theme: Limit colors to match the mood or idea of your drawing.
- Avoid Overlapping: Prevent mixing too many hues in one spot to keep elements distinct.
- Focus on Harmony: Blend colors smoothly for elegant transitions and avoid abrupt mismatches.
- Highlight Details Only: Use vibrant tones to emphasize small areas, not the entire piece.
Balanced use of colors makes your chalk art visually pleasing and impactful.
Skipping Preparatory Steps
Skipping preparation can lead to mistakes and incomplete results. Proper setup ensures smoother drawing.
- Clean the Surface: Dust your chalkboard or paper before starting to avoid interference.
- Test Chalks: Check chalk quality and colors on a small area before beginning the main design.
- Sketch First: Outline shapes lightly to guide your artwork and create a structure.
- Organize Tools: Keep chalk, erasers, and blending tools accessible to avoid interruptions.
- Plan the Design: Think about your idea and layout to avoid spontaneous errors.
Preparation saves time and helps produce polished, professional-looking chalk drawings.